
In this lesson, we are going to discuss the step-by-step process of Creating an Angular Project using the Angular CLI command. in detail. Please follow our previous article Difference between AngularJS and Angular 2.
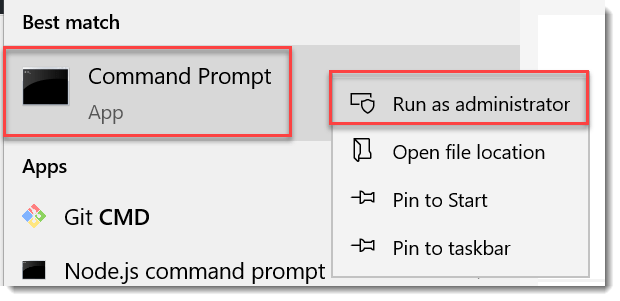
- Open the command prompt ( type in windows run command as cmd) in administrator mode and then it open the C:/ drive system32 folder like below.
Move to the desired folder location, like I want to move D:/ and move to a folder and create the angular project.
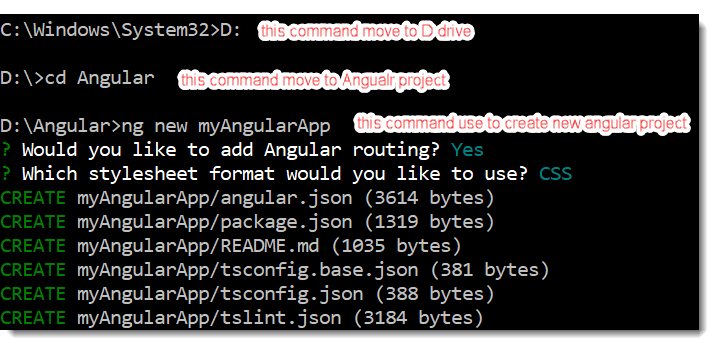
- After type D: and press enter, then it will change the directory path to the D drive.
- Then we have a project folder named as Angular. Using command CD Angular we jump into Angular folder.
- To create a new angular project type command as ng new myAngularApp.
- Once you press the enter key, it will ask you some questions before beginning. The first question that it will ask you is whether you want to add the routing support or not. It’s up to you whether you want Angular Routing or not. I want to add angular routing into my project so I type Y and then press the enter button as shown below.
- If you want to add stylesheet format (CSS, SCSS, SASS, etc.) then hit enter, in my case I add as CSS it create the Angular project.
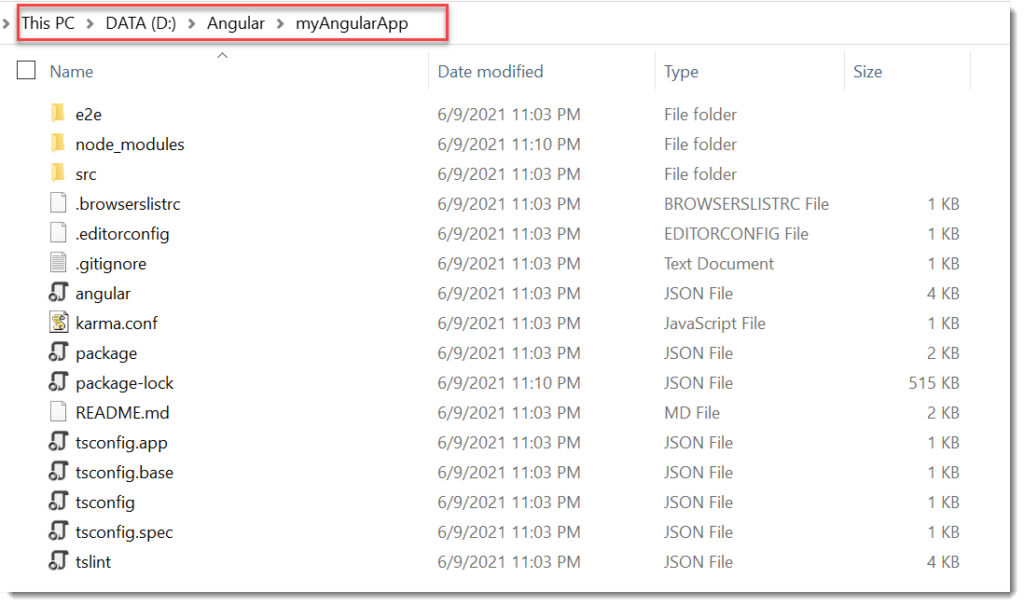
Once you press the enter button, it will take some time for your project. Behind the scene, it will create lots of folders and files. It also installed the necessary packages which are required to run the Angular application. In our next article, we will discuss the folder and file structure of the angular application. Once your project is created successfully, then let us see how to run the project using the Angular CLI command.
Running Angular application using Angular CLI
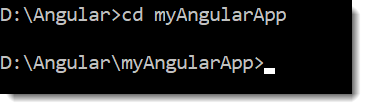
In order to run the Angular application using Angular CLI, you need to change to directory path to the project folder. As I created the project with the name myAngularApp within the D:\Angular Folder, so changed the directory path to D:\Angular\myAngularApp by executing the following command.
Let us see how to compile the angular project using the Angular CLI command. In order to compile the project, you need to use the ng serve command. So, type ng serve and press the enter button as shown below. The ng serve command will build the application as well as start the webserver.
ng serve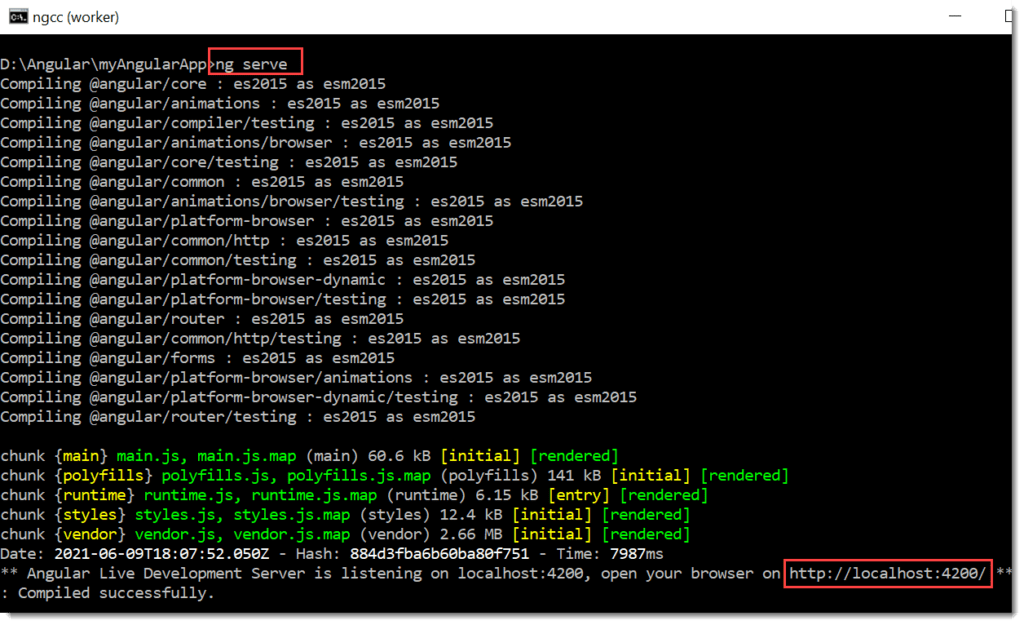
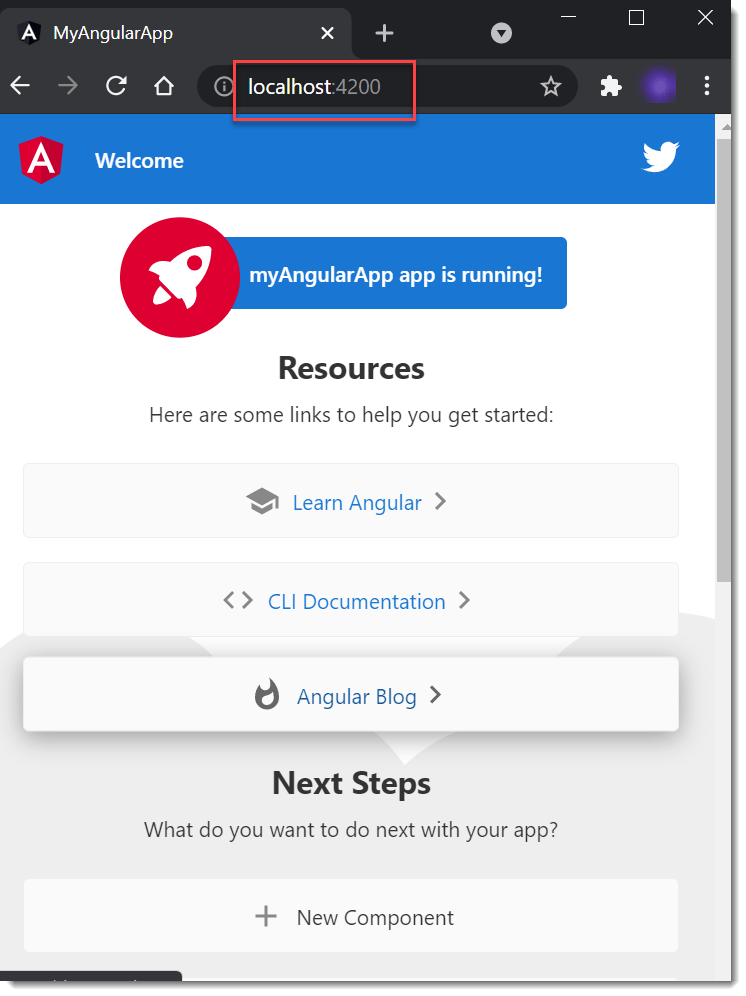
You can see now angular development server is listen, open the browser and hit enter http://localhost:4200/
Instead of using the ng serve command, you can also use the ng serve -o command which will run the project automatically using your default browser. So, type ng serve -o in the command prompt and press enter button as shown below which should run your application using your default browser.
In the next article, we are going to discuss the folder structure of the angular in detail. Here, in this article, I try to explain Creating an Angular Project using Angular CLI step by step with one example. if you have any feedback then please free to write to us.
Conclusion
So far in this lesson we discussed about how to Creating Angular Project using Angular CLI.
Jayant Tripathy
Coder, Blogger, YouTuberA passionate developer keep focus on learning and working on new technology.