
In this article we will learn about Installing Xamarin on Windows. We will discuss how to install Xamarin on our PC. Microsoft Visual Studio allows us to build native mobile apps for iOS and Android using C# and .Net. Please read my previous article Introduction to Xamarin.
Prerequisites to Learn Xamarin
- Visual Studio 2019/2022 (any edition)
- Familiarity with C# and .NET
Development Environment Installation
As usual, we’re going to need an IDE. Since we’re dealing with a Microsoft technology, no one will be surprised that it’s going to be Visual Studio. I’m going to use the Community version. You can download it at https://visualstudio.microsoft.com/. If you have a different version, there may be minor differences.
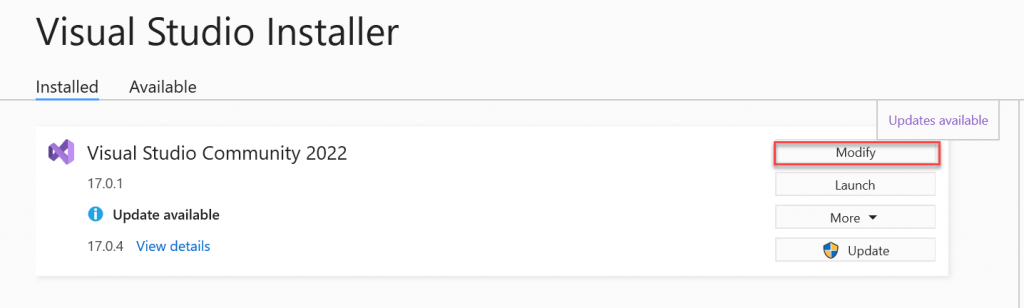
When you finish downloading, run the installer. Click on Modify link and it will open visual studio installer window
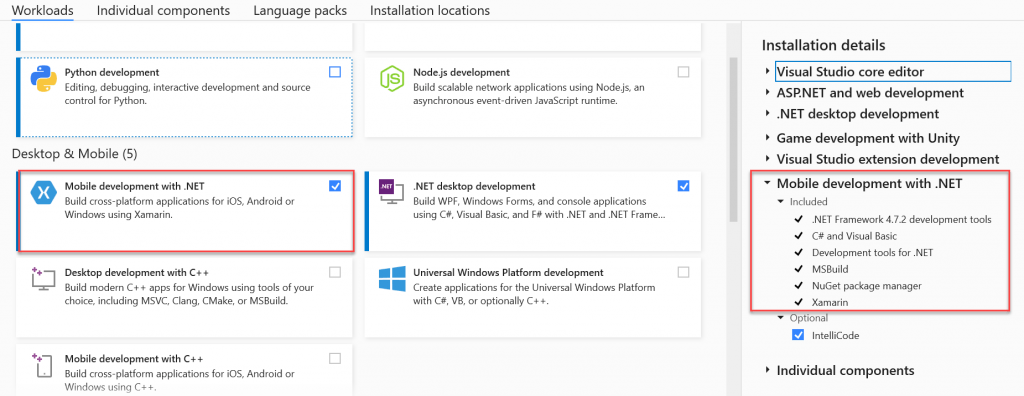
The installation page with tools will load, check what you need + Mobile development with .NET. Check “Android SDK setup” on the right. If you want to create applications for Windows Phone, you need to check UWP (Universal Windows Platform). Then click “install”.
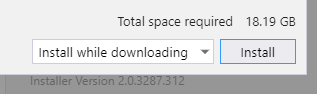
When you are ready to begin Visual Studio 2019 installation, click the Install button in the lower right-hand corner:
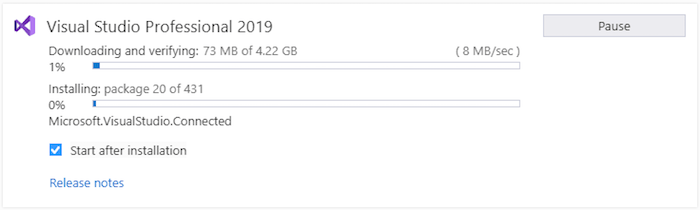
Use the progress bars to monitor the installation
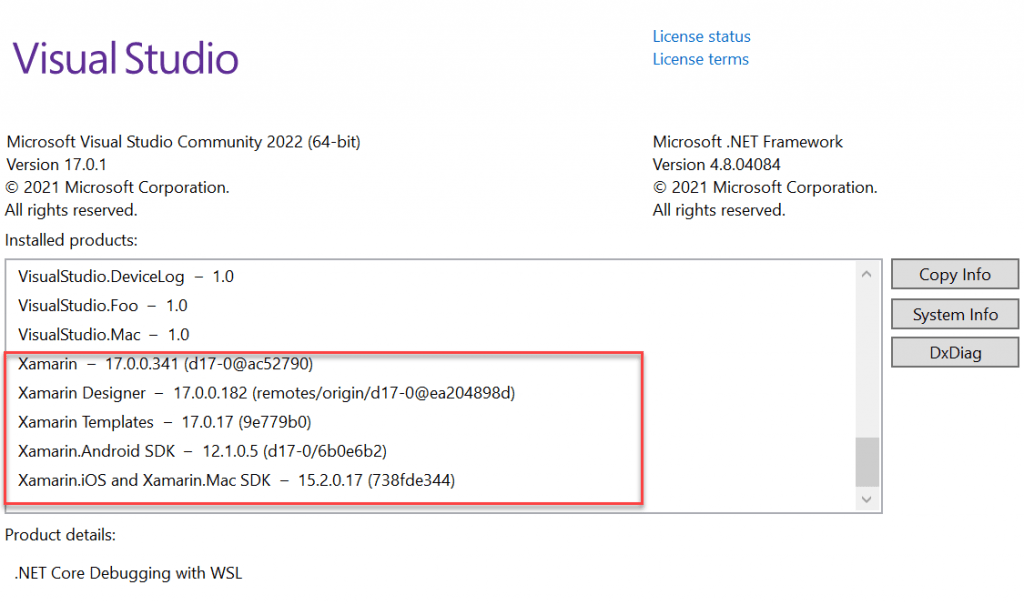
You can also click Help > About Microsoft Visual Studio and scroll through the list of installed products to see if Xamarin is installed
Conclusion
In this article we learnt about Installing Xamarin on Windows. The rich features and resulting benefits of all points towards the cross-platform native applications.
Jayant Tripathy
Coder, Blogger, YouTuberA passionate developer keep focus on learning and working on new technology.