
In this article we will learn about Windows Configuration in Xamarin. Here we describes the steps for installing Xamarin.Android for Visual Studio on Windows, and it explains how to configure Xamarin.Android for building your first Xamarin.Android application. Please read my previous article Installing Xamarin on Windows.
In this guide, we will learn the following:
- How to configure custom locations for the Java Development Kit, Android SDK, and Android NDK.
- How to launch the Android SDK Manager to download and install additional Android SDK components.
Configuration
Xamarin.Android uses the Java Development Kit (JDK) and the Android SDK to build apps. During installation, the Visual Studio installer places these tools in their default locations and configures the development environment with the appropriate path configuration. You can view and change these locations by clicking Tools > Options > Xamarin > Android Settings:
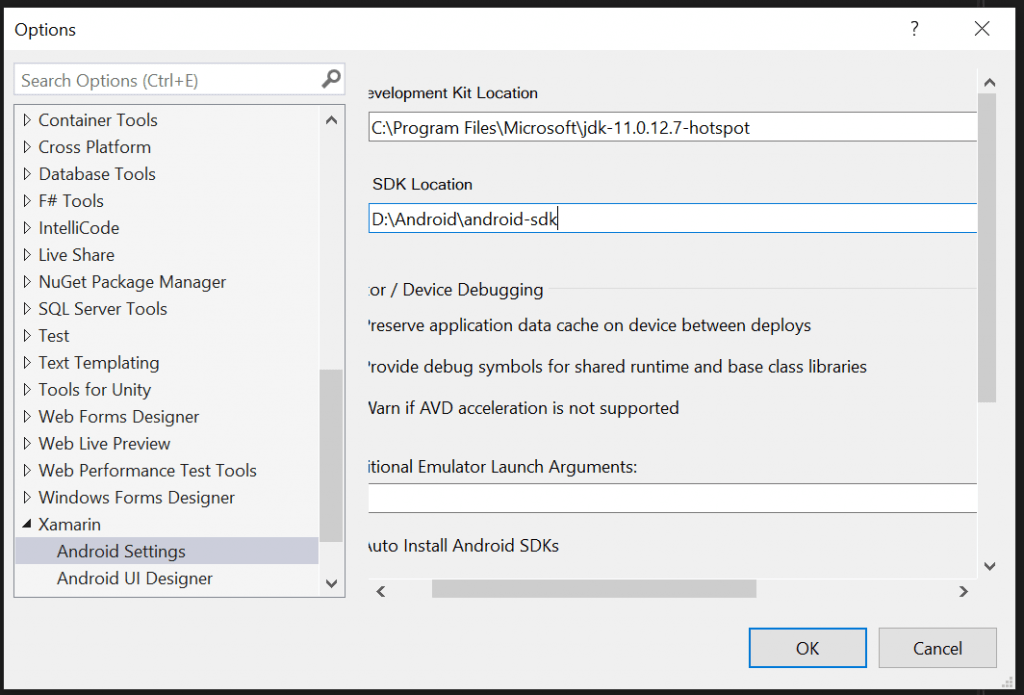
For most users these default locations will work without further changes. However, you may wish to configure Visual Studio with custom locations for these tools (for example, if you have installed the Java JDK, Android SDK, or NDK in a different location). Click Change next to a path that you want to change, then navigate to the new location.
Android SDK Manager
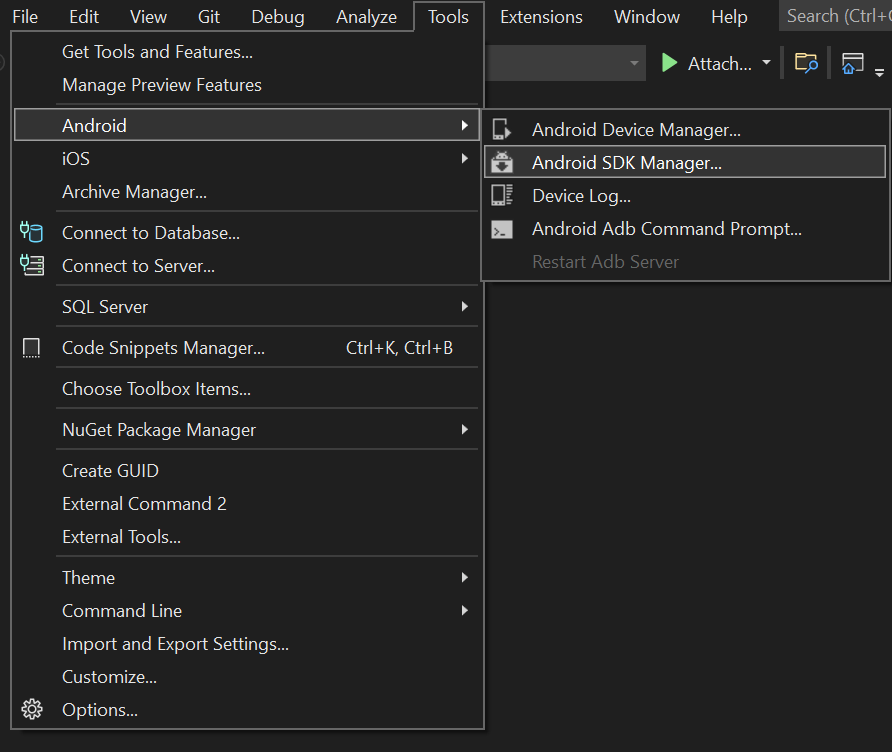
Android uses multiple Android API level settings to determine your app’s compatibility across the various versions of Android. Depending on what Android API level(s) you want to target, you may need to download and install additional Android SDK components. In addition, you may need to install optional tools and emulator images provided in the Android SDK. To do this, use the Android SDK Manager. You can launch the Android SDK Manager by clicking Tools > Android > Android SDK Manager:
By default, Visual Studio installs the Google Android SDK Manager like below,
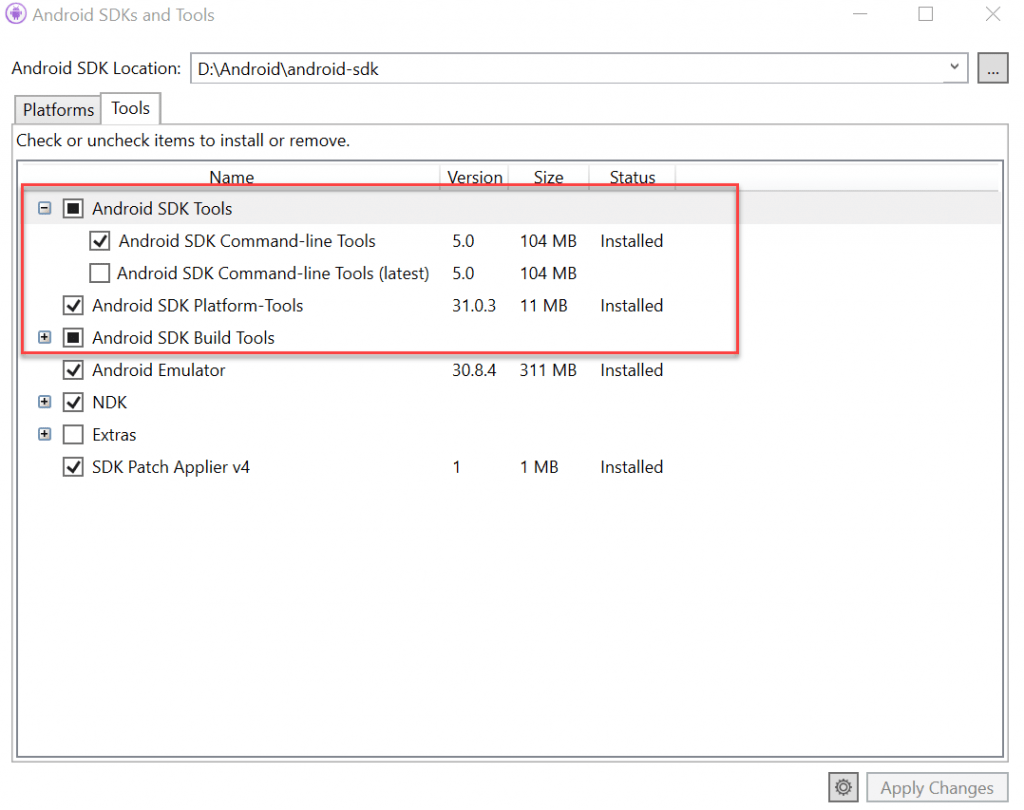
You can use the Google Android SDK Manager to install versions of the Android SDK Tools package up to version 25.2.3. However, if you need to use a later version of the Android SDK Tools package, you must install the Xamarin Android SDK Manager plugin for Visual Studio (available from the Visual Studio Marketplace). This is necessary because Google’s standalone SDK Manager was deprecated in version 25.2.3 of the Android SDK Tools package.
References
Conclusion
In this article, you learned how to set up and install the Xamarin.Android platform on Windows, how to (optionally) configure Visual Studio with custom Java JDK and Android SDK installation locations, how to launch the SDK Manager to install additional Android SDK components.
Related Links
- Xamarin Project Structure
- Create a cross-platform Xamarin App
- My first Xamarin App- Hello world
- How to Setup Android Emulator
- Setting up the Android SDK for Xamarin.Android
- Windows Configuration in Xamarin
- Installing Xamarin on Windows
Jayant Tripathy
Coder, Blogger, YouTuberA passionate developer keep focus on learning and working on new technology.