
In this article we are going to discuss, how to Set up MVC in ASP.Net Core application for developing ASP .NET Core application. Please read my previous article Introduction to ASP.NET Core MVC Framework where we briefly discuss about ASP .NET Core MVC Framework.
Prerequisite
To develop ASP .NET Core application we need to install these below software into the system to start the development.
- IDE ( Integrated Development Environment )
- .NET Core SDK
IDE
For Development of ASP .NET Core application we may need a IDE, it may be Visual Studio, VS Code, Sublime etc. as per your choice.
Download and install Visual Studio
The Visual Studio Community Edition is free. The latest version of Visual Studio is Visual Studio 2019 and it can be downloaded on this link https://visualstudio.microsoft.com/vs/community/
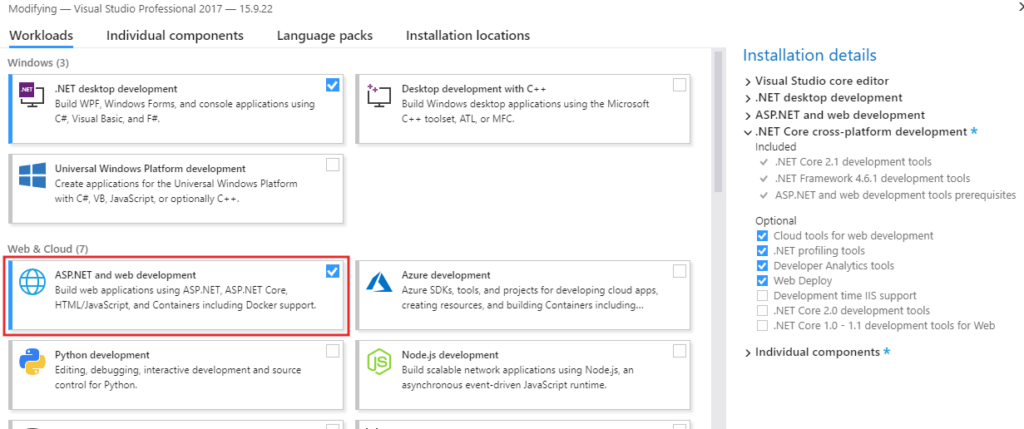
To develop .NET Core applications in Visual Studio 2019 we need .NET Core cross-platform. Select .NET Core cross-platform development workload ( We are using VS 2017 ) .
Creating ASP.NET Core Application
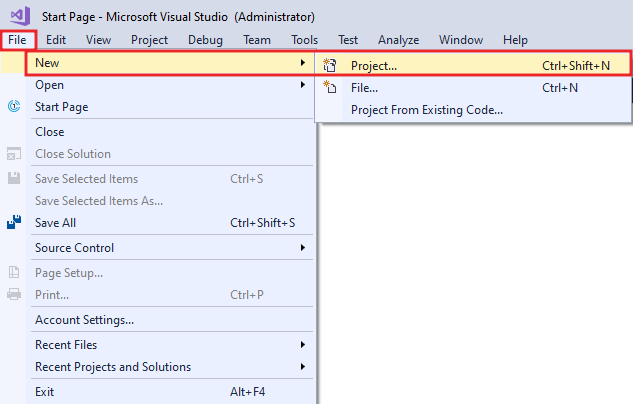
Open Visual Studio. Select File -> New -> Project as shown in the below image.
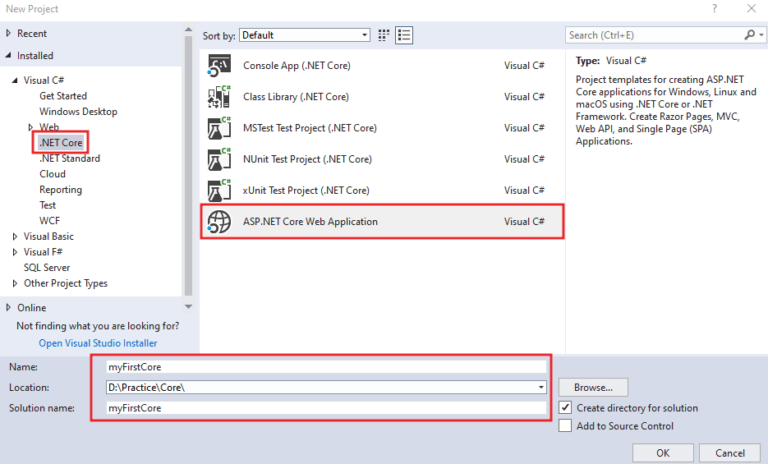
In the “New Project” window, from the left pane select “.NET Core” which is under the “Visual C#”. Select ASP.NET Core Web Application. Click on the “OK” button as shown in the image below.
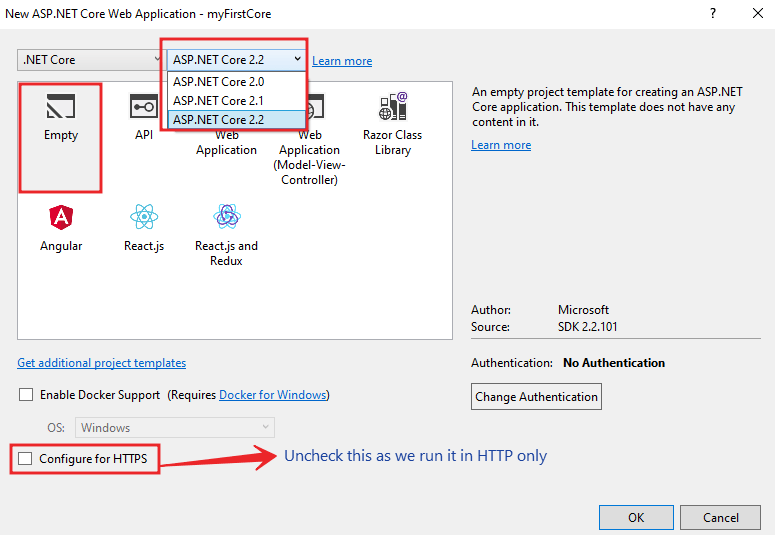
After Clicking the OK button in right corner of the above image, add the template as Empty and with selecting the version of ASP .NET Core 2.2
Download and install .NET Core SDK
To download the .NET Core SDK visit the link https://dotnet.microsoft.com/download
Setup MVC in ASP.NET Core Application
In ConfigureServices() method of the Startup class, include the following line. This line of code adds the required MVC services to the dependency injection container in asp.net core
public void ConfigureServices(IServiceCollection services)
        {
           // If you are using .NET Core SDK 2.2
            services.AddMvc();
          // OR If you are using .NET Core 3.0 or 3.1 then you need to customize the AddMVC() like this.
            services.AddMvc(options => options.EnableEndpointRouting = false);
        }
In the Configure() method, add UseMvcWithDefaultRoute() midddleware to our application’s request processing pipeline.
public void Configure(IApplicationBuilder app, IHostingEnvironment env)
        {
            if (env.IsDevelopment())
            {
                app.UseDeveloperExceptionPage();
            }
            app.UseStaticFiles();

            app.UseMvcWithDefaultRoute();

            app.Run(async (context) =>
            {
                await context.Response.WriteAsync("Hello World!");
            });
        }
When running the application we got 404 error, because of the default document inn the request pipeline should be like HomeController() or index page or default page etc.
Let’s add a folder named as Controllers, under controllers folder add HomeController() and in the index action method we just return some text like below;
public class HomeController : Controller
{
public string Index()
{
return "Hello from MVC | CoreSpider";
}
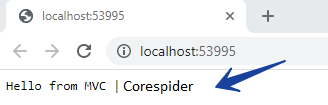
}That’s it. Run the application and will got the below result.
Video Summary
Conclusion
Leave behind your valuable queries and suggestions in the comment section below. Also, if you think this article helps you, do not forget to share this with your developer community. Happy Coding 🙂