
In this lesson we will learn about Template driven forms validation in Angular. A template-driven form is the simplest way to build a form in Angular. It uses Angular’s two-way data-binding directive (ngModel) to create and manage the underlying form instance. Please read all Angular lesson step by step using this link.
Angular Template-driven Forms is one of the two ways of building forms in Angular. The ngForm directive will convert it to the Template-driven form and create the top-level FormGroup control. Next, we use the ngModel directive to create the FormControl instance for each of the HTML form elements. Later, we will learn how to submit the form data to the component class. We will also learn how to initialize or reset the form data and use the data binding to access the data in the component class.
What is Template-driven form?
In Template Driven Forms we specify behaviors/validations using directives and attributes in our template and let it work behind the scenes. All things happen in Templates hence very little code is required in the component class. This is different from the reactive forms, where we define the logic and controls in the component class.
The Template-driven forms
- The form is set up using
ngFormdirective - controls are set up using the
ngModeldirective ngModelalso provides the two-way data binding- The Validations are configured in the template via directives
Pros
Using template-driven forms has several advantages:
- Since the entire form gets managed in the view template, it increases the initial simplicity of the form, as you do not need to manage multiple files for one form.
- It is HTML-based. Therefore, you can add validators to your input fields that you are already using with vanilla HTML.
Cons
However, using template-driven forms has minor drawbacks, too. A few common disadvantages are:
- As the form keeps growing, the view templates get cluttered, making the code difficult to read. Thus, it gets harder to maintain, resulting in a less scalable approach.
- The complex validation code becomes coupled with the template. So, it is difficult to write unit tests for the validation logic. The code becomes less testable and more susceptible to bugs.
- It isn’t easy to write complex validation code directly in the template. This makes it challenging to use custom validators for input fields as it requires you to create custom directives for a custom validator.
- Template-driven forms are asynchronous; it takes a second or two to recreate the form. Therefore, accessing the form values in the component class will sometimes result in inaccurate values.
Create the Template-driven form Example
Let’s create a Angular project following below command
ng new angular-template-driven-forms --routing=true --style=css
Import FormsModule
To work with Template-driven forms, we must import the FormsModule. We usually import it in root module or in a shared module. The FormsModule contains all the form directives and constructs for working with forms
Open the app.module.ts and add the import { FormsModule } from '@angular/forms'; to it and also add the FormsModule to the imports metadata property array.
import { NgModule } from '@angular/core';
import { FormsModule } from '@angular/forms';  //import FormsModule
import { BrowserModule } from '@angular/platform-browser';
import { AppComponent } from './app.component';
import { TemplateDrivenComponent } from './components/template-driven/template-driven.component';

@NgModule({
  declarations: [
    AppComponent,
    TemplateDrivenComponent
  ],
  imports: [
    BrowserModule,
    FormsModule    //Added FormsModule array
  ],
  providers: [],
  bootstrap: [AppComponent]
})
export class AppModule { }
HTML Form
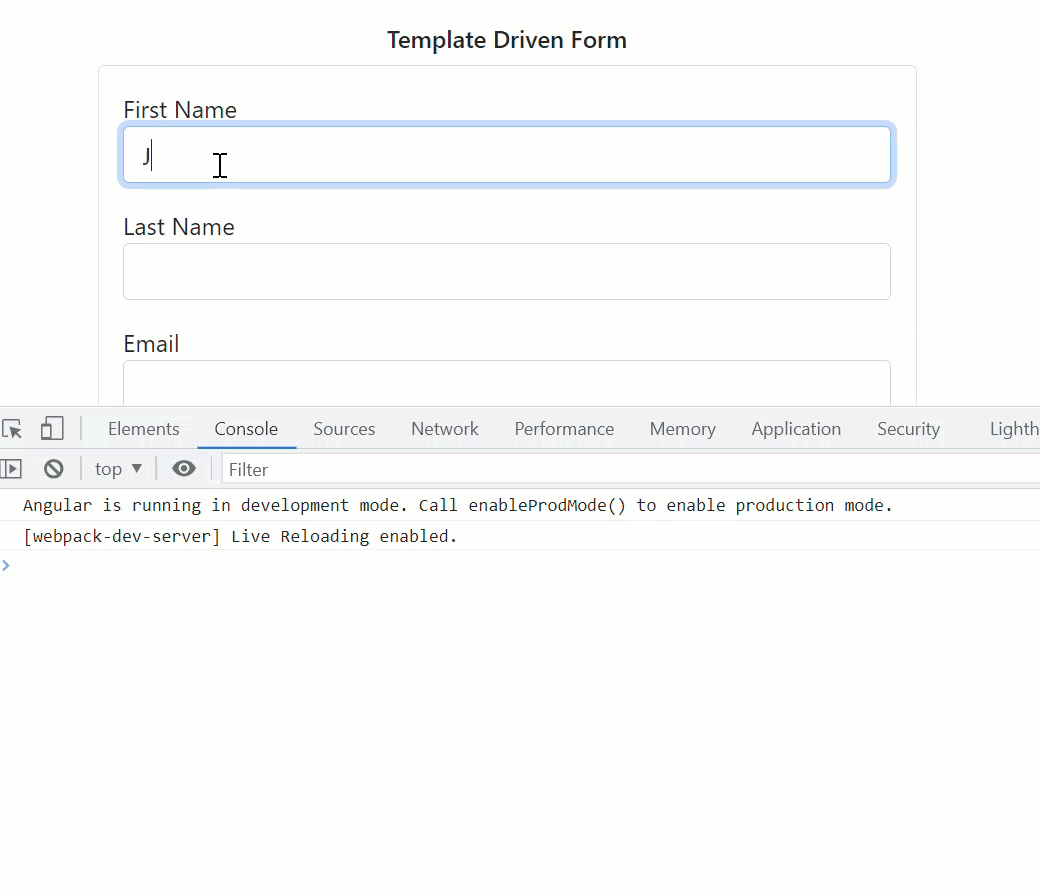
The following is a regular HTML form. We enclose it in a <form> tag. We have included two text input (FirstName & LastName), a email (email), a radio button (gender), a checkbox (isMarried), and a select list (country). These are form elements.
<div class="card">
  <div class="card-body">
    <form>
      <p>
        <label for="firstname">First Name</label>
        <input type="text" id="firstname" name="firstname" class="form-control">
      </p>
      <p>
        <label for="lastname">Last Name</label>
        <input type="text" id="lastname" name="lastname" class="form-control">
      </p>

      <p>
        <label for="email">Email </label>
        <input type="text" id="email" name="email" class="form-control">
      </p>
      <p>
        <label for="gender">Geneder</label>
        <input type="radio" value="male" id="gender" name="gender" style="margin-left: 10px;"> Male
        <input type="radio" value="female" id="gender" name="gender"> Female
        <input type="radio" value="transgender" id="gender" name="gender"> Trans Gender
      </p>
      <p>
        <label for="isMarried">Married</label>
        <input type="checkbox" id="isMarried" name="isMarried" style="margin-left: 10px;">
      </p>
      <p>
        <label for="country">country </label>
        <select name="country" id="country" class="form-control">
          <option selected="" value="---Select Country---"></option>
          <option [ngValue]="c.id" *ngFor="let c of countryList">
            {{c.name}}
          </option>
        </select>
      </p>
      <p>
        <button type="submit" class="btn btn-primary">Submit</button>
      </p>
    </form>
  </div>
</div>
Component
In the component add the below dummy country list to access the countries in the UI.
import { Component, OnInit } from '@angular/core';
import { NgForm } from '@angular/forms';

@Component({
  selector: 'app-template-driven',
  templateUrl: './template-driven.component.html',
  styleUrls: ['./template-driven.component.css']
})
export class TemplateDrivenComponent implements OnInit {

  countryList:country[] = [
    new country("1", "India"),
    new country('2', 'USA'),
    new country('3', 'England')
  ];
  ngOnInit(): void {
  }

}
export class country {
  id:string;
  name:string;

  constructor(id:string, name:string) {
    this.id=id;
    this.name=name;
  }
}
ngForm
Once, we have a form with few form elements, the angular automatically converts it into a Template-driven form. This is done by the ngForm directive. The ngForm directive is what makes the Angular template-driven forms work. But we do not need to add it explicitly. Angular adds it automatically.
When we include FormsModule, the Angular is going to look out for any <form> tag in our HTML template. Angular does this via ngForm directive. ngForm directive automatically detects the <form> tag and automatically binds to it. You do not have to do anything on your part to invoke and bind the ngForm directive.
The ngForm does the following
- Binds itself to the
<Form>directive - Creates a top-level
FormGroupinstance - Creates
FormControlinstance for each of child control, which hasngModeldirective. - Creates
FormGroupinstance for each of theNgModelGroupdirective.
We can export the ngForm instance into a local template variable using ngForm as the key (ex: #contactInfoForm="ngForm"). This allows us to access the many properties and methods of ngForm using the template variable contactInfoForm
The form element can be update like below,
<form #contactInfoForm="ngForm">
FormControl
The FormControl is the basic building block of the Angular Forms. It represents a single input field in an Angular form. The Angular Forms Module binds the input element to a FormControl. We use the FormControl instance to track the value, user interaction and validation status of an individual form element. Each individual Form element is a FormControl
We have six form elements in our HTML template. They are firstName, lastname, email, gender, isMarried & country. We need to bind them to FormControl instance. We do this by using the ngModel directive. Add the ngModel directive to each control as shown below.
<input type="text" name="firstname" ngModel>
ngModelwill use thenameattribute to create theFormControlinstance for each of theFormfield it is attached.
Submit Form
We use the ngSubmit event, to submit the form data to the component class. We use the event binding (parentheses) to bind ngSubmit to OnSubmit method in the component class. When the user clicks on the submit button, the ngSubmit event will fire,
<form #contactInfoForm="ngForm" (ngSubmit)="onSubmit(contactInfoForm)">
We are passing the local template variable contactInfoForm in onSubmit method. contactInfoFormngForm directive. We can use this in our component class to extract the data from the form fields.
Final Html Form Template
The final HTML form template like below to hold form element of ngForm and onSubmit etc..
<div class="card">
  <div class="card-body">
    <form #contactInfoForm="ngForm" (ngSubmit)="onSubmit(contactInfoForm)">
      <p>
        <label for="firstname">First Name</label>
        <input type="text" id="firstname" name="firstname" class="form-control" ngModel>
      </p>
      <p>
        <label for="lastname">Last Name</label>
        <input type="text" id="lastname" name="lastname" class="form-control" ngModel>
      </p>

      <p>
        <label for="email">Email </label>
        <input type="text" id="email" name="email" class="form-control" ngModel>
      </p>
      <p>
        <label for="gender">Geneder</label>
        <input type="radio" value="male" id="gender" name="gender" style="margin-left: 10px;" ngModel> Male
        <input type="radio" value="female" id="gender" name="gender" ngModel> Female
        <input type="radio" value="transgender" id="gender" name="gender" ngModel> Trans Gender
      </p>
      <p>
        <label for="isMarried">Married</label>
        <input type="checkbox" id="isMarried" name="isMarried" style="margin-left: 10px;" ngModel>
      </p>
      <p>
        <label for="country">country </label>
        <select name="country" id="country" class="form-control" ngModel>
          <option selected="" value="---Select Country---"></option>
          <option [ngValue]="c.id" *ngFor="let c of countryList">
            {{c.name}}
          </option>
        </select>
      </p>
      <p>
        <button type="submit" class="btn btn-primary">Submit</button>
      </p>
    </form>
  </div>
</div>
Receive Form Data
We need to receive the data in component class from our form. To do this we need to create the onSubmit method in our component class. The submit method receives the reference to the ngForm directive, which we named is as contactForm. The contactForm exposes the value method which returns the form fields as a Json object.
onSubmit(contactInfoForm: NgForm) {
    console.log(contactInfoForm.value);
  }
When we run the application and added the contact information then in browser console we can see the received data like below,
Conclusion
So far we discussed in details about Template driven forms in Angular. Here we discussed about FormsModule, then we create the HTML form. The Angular detects the <form> tag and converts the form to the Angular Form. ngModel directive added to each form element, which converts them to FormControl. Finally, submit event is subscribed via event binding.
Leave behind your valuable queries and suggestions in the comment section below. Also, if you think this article helps you, do not forget to share this with your developer community. Happy Coding 🙂
On the next lesson we learn about how to set local variable in Angular Forms and how to use Nested FormGroup in Angular Template driven forms.
Jayant Tripathy
Coder, Blogger, YouTuberA passionate developer keep focus on learning and working on new technology.
Thank you very much for sharing, I learned a lot from your article. Very cool. Thanks. nimabi