
In this article we will discuss about Component communication with @Input. We have already discuss about how the component communicate between Parent to Child. This article is extended of the previous one here we will see more example to see how we can use @Input decorator to get this.
We have created two components here named as parent component and another is child component and register both in the app component.
Make Change in the Parent Component
Parent component HTML Markup
- Add the two buttons that holds Increment() and Decrement() methods.
- And in the app-child we declare property bindings [count] = counter
<p>This is Parent Component</p>
<button (click)="increment()" class="btn btn-primary">Increment</button>
<button (click)="decrement()" class="btn btn-primary ml-2">Decrement</button>

<app-child [count]=Counter></app-child>
Parent component Typescript
- Add the counter that holds the value.
- Also add the two methods Increment() and Decrement() that make counter ++ OR counter –.
import { Component, OnInit } from '@angular/core';

@Component({
  selector: 'app-parent',
  templateUrl: './parent.component.html',
  styleUrls: ['./parent.component.css']
})
export class ParentComponent implements OnInit {

  constructor() { }
  Counter = 5;

  ngOnInit(): void {
  }

  increment() {
    this.Counter++;
  }
  decrement() {
    this.Counter--;
  }

}
Make Change in the Child Component
Child component Typescript
- Here we used @Input properties that holds the count from Parent component.
export class ChildComponent implements OnInit {

  @Input() count: number | undefined;

  constructor() { }

  ngOnInit(): void {
  }

}
Child component HTML Markup
- Only added the HTML markup with Interpolation
{{ count }}that print when count is Increment/Decrement.
<div class="mt-5">
    <p>This is Child Component</p>
    <div>Current count is : {{ count}}</div>
</div>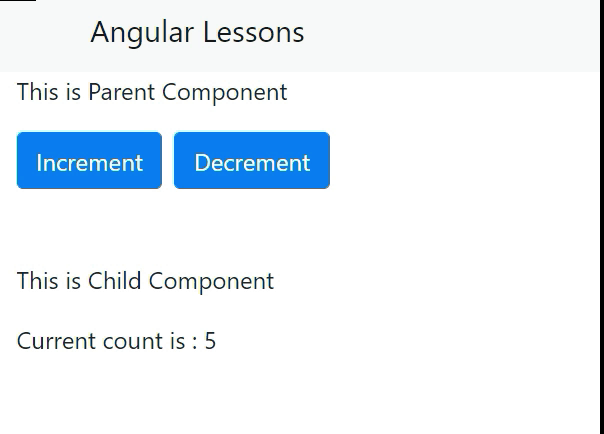
Ways to use @Input Decorator
We used input @Input Decorator to mark the property in child component as input property. There are two ways you can do it Angular.
- Using the input array meta data of the component decorator.
- Using the @Input decorator to decorate the class property.
Using the input array meta data of the component decorator
Using the input array metadata of the component decorator. We have moved the count property to inputs array of the component metadata. The same result can be achieved by using Input array of the @Component decorator as shown below
import { Component, Input, OnInit } from '@angular/core';

@Component({
  selector: 'app-child',
  inputs: ['count'],
  templateUrl: './child.component.html',
  styleUrls: ['./child.component.css']
})
export class ChildComponent implements OnInit {

  // @Input() count: number | undefined;
  count: number | undefined;
  constructor() { }

  ngOnInit(): void {
  }

}
Using the @Input decorator to decorate the class property
You can Alias the input property and use the aliased name the parent component. Here, we are aliasing count property with CustomCount alias. In the parent component, we can use the “CustomCount” as shown below.
import { Component, Input, OnInit } from '@angular/core';

@Component({
  selector: 'app-child',
  inputs: ['count'],
  templateUrl: './child.component.html',
  styleUrls: ['./child.component.css']
})
export class ChildComponent implements OnInit {

  @Input('CustomCount') count: number | undefined;
  constructor() { }

  ngOnInit(): void {
  }

}
And we need to change in Parent component HTML
<p>This is Parent Component</p>
<button (click)="increment()" class="btn btn-primary">Increment</button>
<button (click)="decrement()" class="btn btn-primary ml-2">Decrement</button>

<app-child [CustomCount]=Counter></app-child>
Conclusion
Here we discussed about Component communication with @Input. We have created two components here named as parent component and another is child component and register both in the app component.
Leave behind your valuable queries and suggestions in the comment section below. Also, if you think this article helps you, do not forget to share this with your developer community. Happy Coding 🙂
Related Articles
- Deploying Angular apps in Azure Blob Storage with CI/CD Integration 🚀
- How to resolve Function App Cannot Create within Azure Portal
- Building a Chatbot in Angular using Gemini API
- Create a responsive sidebar with Angular Material- Angular 18 Example Series
- How to Deploy Angular 17/18 App in GitHub Pages
Jayant Tripathy
Coder, Blogger, YouTuberA passionate developer keep focus on learning and working on new technology.