
In this article we will learn Steps to create Azure Resource Group. A resource group is a container that holds related resources for an Azure solution. Please read my previous article of Deploy ASP.Net Core apps to Azure App Service.
What is Azure Resource Group?
A resource group is a container that holds related resources for an Azure solution. The resource group can include all the resources for the solution, or only those resources that you want to manage as a group.
The resource group collects metadata from each individual resou.rce to facilitate more granular management than at the subscription level. This not only has advantages for administration and cost management, but also for applying role-based access controls
How many resources are in a resource group?
By default, you can deploy up to 800 instances of a resource type in each resource group. However, some resource types are exempt from the 800 instance limit. This article lists the Azure resource types that can have more than 800 instances in a resource group.
Steps to create Azure Resource Group
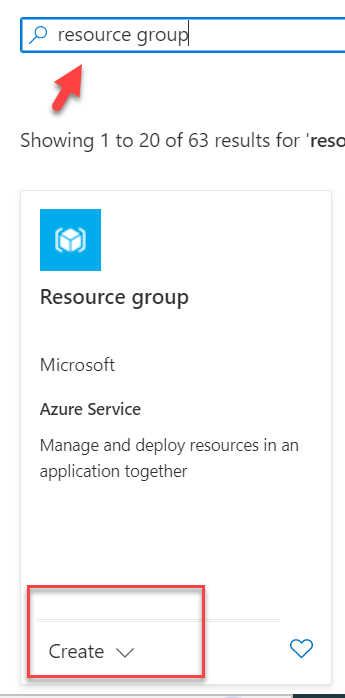
- Login with Azure account and on the top search type “resource group”.

- After search the resource group, it pop the resource group section and then click here the Create Button.
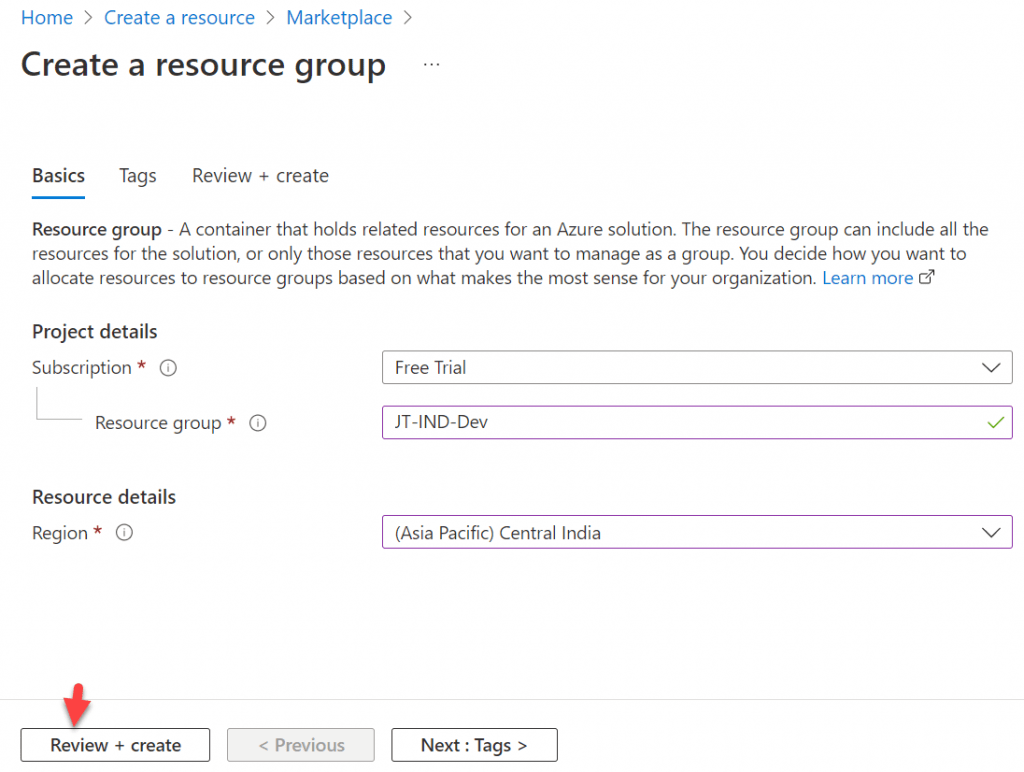
- Upon click on the create button, it open the below window where we can set the Resource group name.
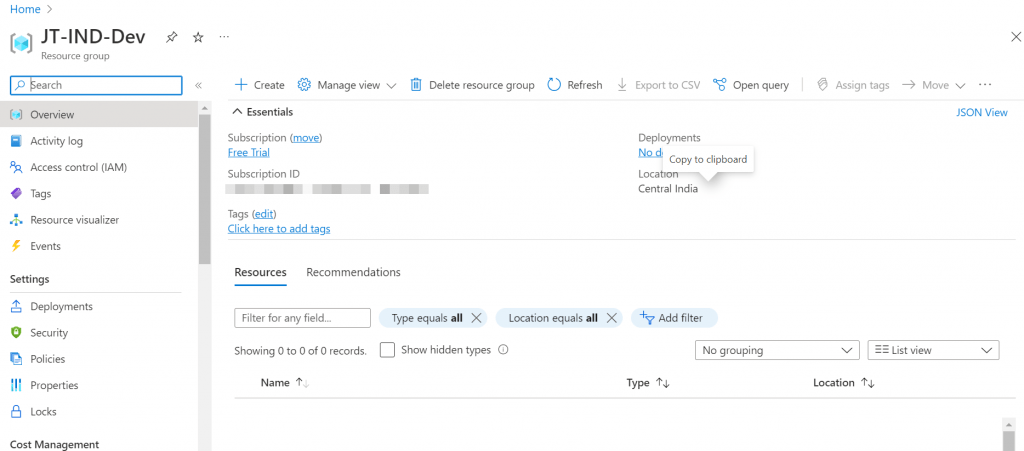
- I’m using the Azure Free Subscription, On the resource group section I added name as “JT-IND-Dev”, you can set the resource group name according to your convenient.
- Then add the region of the resource group, I added nearer region for me as “Asia Pacific central India”.
- Azure regions are designed to offer protection against localized disasters with availability zones and protection from regional or large geography disasters with disaster recovery, by making use of another region.
- There are different types of regions, More details about region you can find here.
- On below there is two buttons
Reviews + CreateandNext : Tags >. Tags are metadata elements that you apply to your Azure resources. They’re key-value pairs that help you identify resources based on settings. You can find more details on this link. - Click on the review and create button for next step.
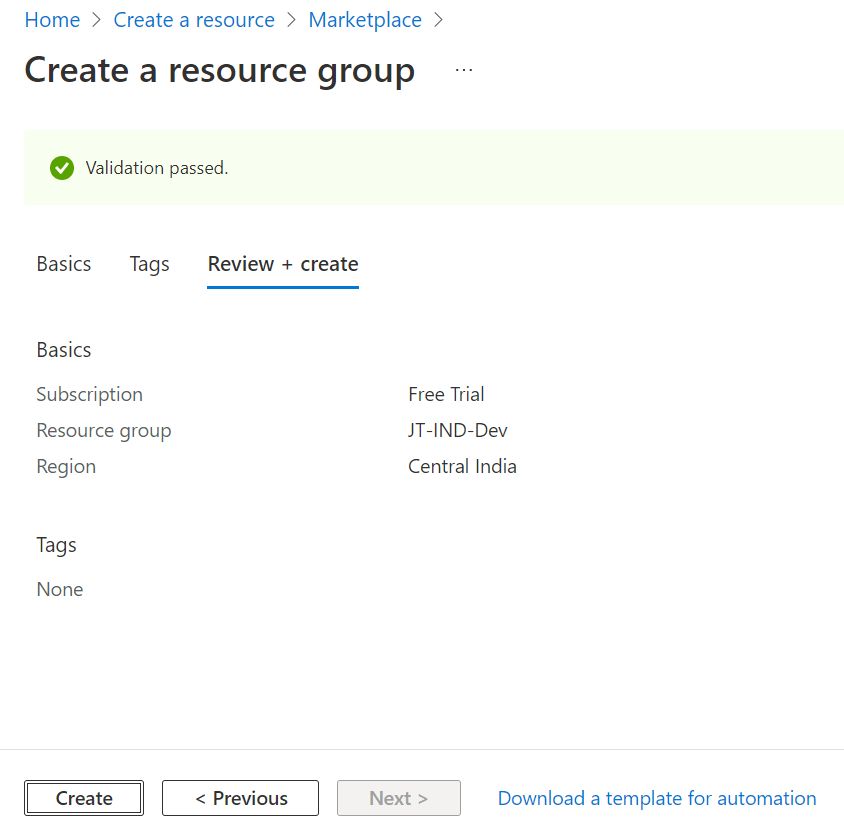
- You can see on below figure, the resource group validation is passed.
- Click on the create button.
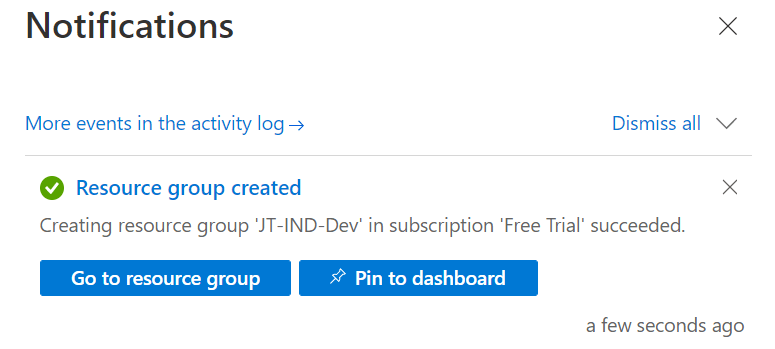
- And upon click on the create button, we can see the resource group has been created and the group is succeeded.
What is the difference between subscription and resource group in Azure?
Organizations can use subscriptions to manage costs and the resources that are created by users, teams, and projects. Resource groups are logical containers where you can deploy and manage Azure resources like web apps, databases, and storage accounts.
What is difference between resource and resource group?
Resource groups: A resource group is a logical container into which Azure resources like web apps, databases, and storage accounts are deployed and managed. Resources: Resources are instances of services that you create, like virtual machines, storage, or SQL databases.
Conclusion
In this article we discussed Steps to create Azure Resource Group. A resource group is a container that holds related resources for an Azure solution.
Leave behind your valuable queries and suggestions in the comment section below. Also, if you think this article helps you, do not forget to share this with your developer community. Happy Coding 🙂
Related Articles
- Building an AI Knowledge Base Search with Azure AI Foundry: Step-by-Step Guide
- How to Secure React.js application with Azure AD Authentication Using MSAL Library
- 🔐 Securing .NET Core Web Apps with Azure AD/Intra and MSAL
- Step-by-Step Guide to Using Azure Redis Cache in ASP.NET Core 9 Web API
- 🤖 Build a Full-Stack AI App with React, Node.js & Azure OpenAI
Jayant Tripathy
Coder, Blogger, YouTuberA passionate developer keep focus on learning and working on new technology.