
In this article, we will learn about How to upload files to Azure Blob Storage using Asp.Net Core Web API. We discussed here what Azure Blob Storage is and how to utilize it to upload a file to ASP.Net Core Web API. Please read my previous article on How to store app secrets in ASP.NET Core using Secret Manager.
Please find the Source Code on this GitHub Link.
What is Azure Blob Storage?
Azure Blob Storage is a Microsoft Azure cloud-based object storage solution. It is intended for the storage and management of unstructured data such as documents, photos, videos, logs, backups, and other binary or text data. Azure Blob Storage is a service provided by Microsoft as part of the Azure Storage platform, which also includes Azure Table Storage, Azure Queue Storage, and Azure File Storage.
Azure Blob Storage’s primary goal is to provide a scalable, durable, and highly available storage solution for a wide range of applications and situations.
Azure Blob Storage is a versatile and powerful cloud storage service that provides several advantages such as scalability, durability, security, cost-effectiveness, and seamless integration with other Azure services. It enables enterprises to manage unstructured data more efficiently, making it a critical component of many cloud-based solutions.
Setting up Azure Blob Storage
Let us first create a basic Azure Blob Storage resource on the Azure interface to which we will upload our files.
Creating an Azure storage account
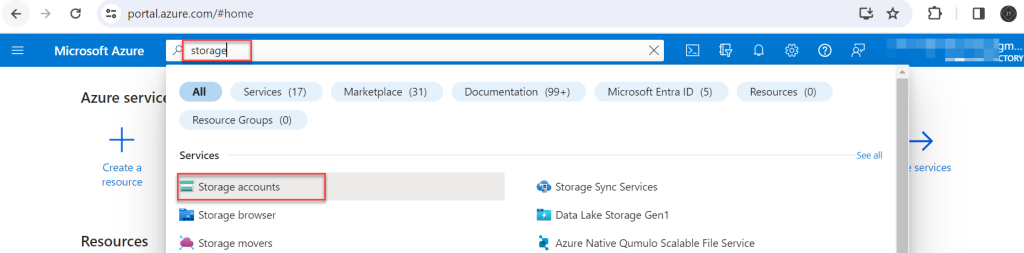
- Go to the Azure portal (portal.azure.com) and log in with your account.
- Search for “Storage account”. Click on the “Storage account” option, and then click the “Create” button.
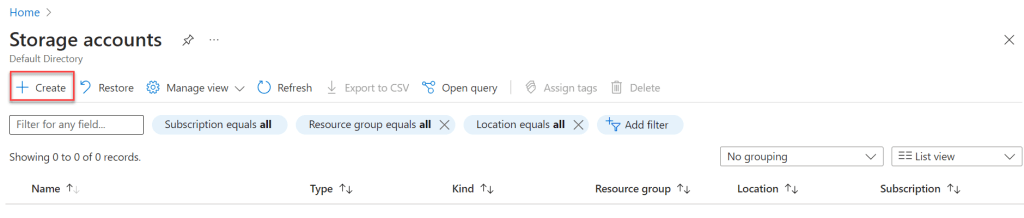
- Click on the Create button to create the storage accounts.
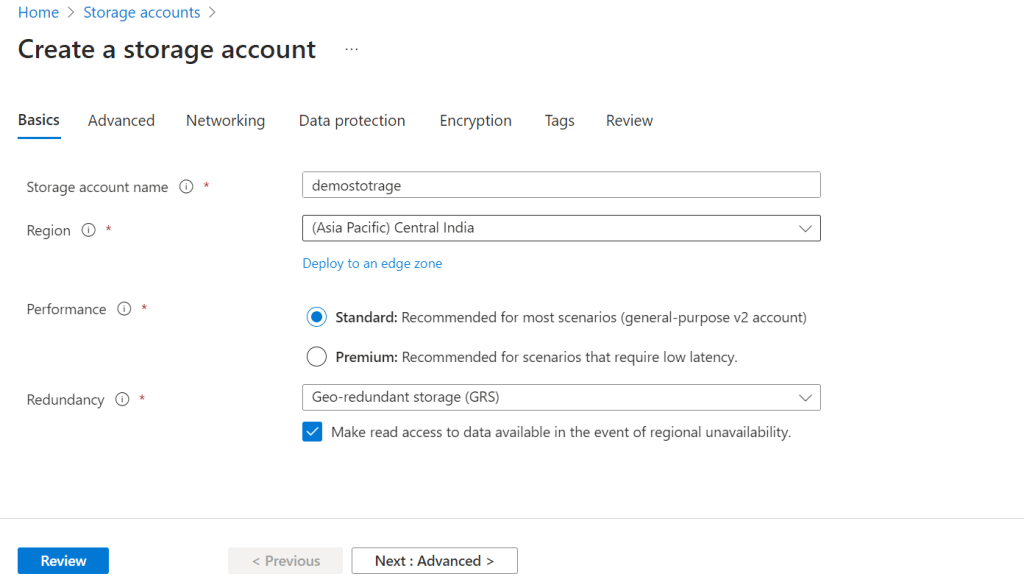
- Set the Storage account name and set the Region according to your convenient location.
- Click Review and then Create the Storage accounts.
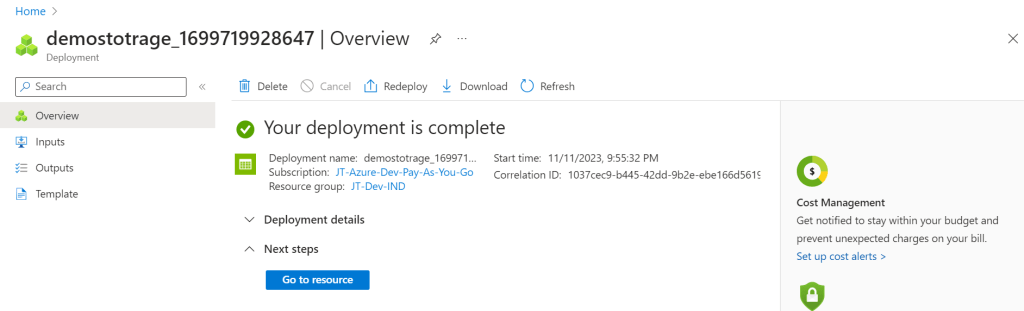
- Here we can see the deployment is complete, Go to Resource to access the Demo Storage.
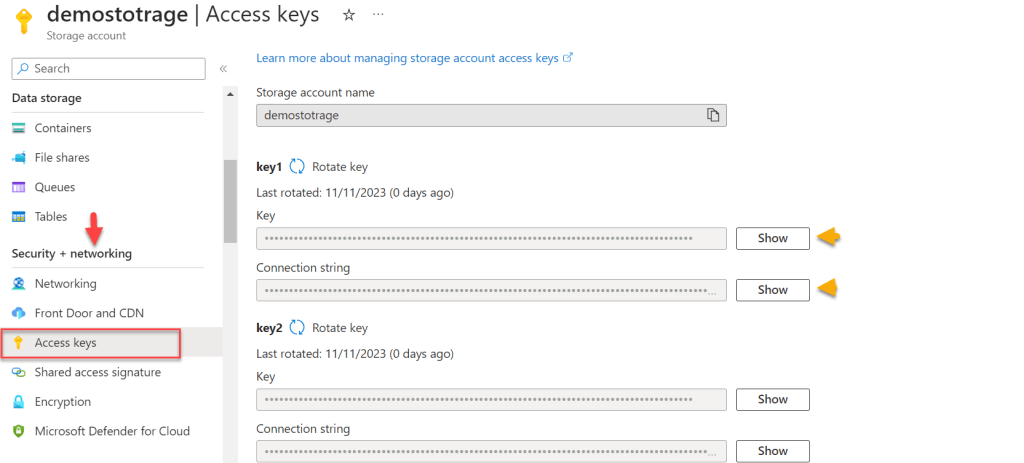
- On the Storage account, Go to
Security + Networkingand click on Access Keys. - Here we can get the Key and Connection String that need to be used in our .Net project, we can see the key and connection string values by clicking on the
Showbutton.
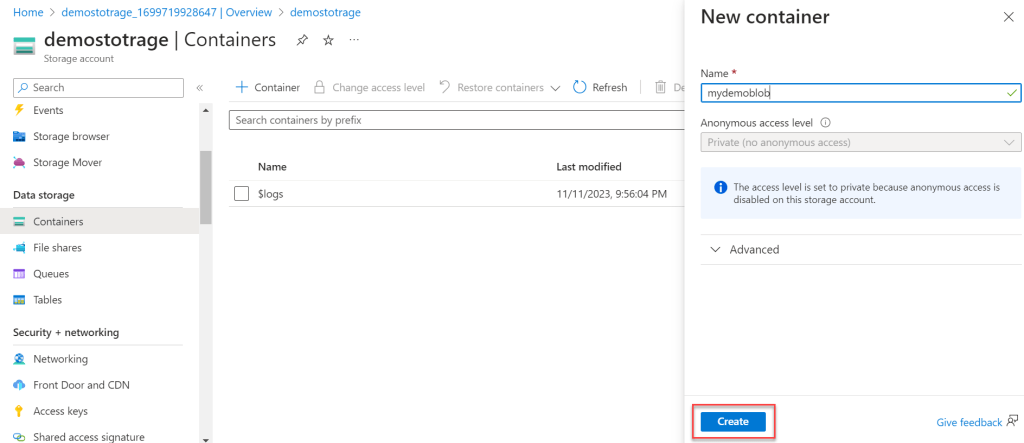
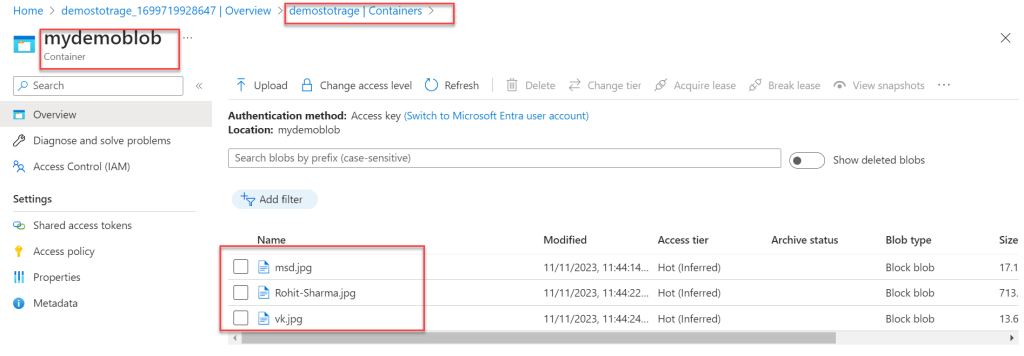
- Click on the Containers left menu, create on the Container button, and create the container where the image would be stored.
Setting up ASP.Net Core Web API Project
- Launch the Visual Studio IDE and click on “Create new project”.
- In the “Create new project” window, select “ASP.NET Core Web API” from the template list.
- Click Next. In the “Configure your new project” window, specify the name and location for the new project and then click Create.
- In the “Create New ASP.NET Core Web API” window shown next, select .NET Core as the runtime and .NET 7.0 from the drop-down list at the top. Select “API” as the project template to create a new ASP.NET Core API application.
- Ensure that Authentication is set as “No Authentication” as we won’t be using authentication either and Click Create.
Add the below Nuget Package
Install-Package Azure.Storage.Blobs
Install-Package Swashbuckle.AspNetCore
Add the Azure Blob Storage info in appsettings.json
- Add the Azure Blob Storage info in appsettings.json and add the connection string and Key name like below.
- Connection String and Key name you can find from the Azure Storage Account that we mentioned earlier.
"BlobStorgaeInfo": {
    "ConnectionStrings": "****************************",
    "StorageName": "****************************"
  }
Create the Azure Blob Service to handle file uploads
 public class AzureBlobService
    {
        BlobServiceClient _blobClient;
        private readonly IConfiguration _configuration;
        BlobContainerClient _containerClient;
        public AzureBlobService(IConfiguration Configuration)
        {
            _configuration = Configuration;
            _blobClient = new BlobServiceClient(_configuration.GetSection("BlobStorgaeInfo:ConnectionStrings").Value.ToString());
            _containerClient = _blobClient.GetBlobContainerClient(_configuration.GetSection("BlobStorgaeInfo:StorageName").Value.ToString());
        }

        public async Task<List<Azure.Response<BlobContentInfo>>> UploadFiles(List<IFormFile> files)
        {

            var azureResponse = new List<Azure.Response<BlobContentInfo>>();
            foreach (var file in files)
            {
                string fileName = file.FileName;
                using (var memoryStream = new MemoryStream())
                {
                    file.CopyTo(memoryStream);
                    memoryStream.Position = 0;
                    var client = await _containerClient.UploadBlobAsync(fileName, memoryStream, default);
                    azureResponse.Add(client);
                }
            };
            return azureResponse;
        }
}- Here on AzureBlobService, we used the constructor to get the Azure Blob Storage Connection String and Storage container name.
UploadFilesis responsible for getting multiple files, and pushing the file into Azure Container Service.
Creating File upload controller
 [Route("api/[controller]")]
    [ApiController]
    public class FileUploadController : ControllerBase
    {
        AzureBlobService _service;
        public FileUploadController(AzureBlobService service)
        {
            _service = service;
        }
        [HttpPost]
        public async Task<IActionResult> UploadBlobs(List<IFormFile> files)
        {
            var response = await _service.UploadFiles(files);
            return Ok(response);
        }
}- Register the dependency
AzureBlobServiceon the constructor. - Add the uploads POST by passing
List<IFormFile>if multiple files are present.
Register the Depndancy Service in Program.cs file
builder.Services.AddSingleton<AzureBlobService>();That’s it the changes in the API end let’s test the above work in Swagger & Postman.
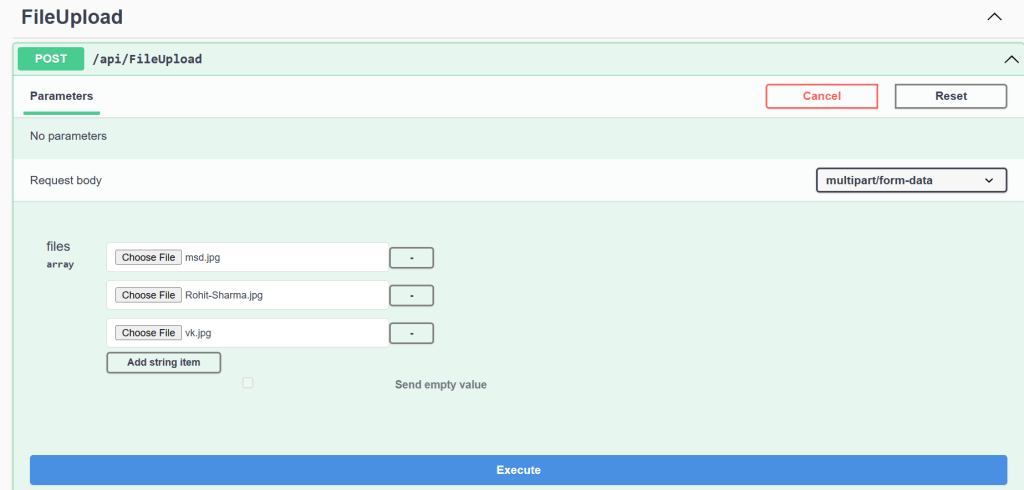
Test Using Swagger
- Here on the below image, we have provided multiple files to upload in Swagger and hit on the execute button.
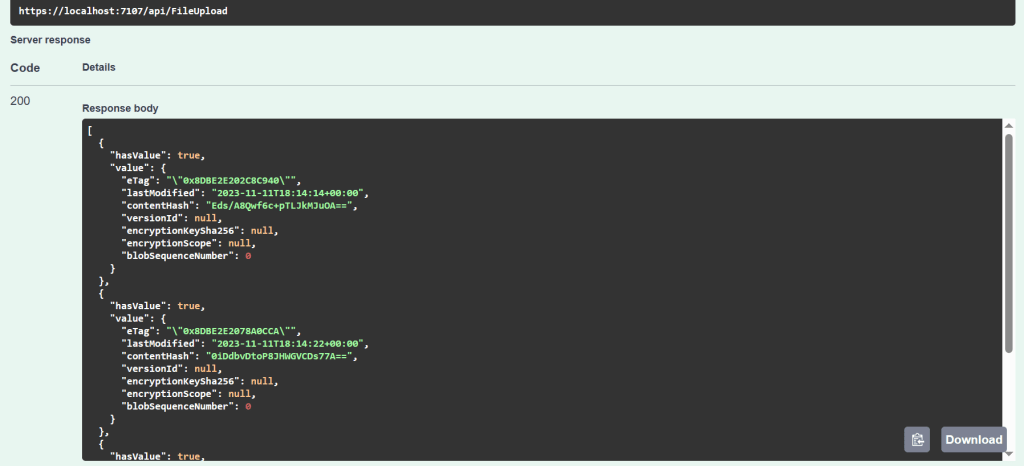
- And we can see it got 200 status as success.
- Let’s move to the Blob Storage Containers, in the below image we can see the files that we uploaded are available in this location.
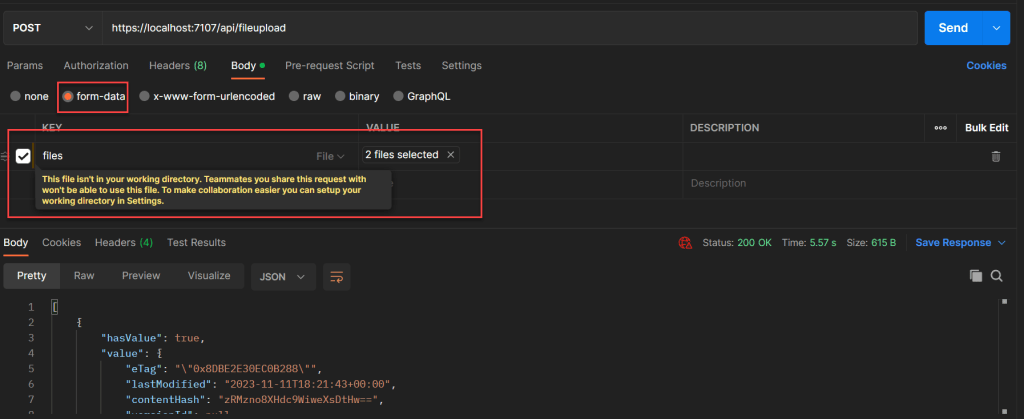
Test using Postman
- To test in Postman we need to choose “form-data” and select files like below.
- Here we can able to upload the images and then hit the send button.
- We can see it returns the result as status “200 OK”.
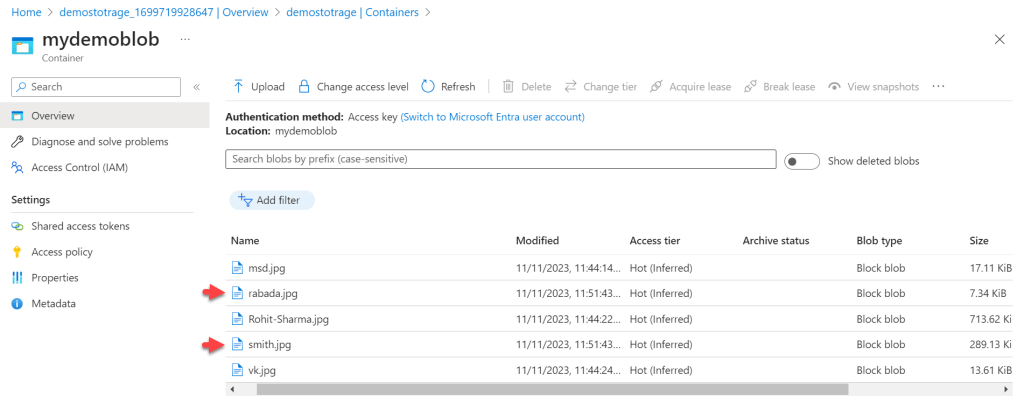
- Move to the storage containers and here we can see the uploaded images are available in the said containers.
- The highlighted images are just updated through Postman.
That’s it for the article on How to upload files to Azure Blob Storage using Asp.Net Core Web API. Please let me know if you face any issues regarding this.
Please find the Source Code on this GitHub Link.
Conclusion
In this article, we discussed How to upload files to Azure Blob Storage using Asp.Net Core Web API. We have successfully uploaded and fetched files from Azure Blob Storage using the Web APIs created in Asp.Net Core. We learned what Azure Blob Storage is, what the benefits of utilizing it are, and how to configure the blob storage step by step.
Leave behind your valuable queries and suggestions in the comment section below. Also, if you think this article helps you, do not forget to share this with your developer community. Happy Coding 🙂
Related Articles
- Building an AI Knowledge Base Search with Azure AI Foundry: Step-by-Step Guide
- How to Secure React.js application with Azure AD Authentication Using MSAL Library
- 🔐 Securing .NET Core Web Apps with Azure AD/Intra and MSAL
- Step-by-Step Guide to Using Azure Redis Cache in ASP.NET Core 9 Web API
- 🤖 Build a Full-Stack AI App with React, Node.js & Azure OpenAI
- Effortless React Deployment 🚀: CI/CD with GitHub Actions & Azure Static Web Apps
- Deploying Angular apps in Azure Blob Storage with CI/CD Integration 🚀
- How to Build a serverless CRUD app with Azure function and Cosmos DB
- How to resolve Function App Cannot Create within Azure Portal
- How to convert Text To Speech With Azure Cognitive Services using Angular and .Net Core
SUPPORT ME