
In this article we will learn about Building Custom Directives in Angular. We can build custom directives in Angular. The Process is to create a JavaScript class and apply the @Directive attribute to that class. You can write the desired behavior in the class. Please read my previous article Angular Directives.
To create attribute directives, we always need to use or inject the below objects in our custom attribute directive component class. To create an attribute directive, we need to remember the below topics:
- Import required modules like directives, ElementRef, and renderer from the Angular core library.
- Create a TypeScript class.
- Use the @Directive decorator in the class.
- Set the value of the selector property in the @directive decorator function. The directive will be used, using the selector value on the elements.
- In the constructor of the class, inject ElementRef and the renderer object.
- You need to inject ElementRef in the directive’s constructor to access the DOM element
- You need to call the renderer’s setElementStyle function. In this function, we need to pass the instance of the current DOM element with the help of ElementRef as a parameter and setting the behavior or property of the current element.
ElementRef– While creating a custom attribute directive, we inject ElementRef in the constructor to access the DOM element. ElementRef provides access to the underlying native element. With the help of ElementRef, we can obtain direct access to the DOM element using its nativeElement property. In that case, ElementRef is behaving just like a service. That’s all we need to set the element’s color using the browser DOM API.
HostListener — Sometimes we may need to access the input property within the attribute directive so that, as per the given attribute directive, we can apply a related attribute within the DOM Element. To trap user actions, we can call different methods to handle user actions. We need to use this method to perform any user action. For that purpose, we need to decorate the method with @HostListener method.
Custom Attribute Directive Example
Here in this example we will learn about custom Attribute Directive Demo with mouse events.
Creating Custom Directives
Let’s create the custom directives with adding mouseenter and mouseleave method using @HostListener.
- We create the custom directive with selector named as
'[appHighlight]'. - We are using an Angular decorator called
@HostListener. This decorator allows you to listen to events on the Host Element easily. In our example, the first HostListner is mouseenter and The second HostListner is mouseleave . - The ElementRef class defines a single property, nativeElement, which returns the object used by the browser to represent the element in the Domain Object Model. This object provides access to the methods and properties that manipulate the element.
import { Directive, ElementRef, HostListener, Input, OnInit, Renderer2 } from '@angular/core';

@Directive({
   selector: '[appHighlight]'
})
export class HighlightDirective {
   constructor(private renderer: Renderer2, private elementRef: ElementRef) { }
   ngOnInit() { }

   @HostListener('mouseenter') onMouseEnter() {
      this.highlight('#e79dbd');
   }
   @HostListener('mouseleave') onMouseLeave() {
      this.highlight('none');
   }
   private highlight(color: any) {
      this.renderer.setStyle(this.elementRef.nativeElement, 'background', color);
   }
}
Then import this directives in the app.module.ts like below.
import { HighlightDirective } from './directives/custom.directive';

@NgModule({
  declarations: [
    AppComponent,
    EmployeeComponent,
    CricketerListComponent,
    FilteredListComponent,
    ParentComponent,
    ChildComponent,
    HighlightDirective
  ],
})
Adding the required directive class call in HTML
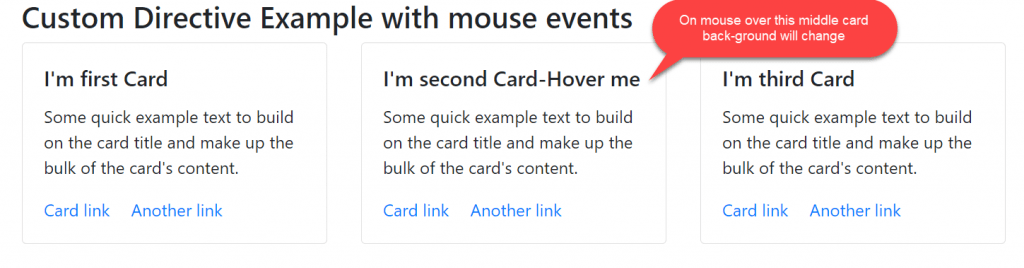
The behavior defined our Directive class will be applied to the host element. So we need to call the directive selector ‘[appHighlight]’ on the HTML like below on the 2nd card, so when the mouse over
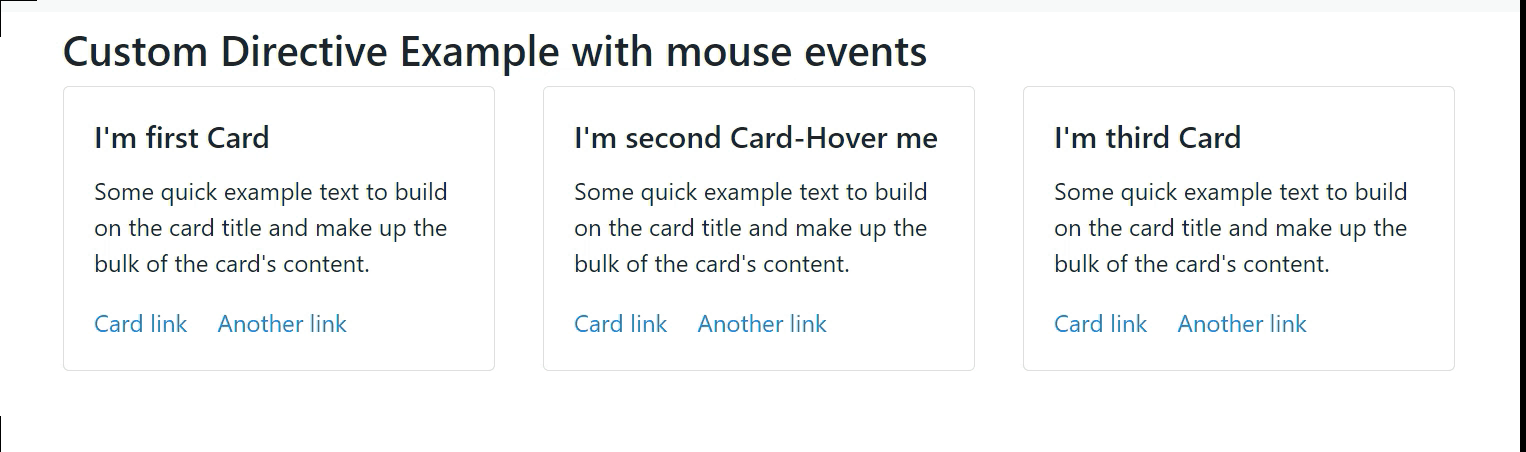
<div class="container">
    <h3>Custom Directive Example with mouse events</h3>
    <div class="row">
      <div class="col-sm">
        <div class="card" style="width: 18rem;">
          <div class="card-body">
            <h5 class="card-title">I'm first Card</h5>
            <p class="card-text">Some quick example text to build on the card title and make up the bulk of the card's content.</p>
            <a href="#" class="card-link">Card link</a>
            <a href="#" class="card-link">Another link</a>
          </div>
        </div>

      </div>
      <div  class="col-sm">
        <div appHighlight class="card" style="width: 18rem;">
          <div class="card-body">
            <h5 class="card-title">I'm second Card-Hover me</h5>
            <p class="card-text">Some quick example text to build on the card title and make up the bulk of the card's content.</p>
            <a href="#" class="card-link">Card link</a>
            <a href="#" class="card-link">Another link</a>
          </div>
        </div>

      </div>
      <div class="col-sm">
        <div class="card" style="width: 18rem;">
          <div class="card-body">
            <h5 class="card-title">I'm third Card</h5>
            <p class="card-text">Some quick example text to build on the card title and make up the bulk of the card's content.</p>
            <a href="#" class="card-link">Card link</a>
            <a href="#" class="card-link">Another link</a>
          </div>
        </div>
      </div>
    </div>
  </div>
Let’s run the application and we can see the output like below, whenever we mouseover with 2nd card it change the background and on mouseout it removes the color.
Conclusion
In this article we will discussed about Building Custom Directives in Angular. We can build custom directives in Angular. The Process is to create a JavaScript class and apply the @Directive attribute to that class.
Leave behind your valuable queries and suggestions in the comment section below. Also, if you think this article helps you, do not forget to share this with your developer community. Happy Coding 🙂
Related Articles
- Deploying Angular apps in Azure Blob Storage with CI/CD Integration 🚀
- How to resolve Function App Cannot Create within Azure Portal
- Building a Chatbot in Angular using Gemini API
- Create a responsive sidebar with Angular Material- Angular 18 Example Series
- How to Deploy Angular 17/18 App in GitHub Pages
- How to convert Text To Speech With Azure Cognitive Services using Angular and .Net Core
- Angular Interceptors- The Complete Guide
- Upload Download and Delete files in Azure Blob Storage using ASP.NET Core and Angular
- Introduction to Azure Cosmos DB
- How to create Cosmos DB in Azure
Jayant Tripathy
Coder, Blogger, YouTuberA passionate developer keep focus on learning and working on new technology.