In this article we will learn about Redirect Routes in Angular. This is an extension of our earlier article in which we covered the fundamentals of Routing in Angular. So before reading this article, please read our prior one. You will know exactly what redirecting routes are at the end of this post, as well as when and how to use them in an Angular application.
Angular Navigation guide covers how routing works in an app built with Ionic and Angular. Read to learn more about basic routing and redirects in Angular.
Redirecting Routes in Angular
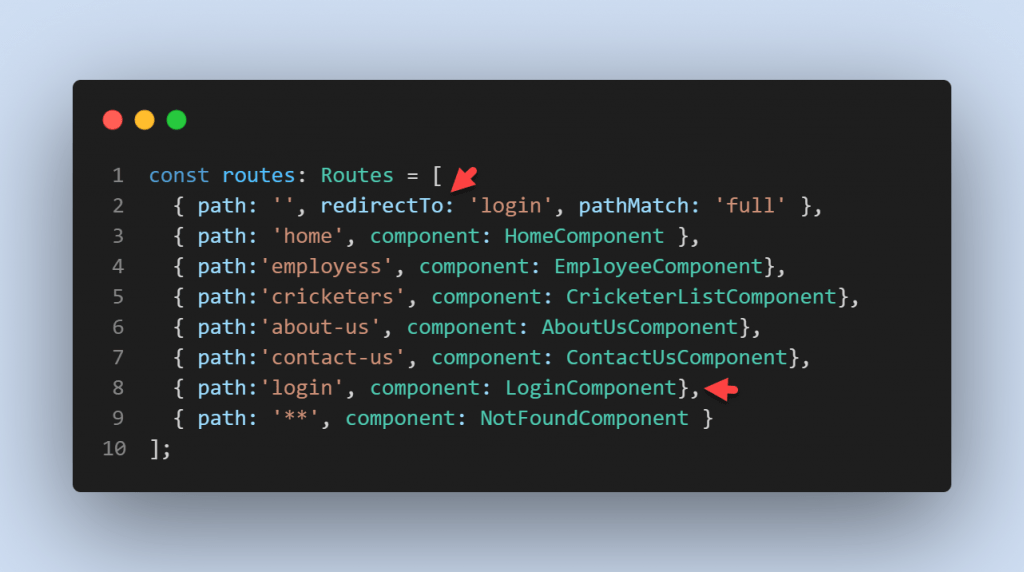
By default, when the application starts, it navigates to the empty route. We can configure the router to redirect to a named route by default. As a result, a redirect route converts the original relative URL (“) to the desired default path. For example, you might want to redirect to the login or registration page by default when the application launches. Then, as shown below, you must configure the redirectTo.

- This route redirects a URL that fully matches the empty path to the route whose path is ‘
/Login’. The empty path in the first route represents the default path for the application. This default route redirects to the route for the/LoginURL and therefore will display the Login Component. - A redirect route requires a
pathMatchproperty to tell the router how to match a URL to the path of a route. The router throws an error if you don’t. For the special case of an empty URL we also need to add the pathMatch: ‘full’ property so angular knows it should be matching exactly the empty string and not partially the empty string.
Routing Module
The routing module are below, Here, we did three things. First import the login component. Second create a path for login component and finally create an empty path and set redirectTo property value to the login path.
import { NgModule } from '@angular/core';
import { RouterModule, Routes } from '@angular/router';
import { AboutUsComponent } from './componenets/about-us/about-us.component';
import { ContactUsComponent } from './componenets/contact-us/contact-us.component';
import { CricketerListComponent } from './componenets/cricketer-list/cricketer-list.component';
import { EmployeeComponent } from './componenets/employee/employee.component';
import { HomeComponent } from './componenets/home/home.component';
import { LoginComponent } from './componenets/login/login.component';
import { NotFoundComponent } from './componenets/not-found/not-found.component';

const routes: Routes = [
  { path: '', redirectTo: 'login', pathMatch: 'full' },
  { path: 'home', component: HomeComponent },
  { path:'employess', component: EmployeeComponent},
  { path:'cricketers', component: CricketerListComponent},
  { path:'about-us', component: AboutUsComponent},
  { path:'contact-us', component: ContactUsComponent},
  { path:'login', component: LoginComponent},
  { path: '**', component: NotFoundComponent }
];

@NgModule({
  imports: [RouterModule.forRoot(routes)],
  exports: [RouterModule]
})
export class AppRoutingModule { }
Make the Navigation like below to work other redirection. But when we run the application it will open the redirect route /Login page.
<nav class="navbar navbar-expand-lg navbar-light bg-light">
  <a class="navbar-brand ml-5" href="#">Angular Lessons</a>
  <button class="navbar-toggler" type="button" data-toggle="collapse" data-target="#navbarNav" aria-controls="navbarNav"
    aria-expanded="false" aria-label="Toggle navigation">
    <span class="navbar-toggler-icon"></span>
  </button>
  <div class="collapse navbar-collapse" id="navbarNav" style="margin-right:180px;justify-content: flex-end;">
    <ul class="navbar-nav">
      <li class="nav-item">
        <a class="nav-link active" [routerLink]="['/home']" routerLinkActive="active">Home</a>
      </li>
      <li class="nav-item">
        <a class="nav-link" [routerLink]="['/employess']" routerLinkActive="active">Employess</a>
      </li>
      <li class="nav-item">
        <a class="nav-link" [routerLink]="['/cricketers']" routerLinkActive="active">Cricketers</a>
      </li>
      <li class="nav-item">
        <a class="nav-link" [routerLink]="['/about-us']" routerLinkActive="active">About us</a>
      </li>
      <li class="nav-item">
        <a class="nav-link" [routerLink]="['/contact-us']" routerLinkActive="active">Contact us</a>
      </li>
    </ul>
  </div>
</nav>

<div class="container mt-5" >

  <router-outlet></router-outlet>

</div>
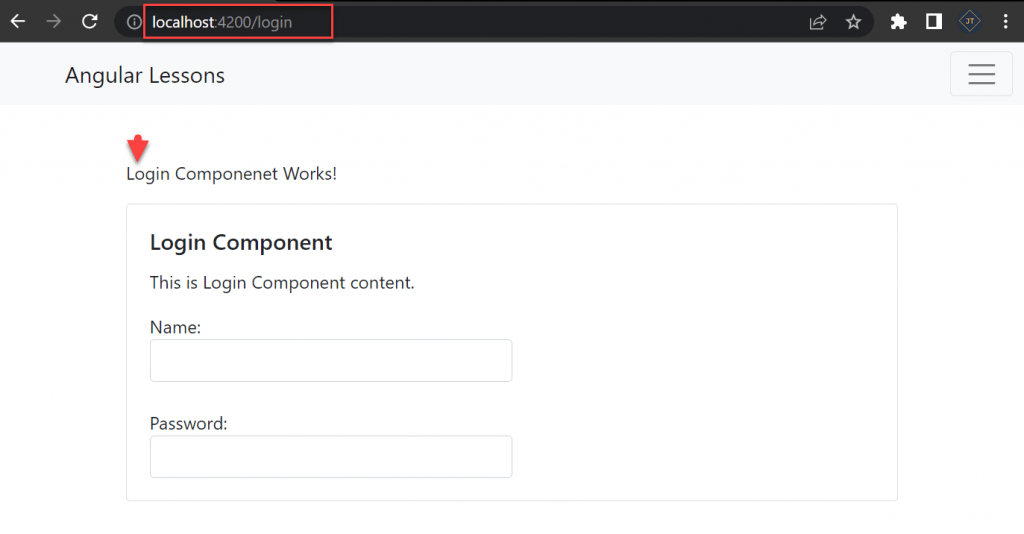
With the above changes in place, now run the application, go to the default URL i.e. http://localhost:4200 it will automatically redirect to the Login page as shown in the below image.
And according to other navigation we can also redirect to different page but we set the default redirect route is /Login.

Conclusion
We discussed about Redirect Routes in Angular. Angular Navigation guide covers how routing works in an app built with Ionic and Angular. Read to learn more about basic routing and redirects in Angular.
Leave behind your valuable queries and suggestions in the comment section below. Also, if you think this article helps you, do not forget to share this with your developer community. Happy Coding 🙂
Related Articles
- Angular Interceptors- The Complete Guide
- Upload Download and Delete files in Azure Blob Storage using ASP.NET Core and Angular
- Introduction to Azure Cosmos DB
- How to create Cosmos DB in Azure
- Why ReactJS is used over plain JavaScript
- Introduction to GraphQL
- Creating a Sample ReactJs Application using VS Code
- How to use Policy-based Authorization using JWT in .Net Core 7 and Angular
- Building Single Page Applications(SPA) with ReactJS
- How to deploy Angular App in Azure Static Web App
Jayant Tripathy
Coder, Blogger, YouTuberA passionate developer keep focus on learning and working on new technology.
