
In this article, we will learn about How to run a React Native app on Windows: Setup React Native Environment. In this tutorial, we cover how to install Android Studio, set up an emulator, and develop and execute a React Native project. Please read all my articles on React here in this link.
What is React Native?
Facebook developed React Native, an open-source framework for building mobile applications using JavaScript and React. It enables developers to create apps for both iOS and Android platforms with a single codebase, significantly reducing development time and effort.
Prerequisites to Installing dependencies
We will need the below dependencies to start React Native.
- Node (You can Install the latest version of Node) by clicking this link
- Java JDK (Install here on this link)
- Android Studio
- React native command-line Line Interface (optional)
Important points about setting up the Environment
If you have already installed Node on your system, make sure it is Node 18.18 or newer. If you already have a JDK on your system, we recommend JDK17. You may encounter problems using higher JDK versions.
Set Up Your Environment
Install Node
Install the latest version of Node here. Note that it must require Node 18.18 version or newer.
Install JDK
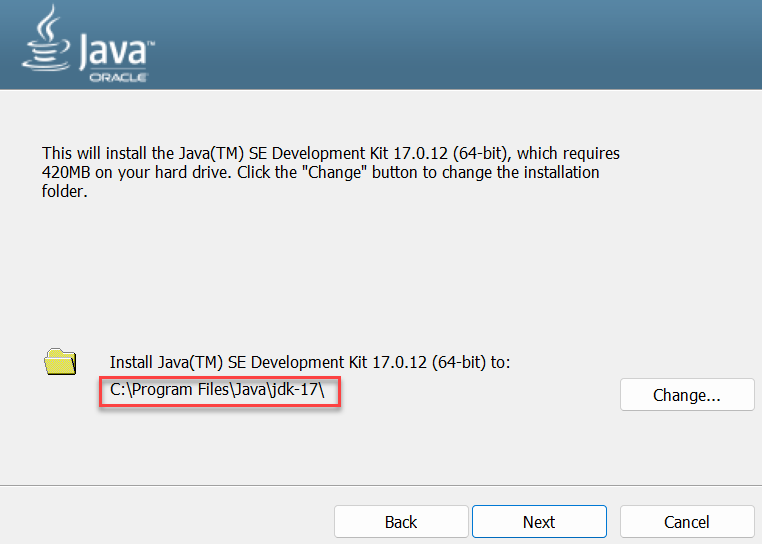
Let’s install the Java JDK here on this link, Make sure the JDK 17 should install to work on React Native. Install the JDK for Windows as per below highlighted. Note the installed path, it would be use further in add into Environment variables path.

Android development environment
Setting up your development environment can be somewhat tedious if you’re new to Android development. If you’re already familiar with Android development, there are a few things you may need to configure. In either case, please make sure to carefully follow the next few steps.
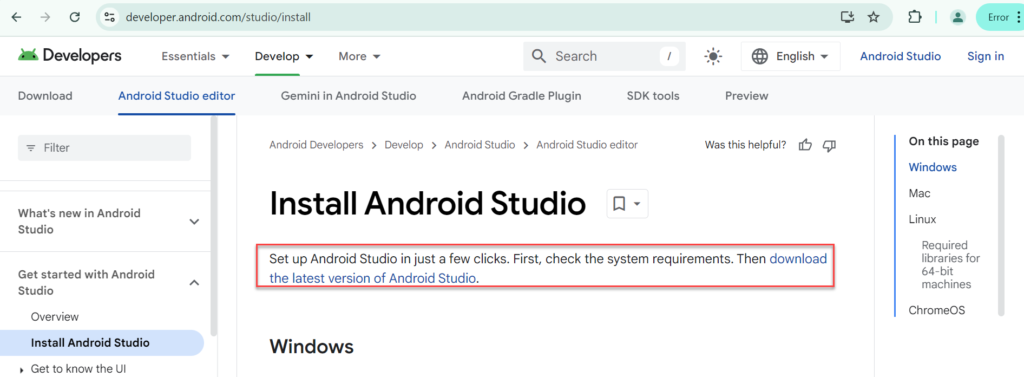
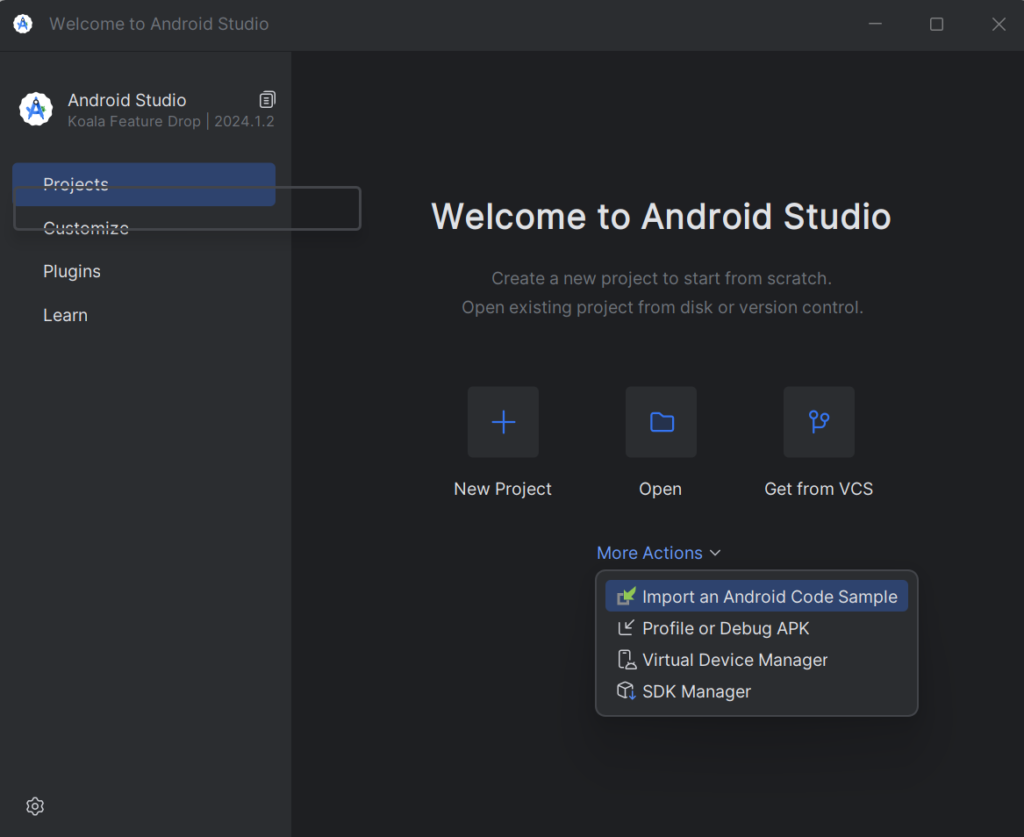
Install Android Studio
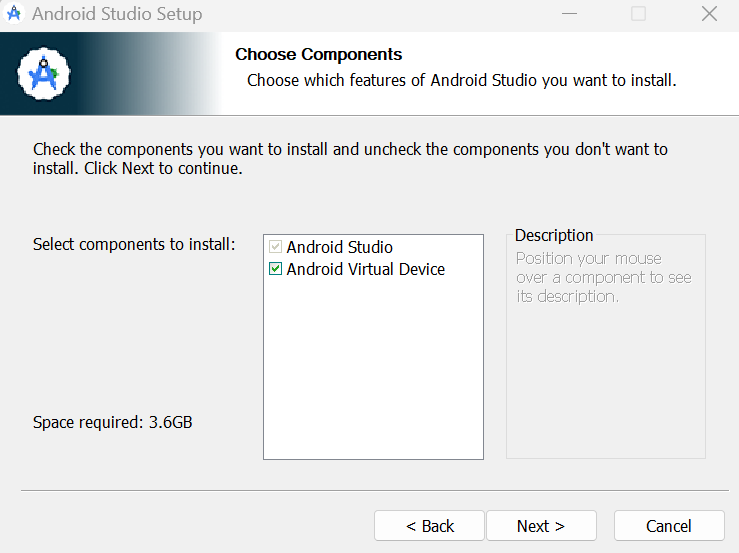
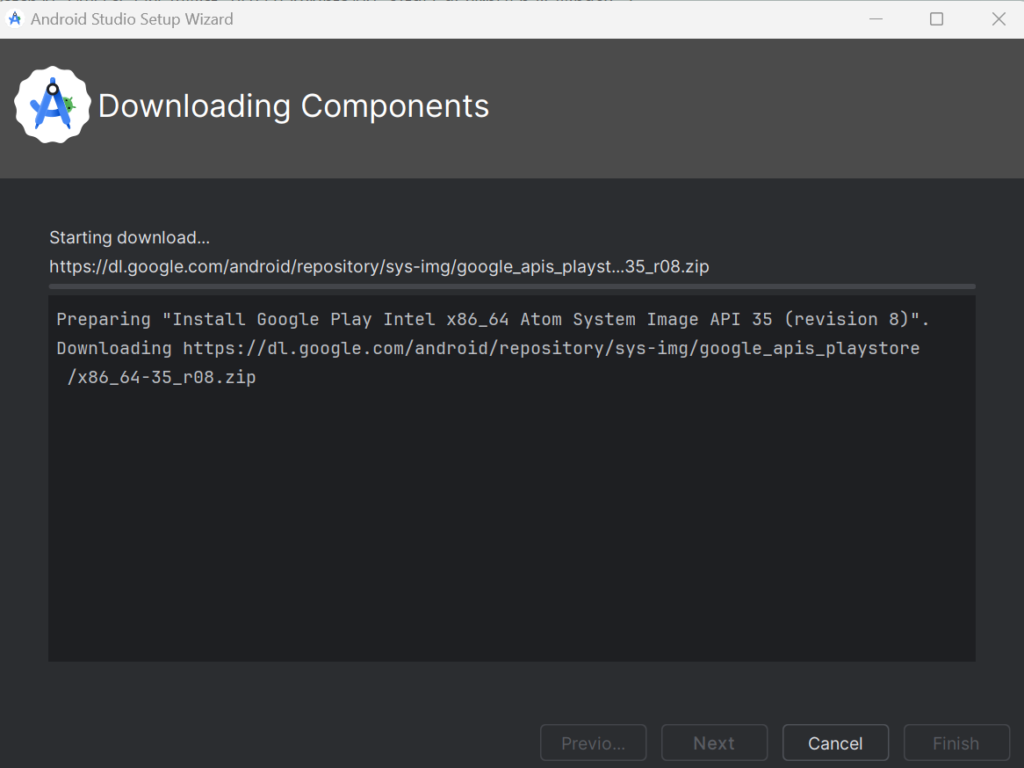
Download and install Android Studio. While on Android Studio installation wizard, make sure the boxes next to all of the following items are checked:
Android SDKAndroid SDK PlatformAndroid Virtual Device
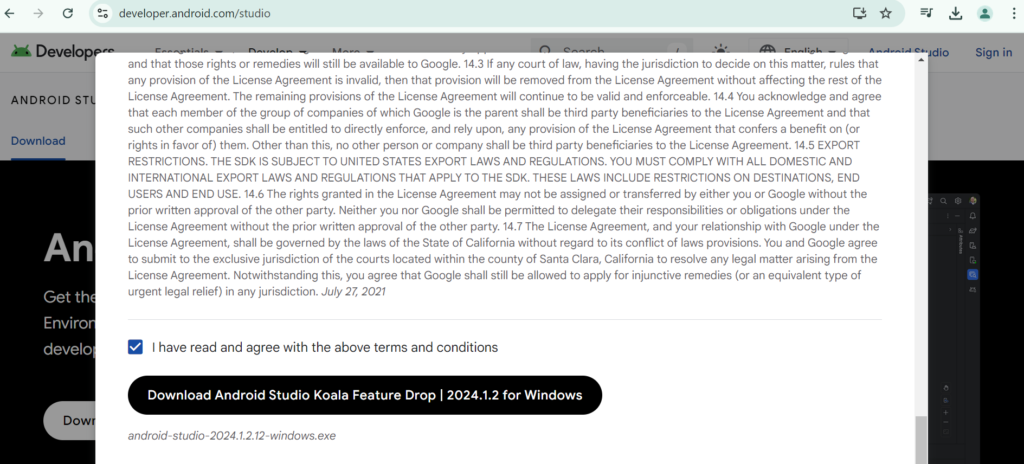
- Download the Android Studio and follow the ongoing instructions to install.
- Here we need at least 3+ GB storage, make sure you have sufficient storage on the system
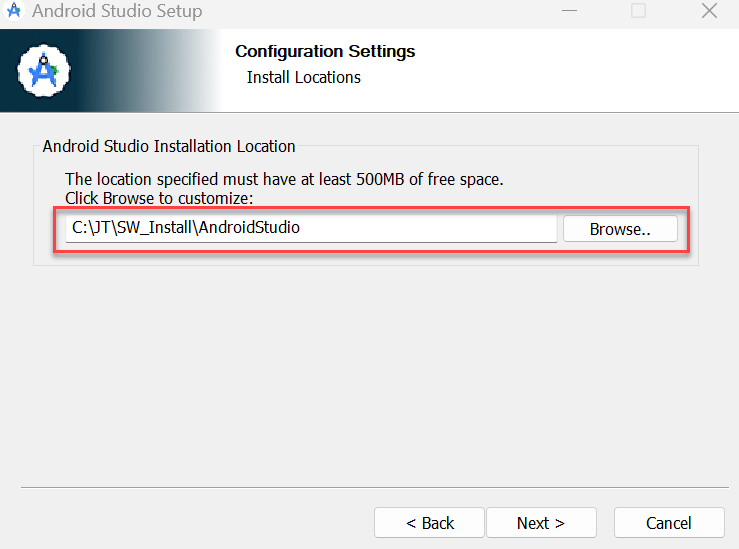
- On the below highlighted path, we have installed the Android Studio.
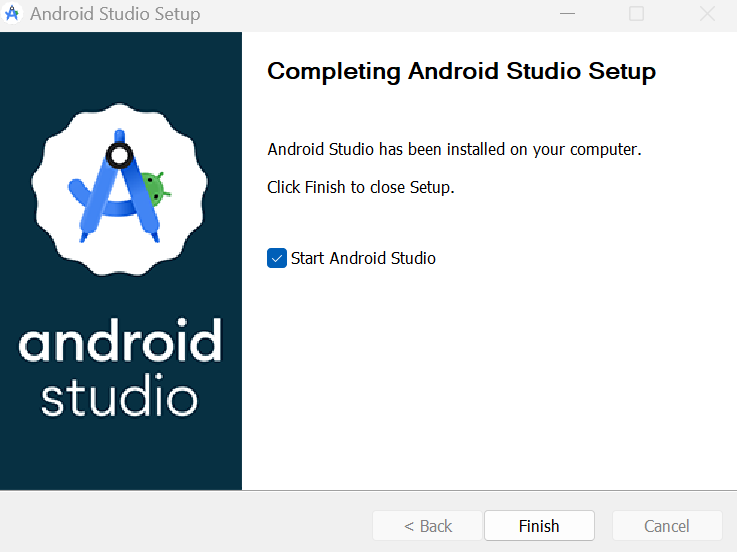
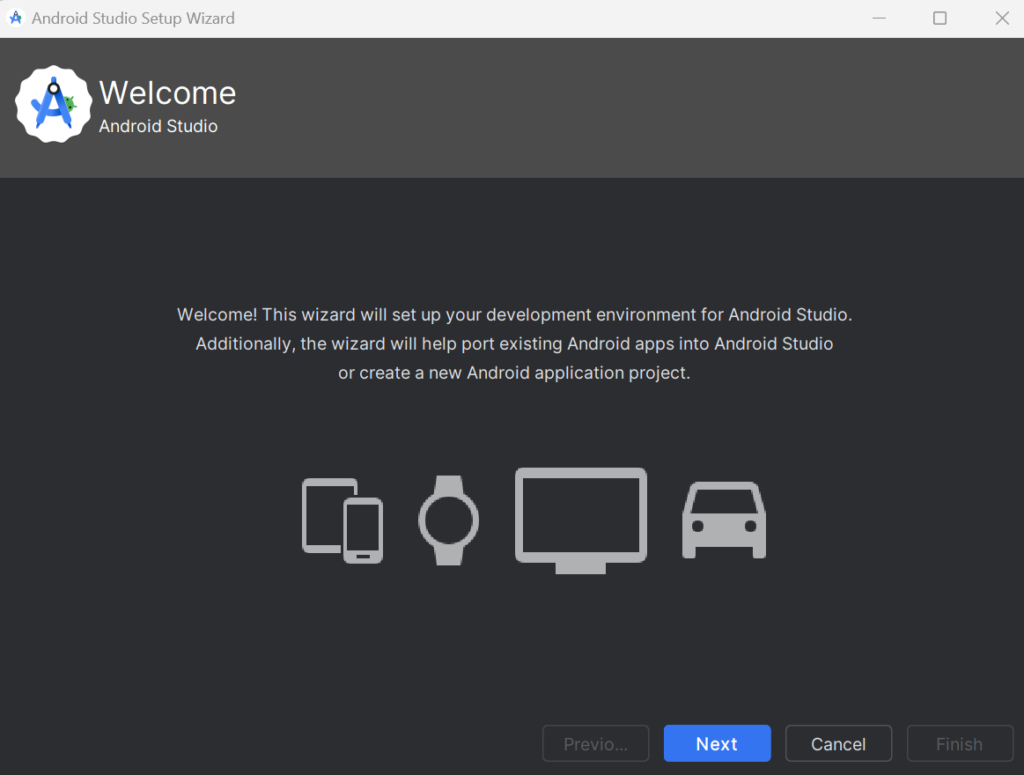
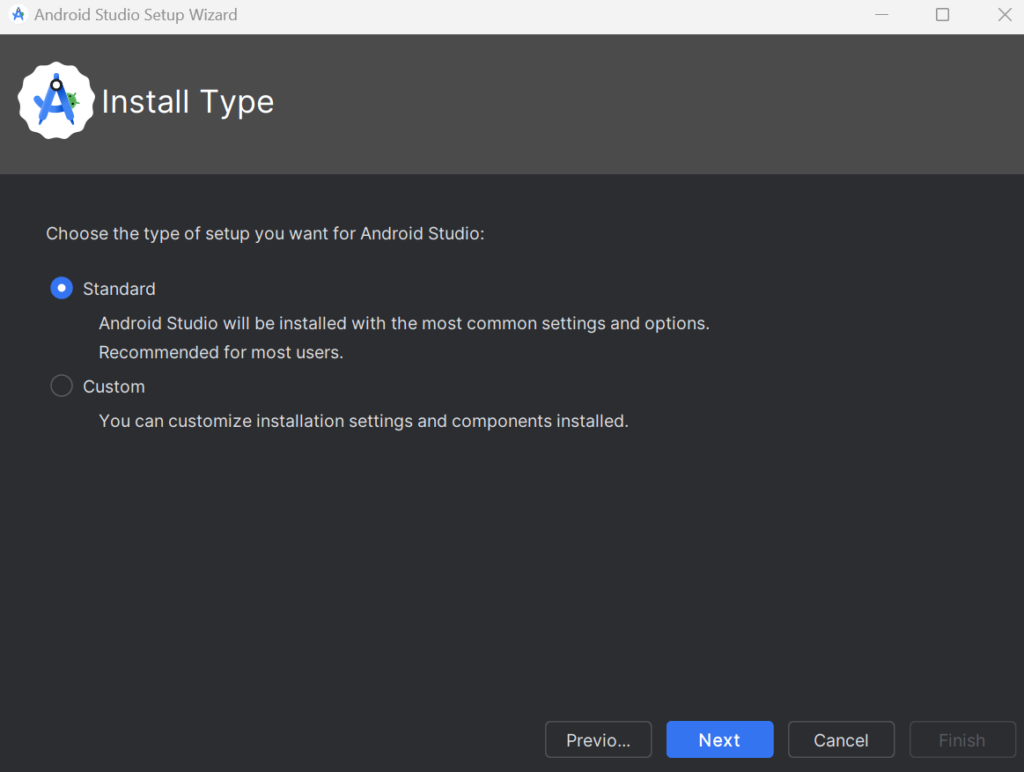
- The Android Studio has been installed, let’s start the Android Studio and follow the ongoing instructions.
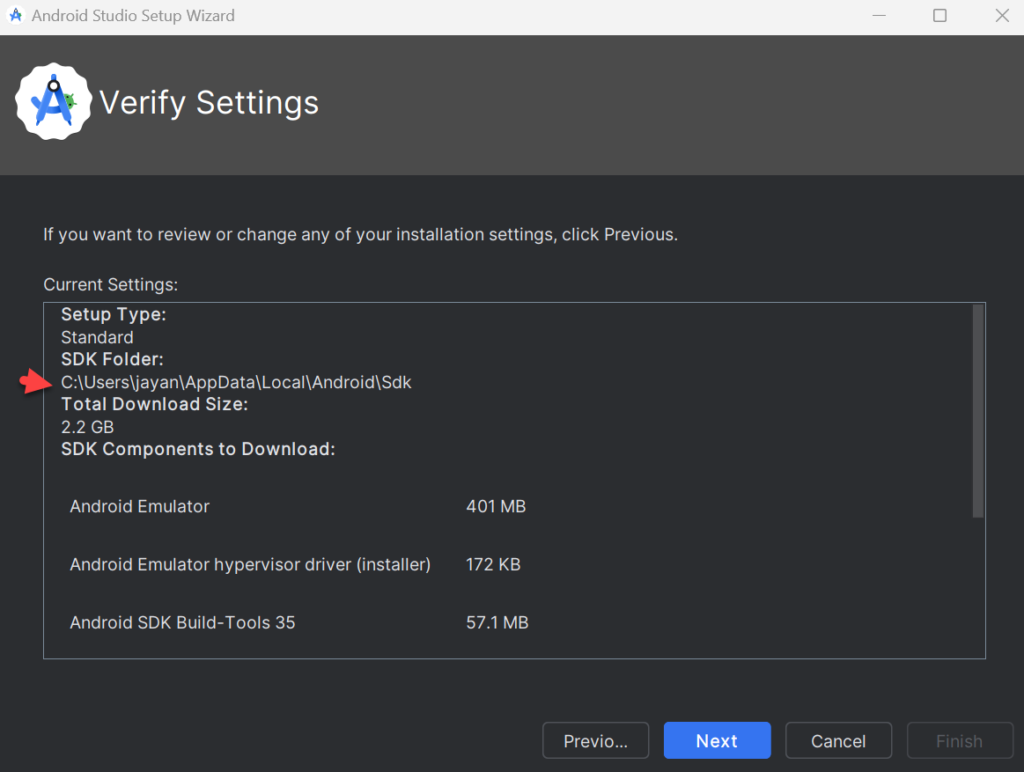
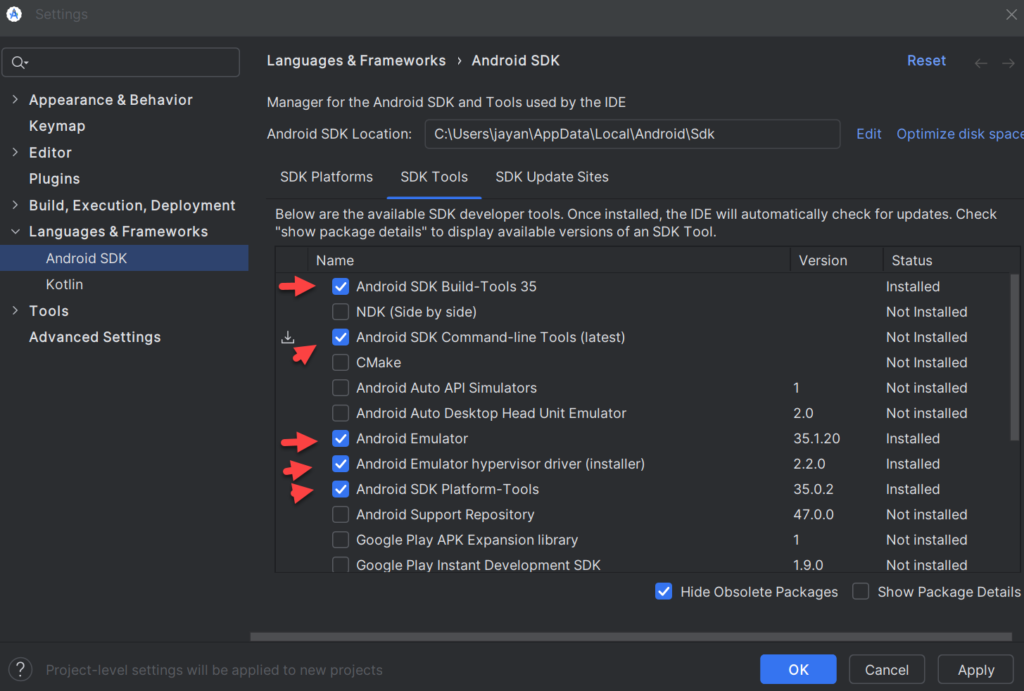
- Here on the path we our SDK is placed.
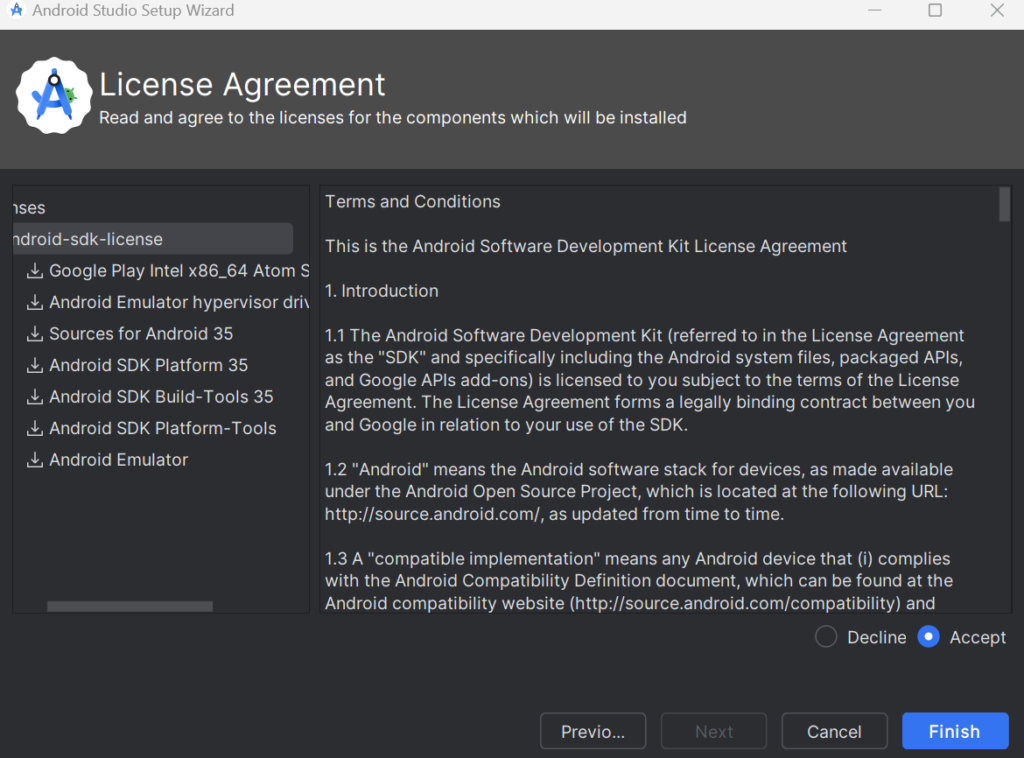
- We need to accept the android sdk license
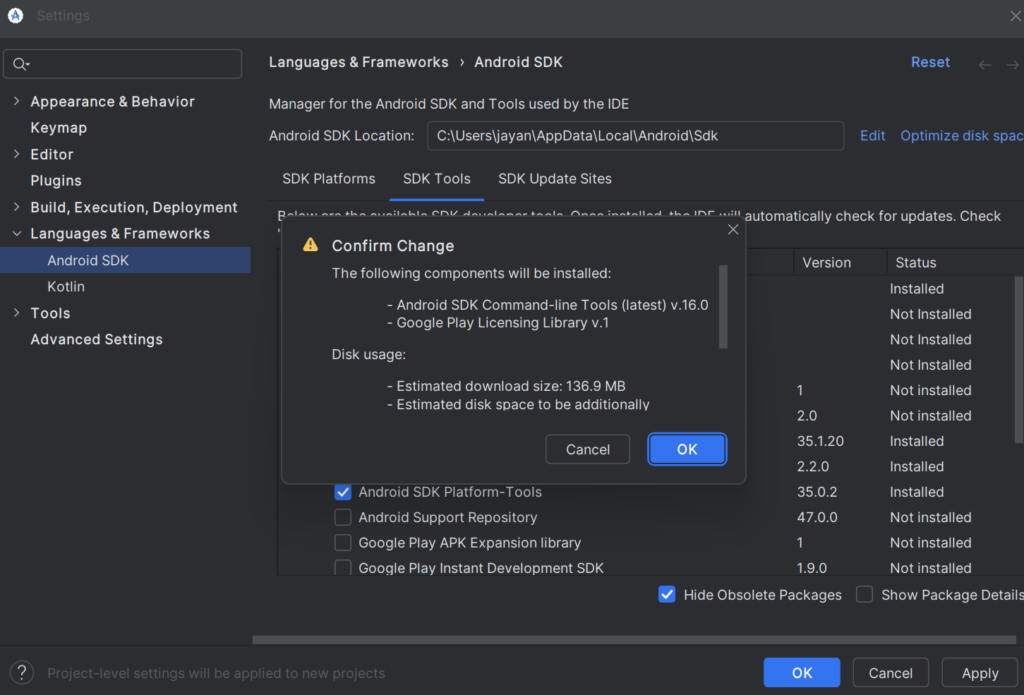
- Clcick on SDK manager, and we need to install SDK tools of the highlighted
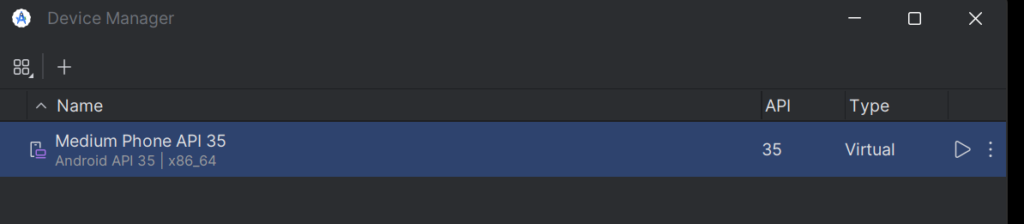
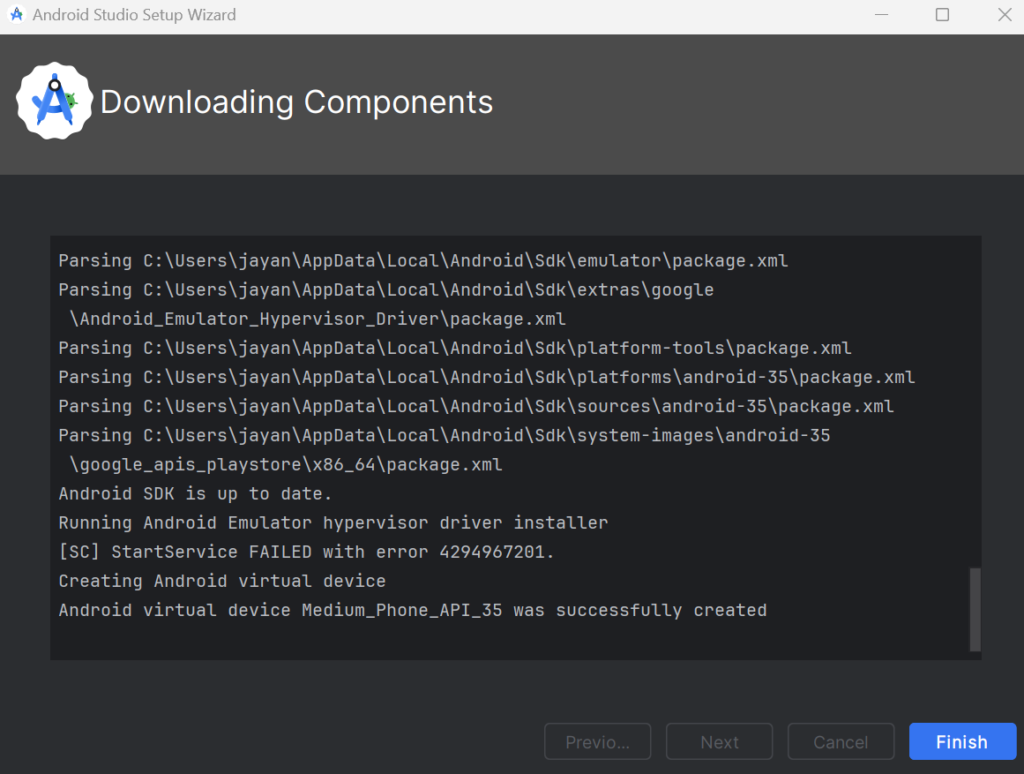
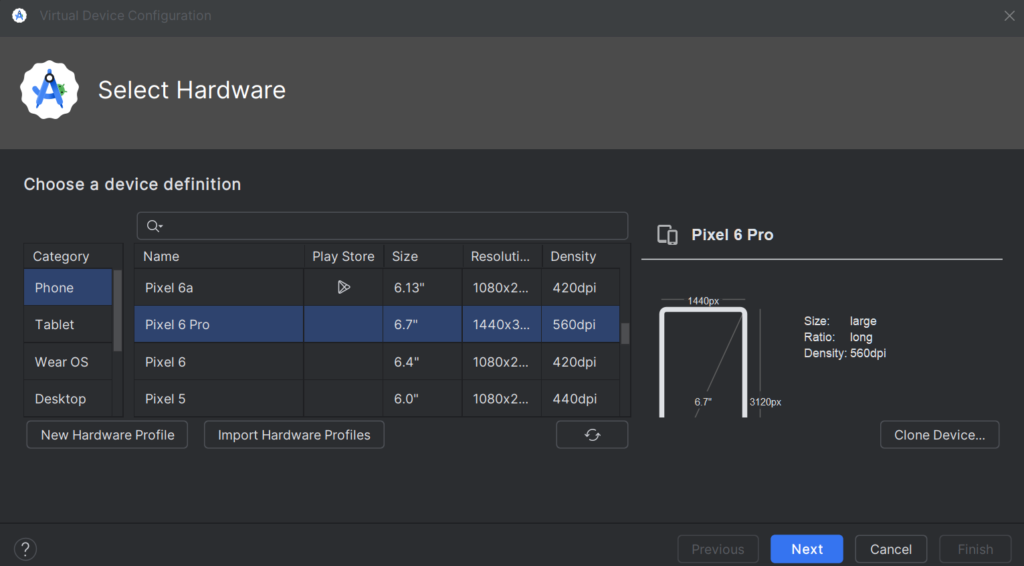
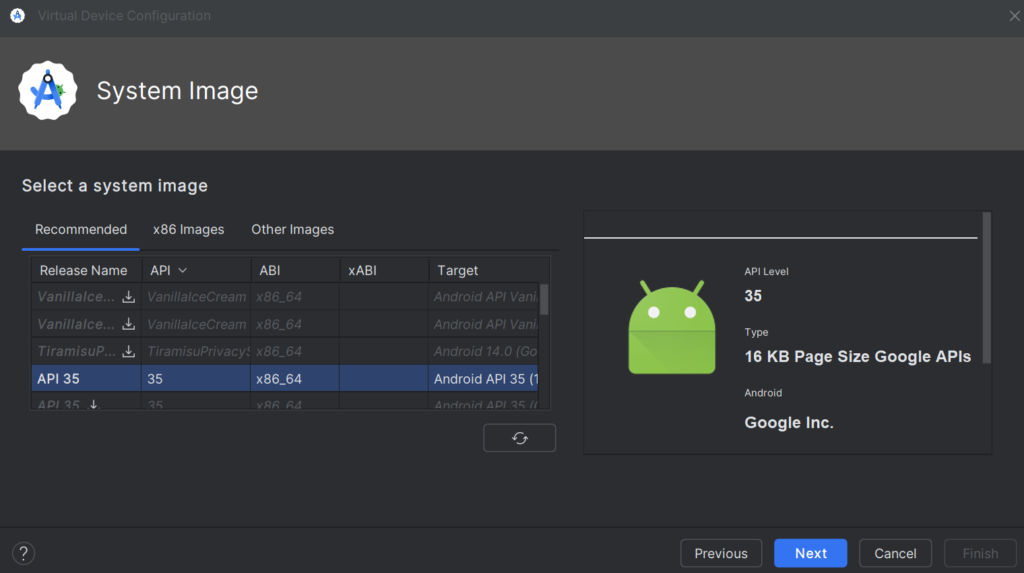
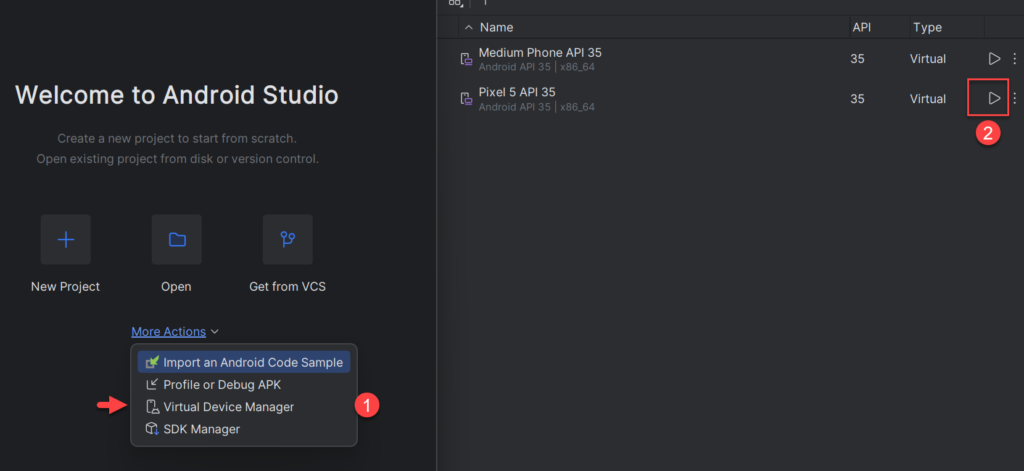
Create new Emulator
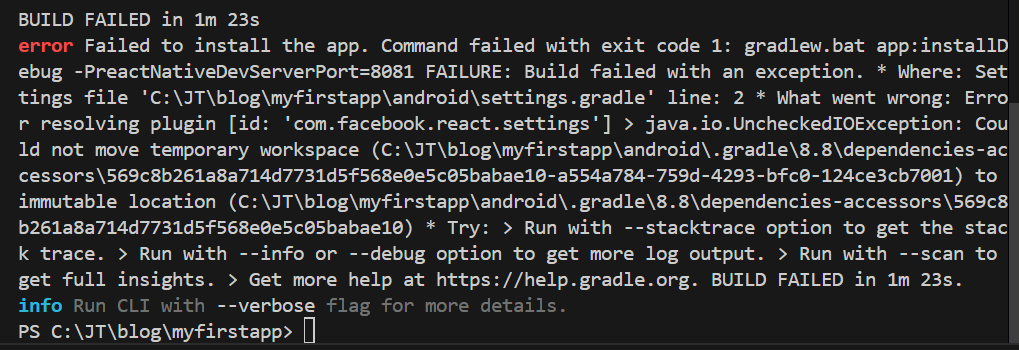
And if run the Emulator and the Environment path is not successfully configured, then you can see the below error.
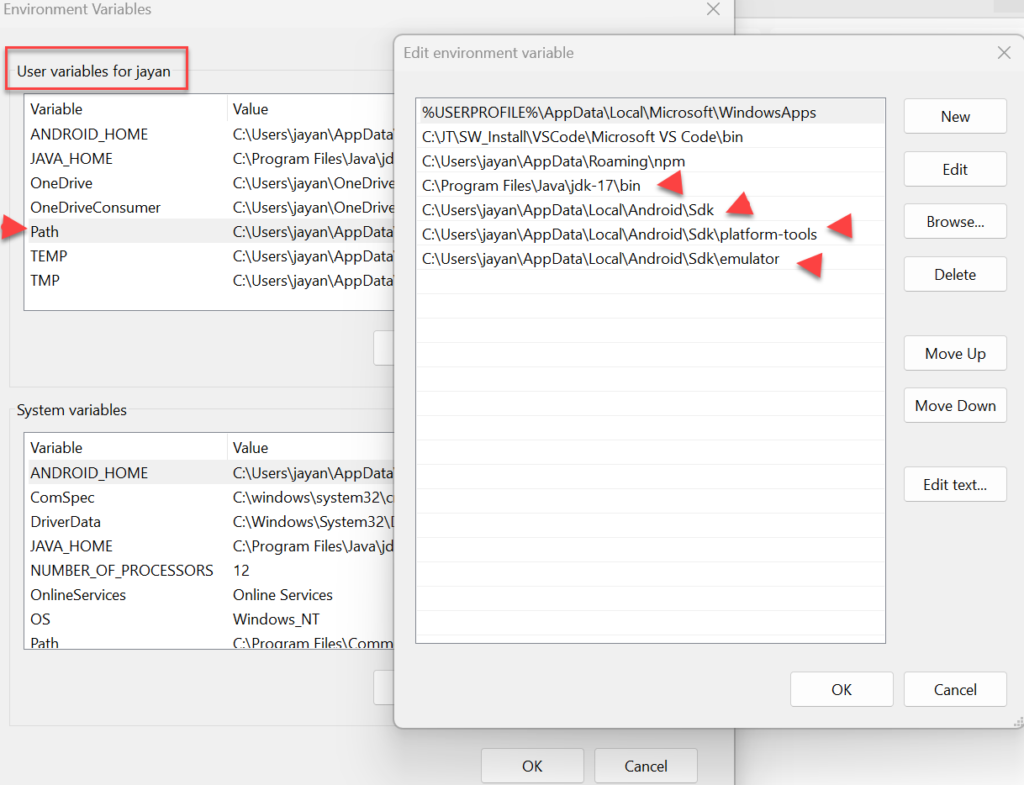
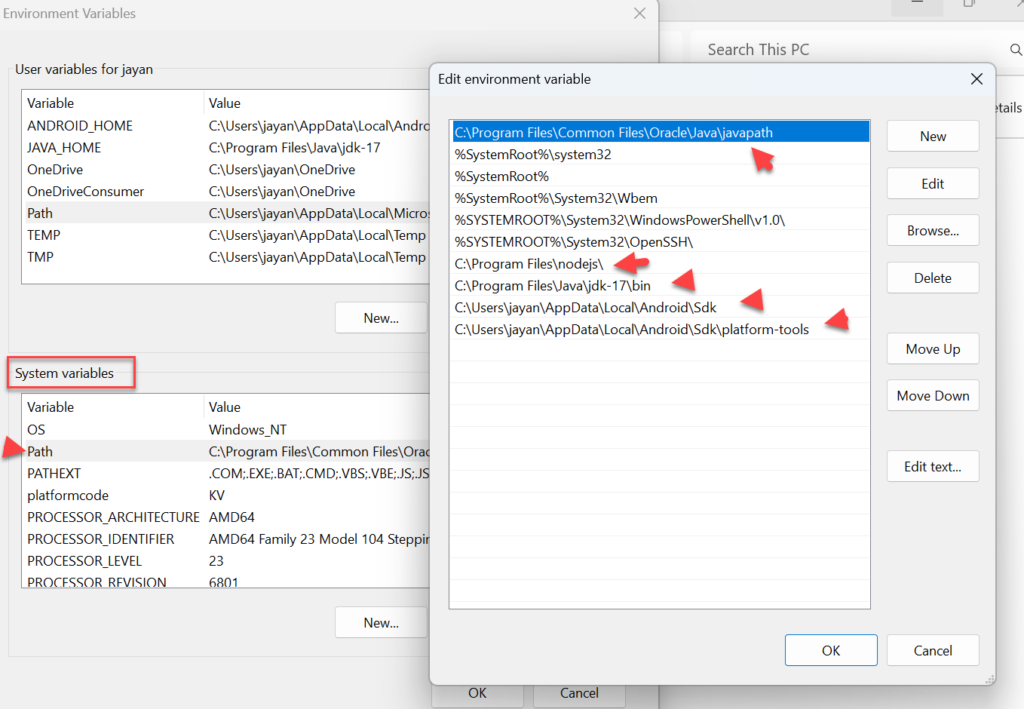
Configure the path into Environment Variables
- Here we have provided ANDROID_HOME and JAVA_HOME in both user variables and system variables.
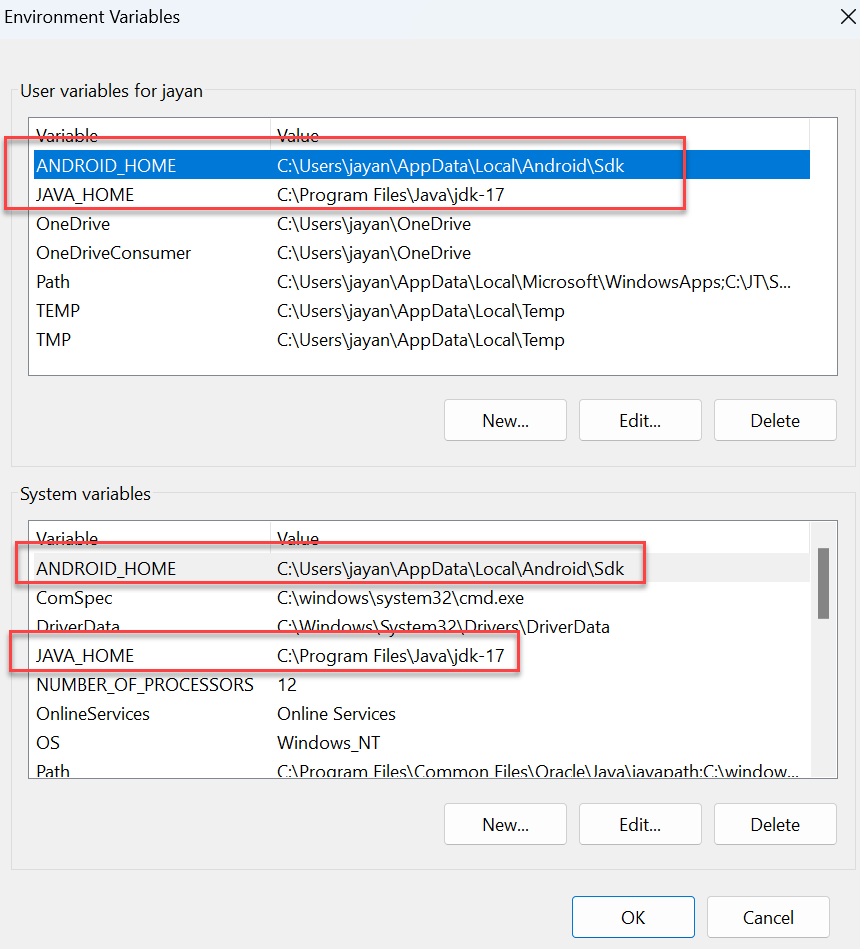
- On the user Variables section, we need to add the jdk path, android sdk path and platform tools and emulator etc. On the same we can add into sysetm variable.
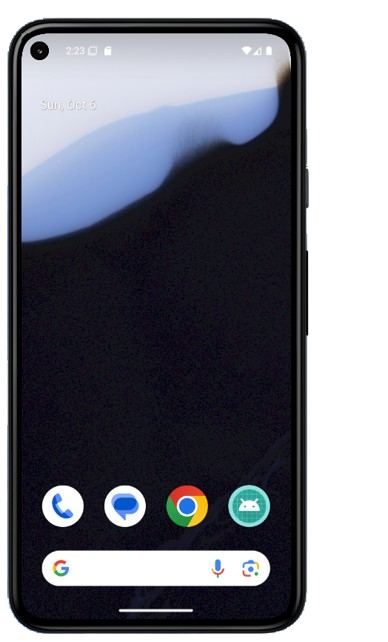
On last, we can see the Android Emulator is ran successfully,
Create React Native Project
Install the React Native CLI (if you haven’t already):
npm install -g react-native-cliCreate a new project:
- Replace
MyProjectwith your desired project name
npx react-native init MyFirstAppNavigate to your project directory and run the project using below command
cd MyFirstApp
npx react-native run-android
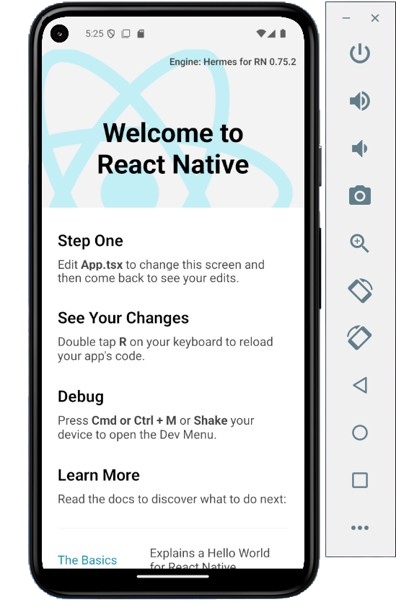
That’s it for this article, Here we ran successfully our React Native Project on Android Emulator.
Conclusion
In this article, we discussed about How to run a React Native app on Windows: Setup React Native Environment. Also, we covered how to install Android Studio, set up an emulator, and develop and execute a React Native project.
Leave behind your valuable queries and suggestions in the comment section below. Also, if you think this article helps you, do not forget to share this with your developer community. Happy Coding 🙂
Latest Post
- How to Secure React.js application with Azure AD Authentication Using MSAL Library
- 🤖 Build a Full-Stack AI App with React, Node.js & Azure OpenAI
- Effortless React Deployment 🚀: CI/CD with GitHub Actions & Azure Static Web Apps
- Why ReactJS is used over plain JavaScript
- Create CRUD Operation using ReactJs and ASP.Net Core API- Starter Template
- Creating a Sample ReactJs Application using VS Code
- Building Single Page Applications(SPA) with ReactJS
- How to create a react App
- React Installation and Environment Setup
- Intro to ReactJS Application