
This article explains how to update an existing ASP.NET Core 3.1 project to ASP.NET Core 5.0. We already aware of that .NET 5.0 is released on November 2020. Let’s discuss in brief what’s new in .NET 5.0 and how to migrate it from 3.1 to 5.0. Please have a look my previous article Worker Service in .NET Core
Prerequisites
– Visual Studio 2019 16.8 or later
– .NET 5.0 SDK
You can see my current Visual studio version is 2019 16.7. I updated it into new version, the right-hand side is the updated version of Visual studio 2019 16.8, after then we can use .NET 5.0. You can find this option using Help-About Visual studio, for update you select Help-Check for updates.

Download .NET 5.0 SDK
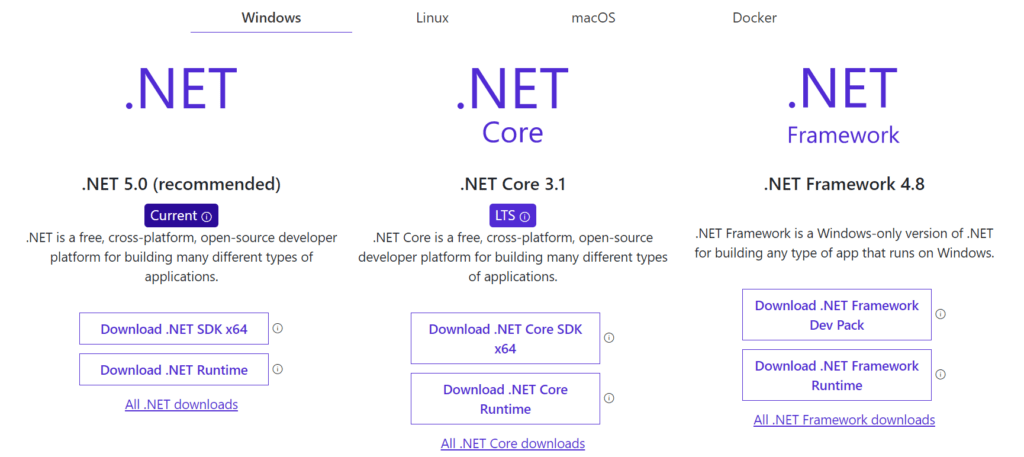
You can find the .NET 5.0 SDK here or you can find the SDK in this link https://dotnet.microsoft.com/download/. As per the below image you can see that you can downloads the SDK according to Operating system and according to the version also. Earlier Version used in .NET Framework 4.8 , then we currently use .NET Core SDK 3.1 which extended (LTS) Long term support by Microsoft. Now the left one is .NET 5.0 which is newly introduced.
What’s new in .NET 5.0 ?
Before migrating to the higher version .NET 5.0, let’s first understand what’s the new features introduced in .NET 5.0 over 3.1.
.NET 5.0 include providing a unified .NET SDK experience, with a single base class library(BCL) across all .NET 5 applications, and with support for both native and web applications across multiple operating systems. A single .NET 5 native application project would support targets such as Windows, Microsoft Duo (Android), and Apple iOS using native controls on those platforms.
The main goal of .NET 5 is to empower unified .NET Client Application projects to create deliverables for various platforms including Windows, UNIX, Linux, Legacy Windows, iOS, Droid, HTML5, and Mac. Also .NET 5 additional features as
- Allow developers to automatically find bugs in code.
- Assembly trimming which means it trim the unused assemblies to reduce the size of applications. .NET 5 is paired with C# 9, which brings many new features to the language
- Source generators allow code that runs during compilation to inspect the program and produce additional files that are compiled together with the rest of the code.
- System.Text.Json provides the ability to ignore default values for value-type properties when serializing. This is a breaking change. Also added for System.text.json is the ability to deal with circular references when serializing.
.NET 5 offer everything that you expect from the .NET core while making it suitable for Mobile and IoT platform development. .NET 5 ensures to incorporate the best of .NET core functionalities.
The above details about .NET 5.0 are referenced from the below link.
https://docs.microsoft.com/en-us/dotnet/core/dotnet-five
Create an ASP.NET Core 3.1 Project
To create an ASP .NET Core MVC 3.1 project follow below steps.
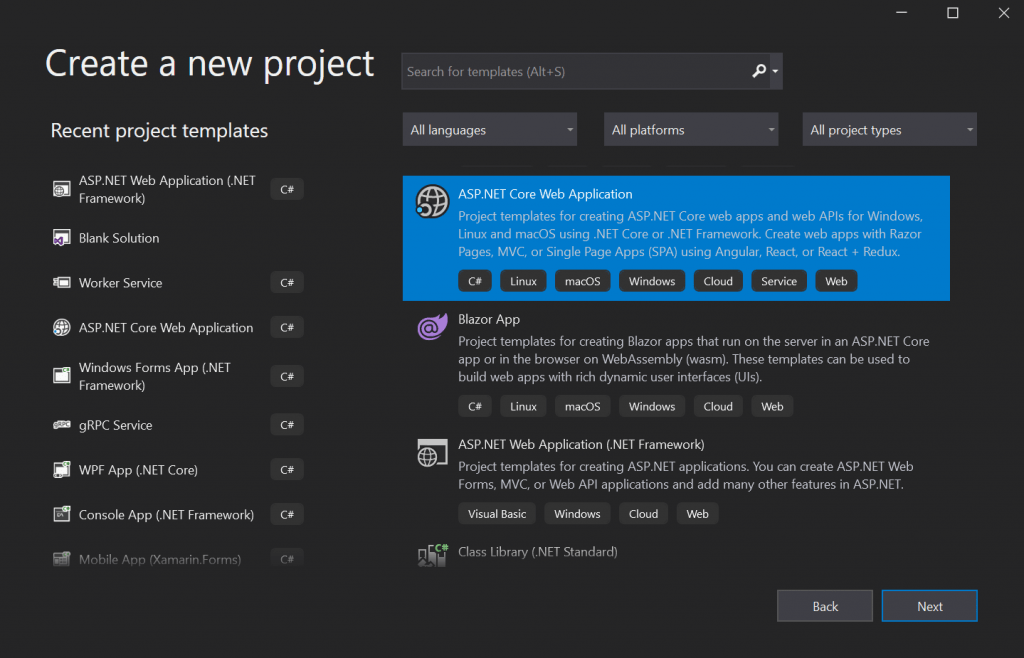
- Open Visual Studio and click on Create New Project then choose project template as ASP.NET Core MVC application.
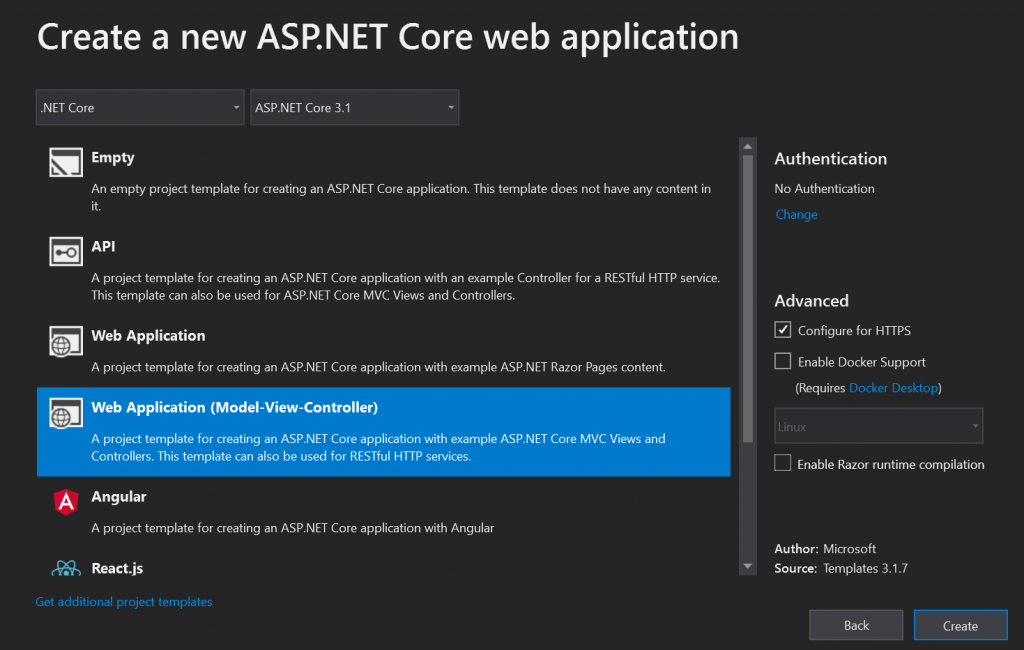
- Then set the Project location and Project Path.
- Choose the Project template- In our case we choose ASP .NET Core MVC template.
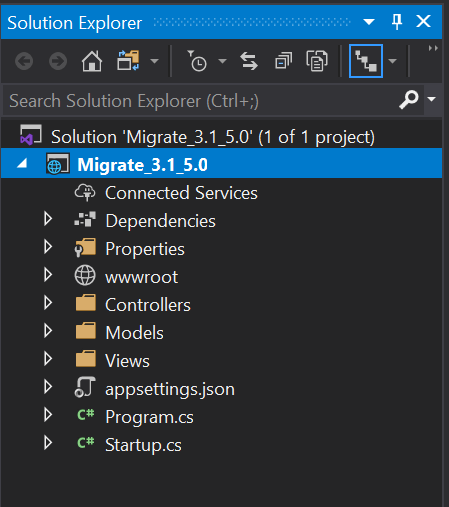
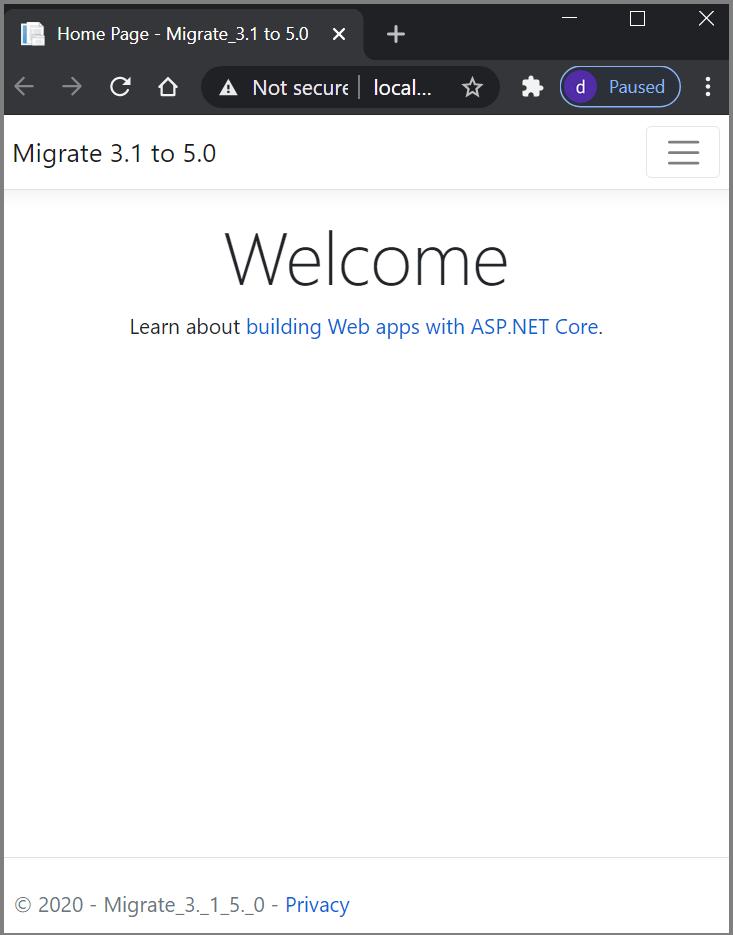
- Finally run the application and you can see the output like below image.
If you check the .csproj file then you can find the below source code and you can see there is a package found Microsoft.EntityFrameworkCore and the version is 3.1.10 as currently we the project is targeting to .NET Core 3.1
<Project Sdk="Microsoft.NET.Sdk.Web">
  <PropertyGroup>
    <TargetFramework>netcoreapp3.1</TargetFramework>
    <RootNamespace>Migrate_3._1_5._0</RootNamespace>
  </PropertyGroup>
  <ItemGroup>
    <PackageReference Include="Microsoft.EntityFrameworkCore" Version="3.1.10" />
  </ItemGroup>
</Project>
Migrate ASP.NET Core 3.1 to 5.0
Let’s discuss how easily we migrate to the .NET Core framework 3.1 to 5.0
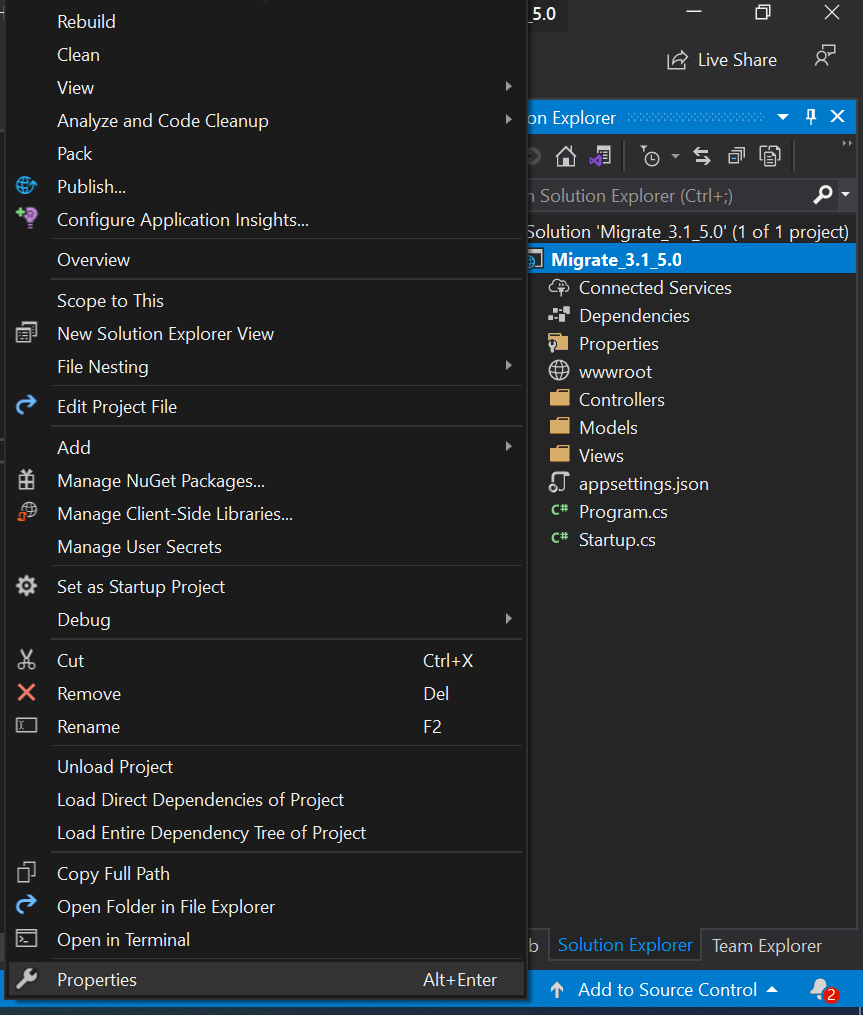
- To migrate from 3.1 to 5.0, Open the solution and right click on the project and choose properties.
- Then from properties window, select the target .NET Framework and choose .NET 5.0.
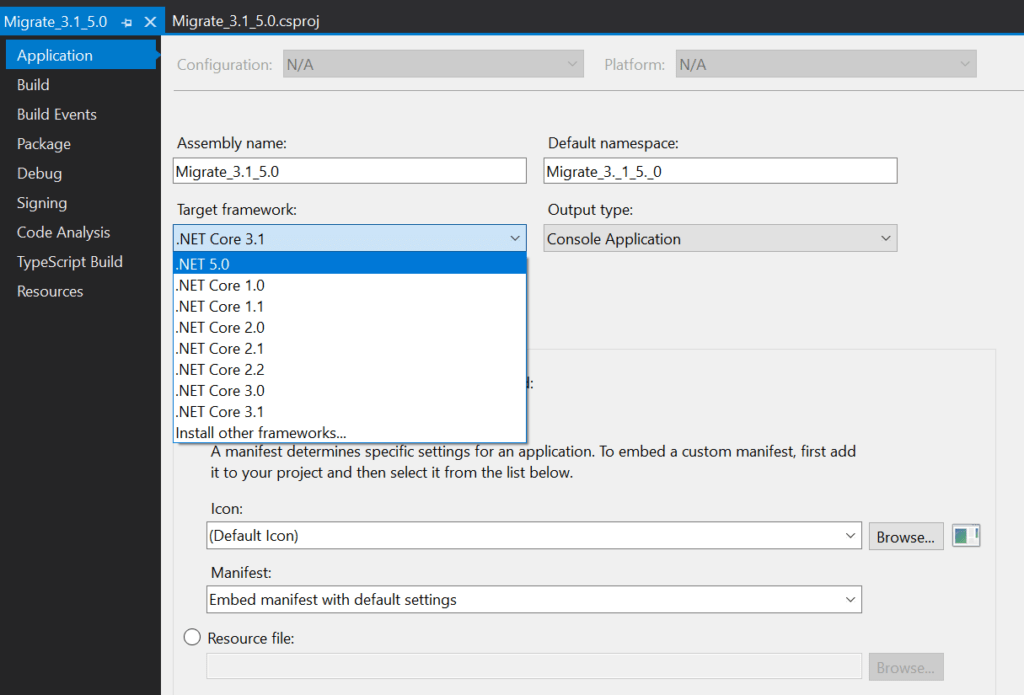
- Select the target framework as .NET 5.0 and save the changes.
- Build the project and see if there are any errors raised.
Updating Project Dependencies
Now as the project is change to .NET 5.0, so we need to update the project dependencies so that the project stays up-to-date with the latest framework version.
- Right Click on the Project then choose Manage Nuget packages. As you can see on below image the earlier version of Microsoft.EntityFrameworkCore is 3.1.10 but as we migrate it into .NET 5.0 so we need to update the packages to V5.0
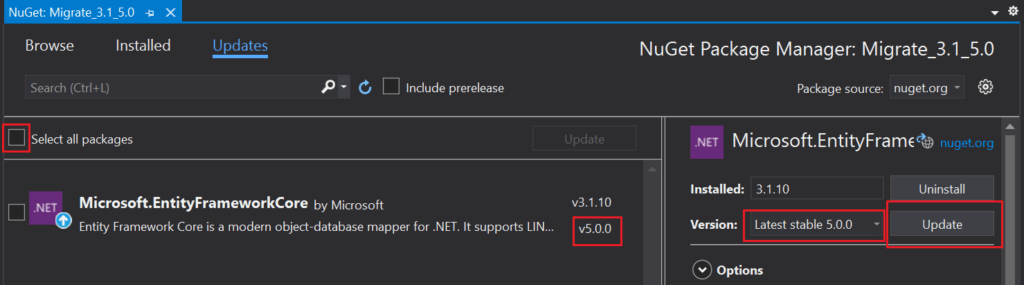
- As you see on above image, we need to update it into v5.0.0.
- Also if you have multiple packages then you select all packages checkbox and update all simultaneously.
- After update all packages, rebuild the project again.
After updating it, when you Edit the project file you can find on .csproj the target framework is changed to net5.0 and the PackageReference version 5.0.0 also like below code.
<Project Sdk="Microsoft.NET.Sdk.Web">
  <PropertyGroup>
    <TargetFramework>net5.0</TargetFramework>
    <RootNamespace>Migrate_3._1_5._0</RootNamespace>
  </PropertyGroup>
  <ItemGroup>
    <PackageReference Include="Microsoft.EntityFrameworkCore" Version="5.0.0" />
  </ItemGroup>
</Project>
Run the ASP .NET 5.0 Core Project
Now, all the migration work is complete so lets run the application and see the output.

Boom, Now the output is displayed perfectly and we migrated to .NET 5.0.
Publish & Deploy ASP .NET Core 5.0 in IIS
In this section we discuss how the ASP .NET Core 5.0 application is publish and deploy it into IIS.
Publish the ASP.NET Core 5.0
Following below steps, we can publish our .NET Core 5.0 project
- Right click on Project then select publish as like below image.

After click on the properties window a modal dialog come up with following way of publish with following below steps as like the screenshot.
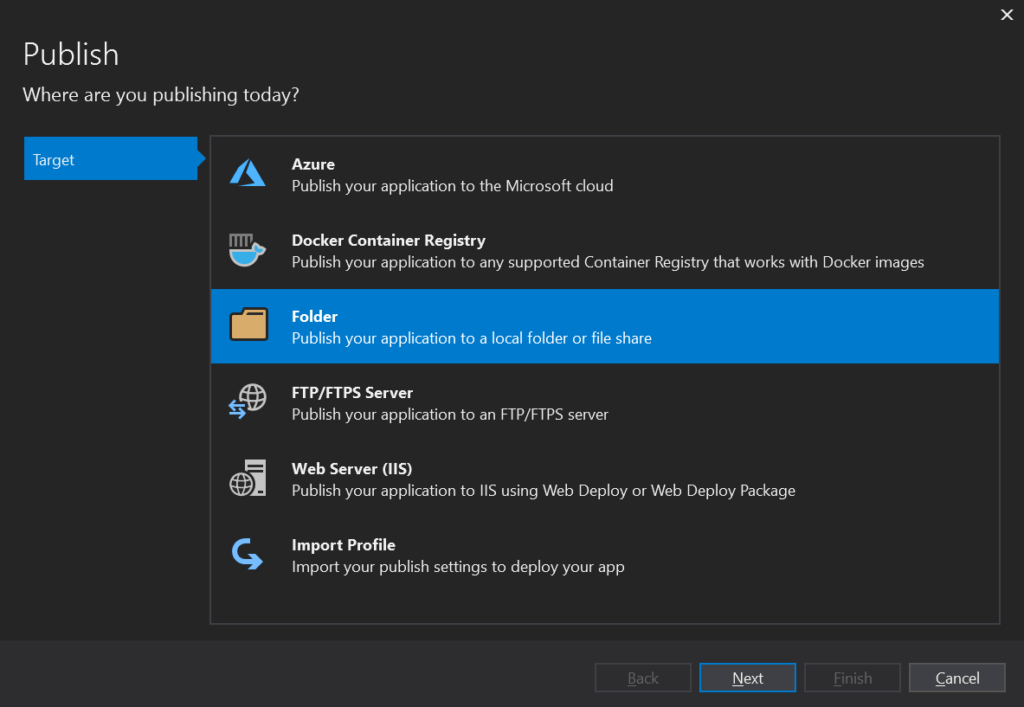
– We can publish the file directly to cloud Azure portal.
– We can also publish directly to the Docker Container if any.
– We can publish the file local folder like we did in earlier .NET version publish.
– We can publish it directly in FTP server.
– We can publish directly on Web Server(IIS) using web deploy or web deploy package.
– Also we can publish using Import Profile.
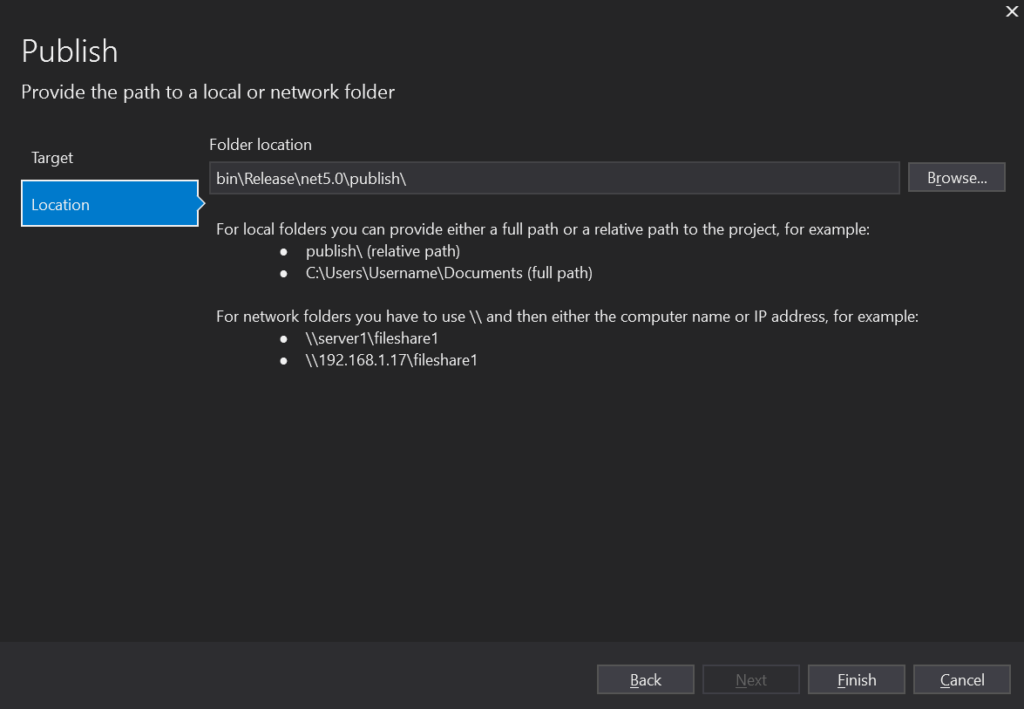
In this example we consider the publish method using traditional way, using folder. On future we may have another article where we discuss step by step to publish file of different ways.
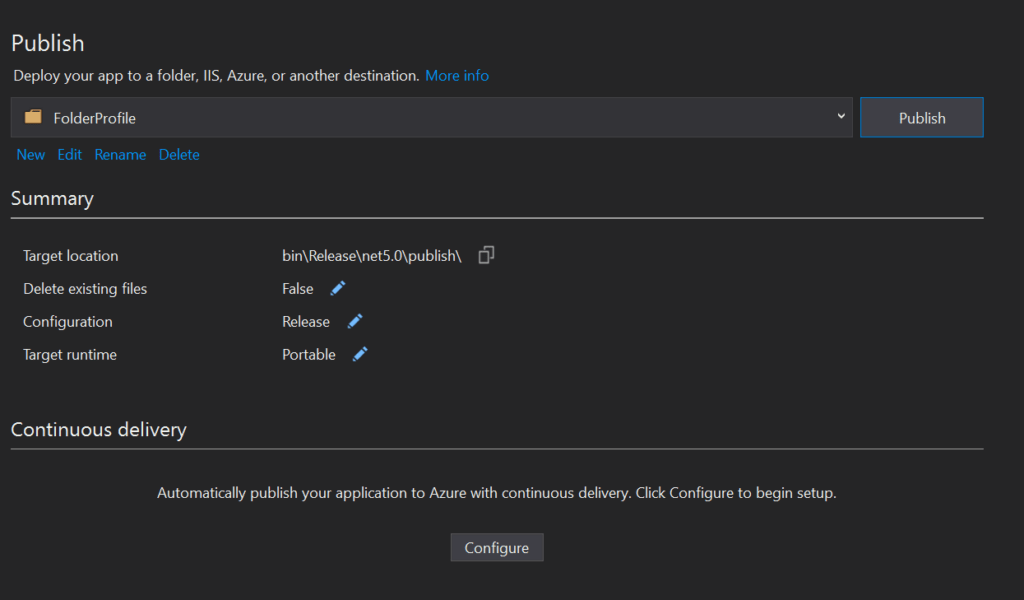
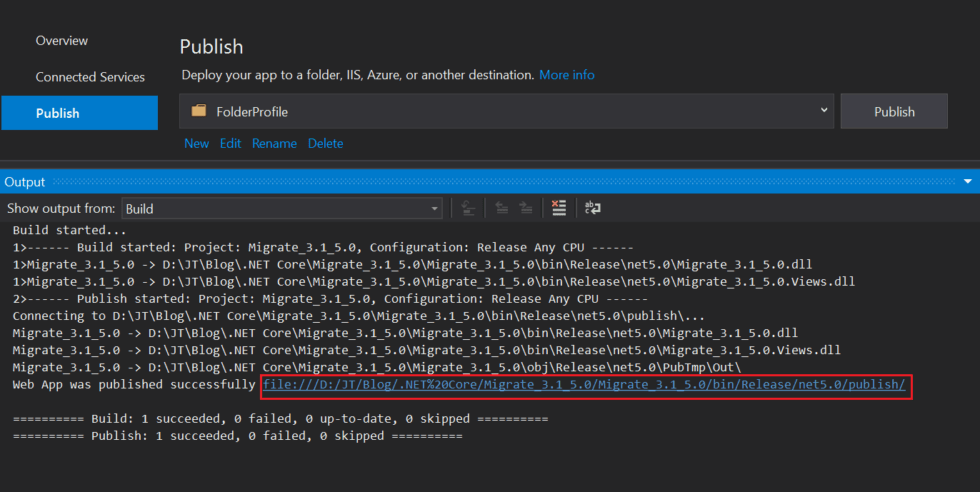
Now the file publishing is done, then the next step is install .NET 5.0 hosting bundle then deploy it into IIS.
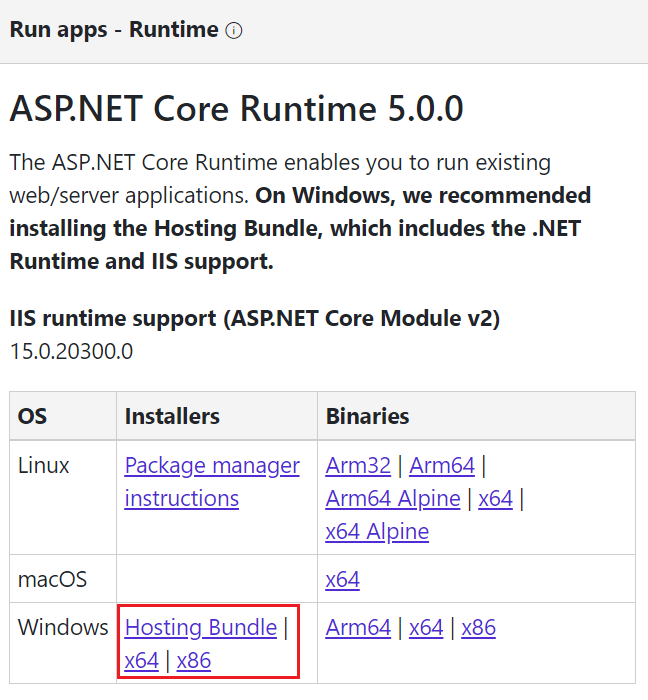
Install ASP.NET Core Runtime 5.0 Hosting Bundle
Let’s see our final step of this article how to deploy the ASP .NET Core 5.0 project in IIS.
- First we need to install ASP .NET Core Runtime 5.0.0 hosting bundle to deploy the .NET 5.0 application in IIS.
- If your application is already deployed to an IIS on Windows Server, you just need to install the hosting bundle and deploy.
Deploy ASP .NET Core 5.0 in IIS
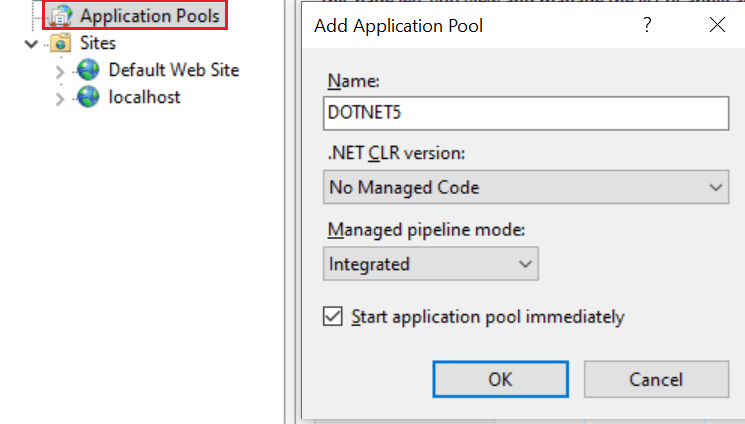
Now the file is published and .NET 5.0 hosting bundle is installed, then the final step is deploy it into IIS. if you are doing fresh deploy of your migrated ASP.NET Core 5.0 project then you need to setup the application pool and do it.
Creating Application pool
- To create the application pool, open your IIS manager, then navigate to Application Pools, then click “Add Application Pool”, a dialog will appear, Give it a name such as “DOTNET5” .
- In the .NET Framework version, choose “No managed code” then press Ok.
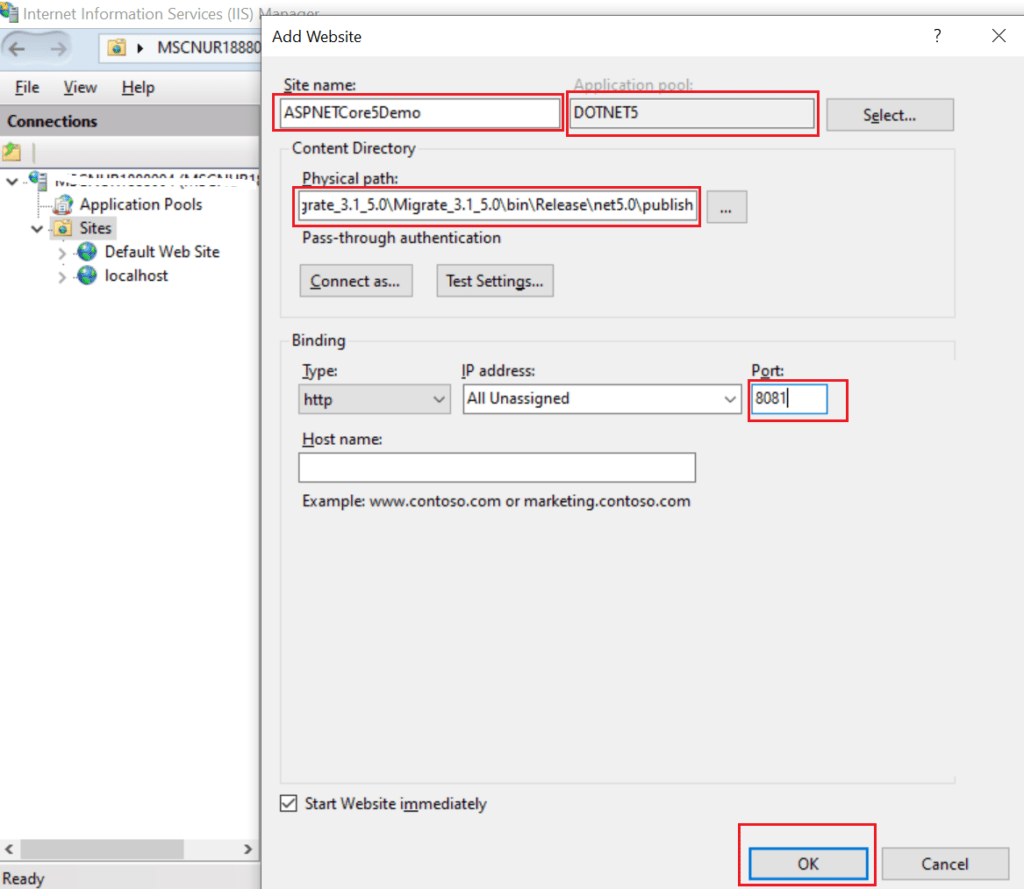
Configure the ASP.NET 5.0 application into IIS
- The application pool ready now then we need to create a new website under IIS Sites. So from the left-side menu of IIS manager, right-click on sites, then choose “Add Website” .
- Then it open a dialog box, from the dialog box give it a name like “ASPNETCore5Demo”, assign it to the newly created application pool “DOTNET5”, and select the physical path of our application folder.
- You can see we select the application pool that we created earlier and set the physical path and port we set as 8081.
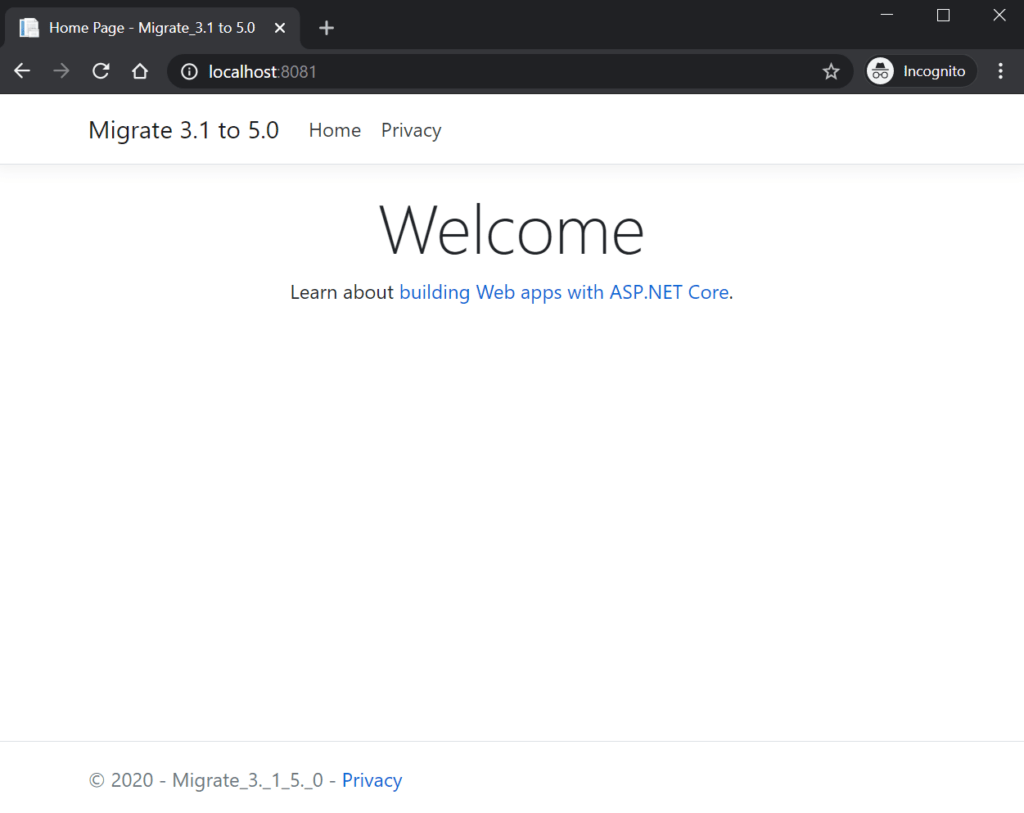
You can see now our .NET 5 website is hosted in IIS, let’s run the application and see the output like below. As we set the port no. is 8081 then when we run the application and the application run in browser with URL http://localhost:8081.
Conclusion
Leave behind your valuable queries and suggestions in the comment section below. Also, if you think this article helps you, do not forget to share this with your developer community. Happy Coding 🙂
Jayant Tripathy
Coder, Blogger, YouTuberA passionate developer keep focus on learning and working on new technology.