
In this article we will learn about How to Create ASP.NET Core MVC application using VS Code. We will discuss that how to create ASP.Net Core application using VS Code. Below are the Prerequisites require before start the application. The prerequisites are,
- .NET Core 2.0 SDK (Download .NET Core 2.0)
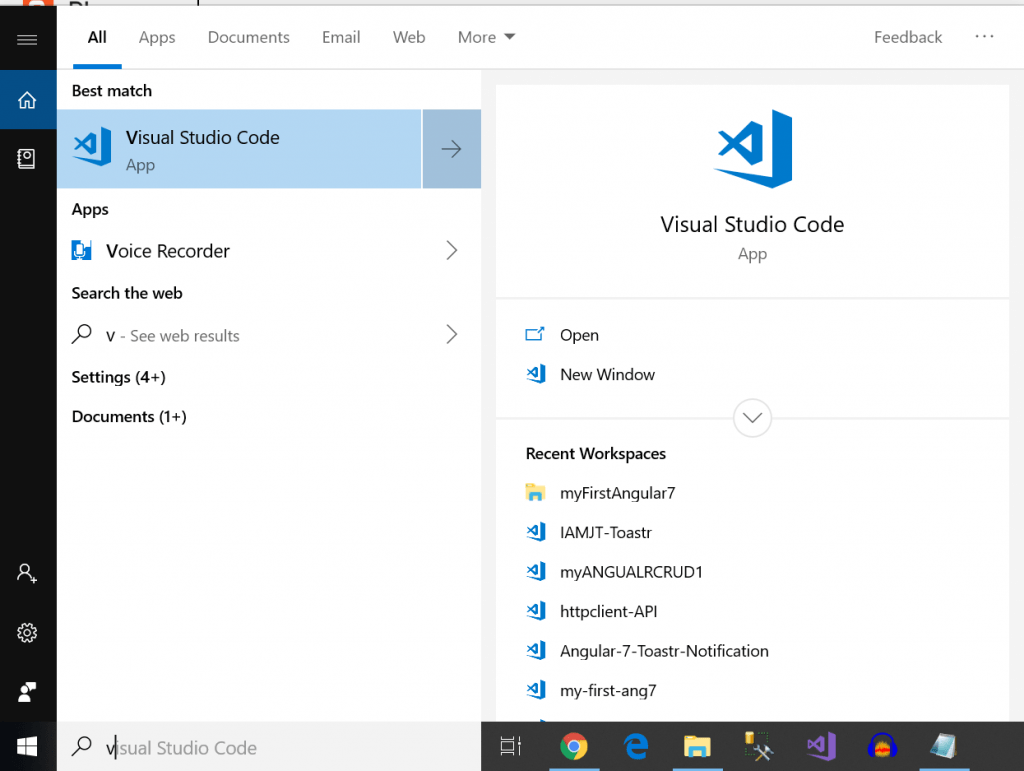
- Visual Studio Code (VS Code Download)
- VS Code C# extension
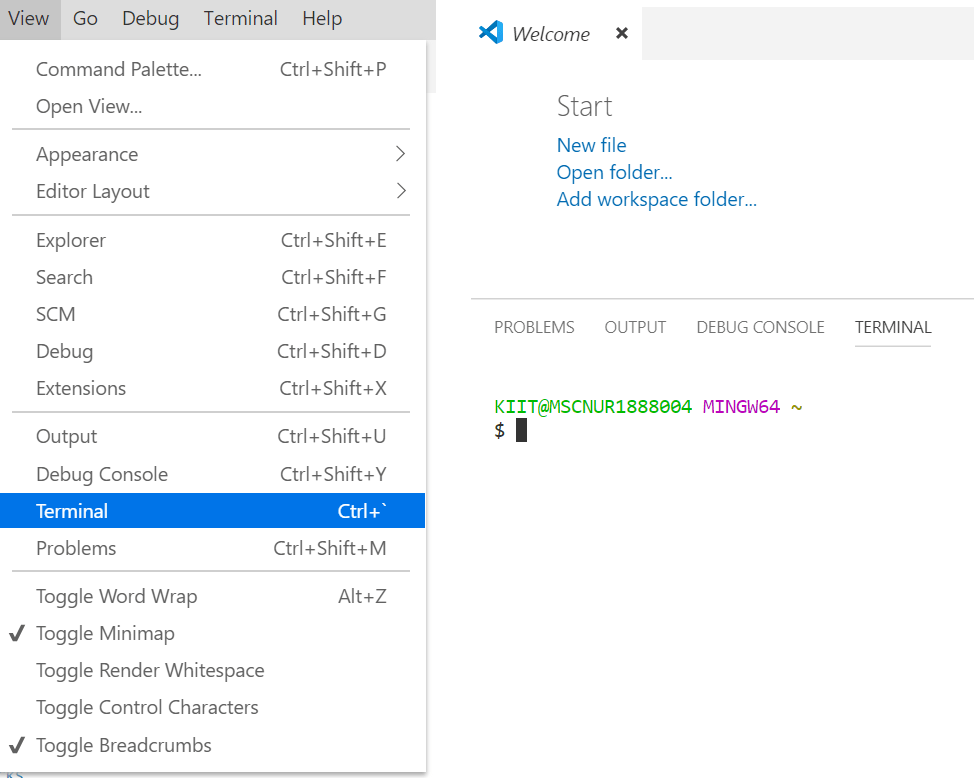
Open Visual Studio Code and go to terminal window.
On the menu Bar go to view select Terminal or select “ctrl+`”
Then move to the Project location where want to save your Project using below command: cd D:\Jayant\.. like below path where I want to save my Project.

(I)Then create the directory folder where want to save your project.
mkdir mySampleCoreMvc
(II) Move to that folder using below command
cd mySampleCoreMvc
Before we make Project check the C# extension is installed or not. If it is not installed then install it,in my case I already installed.
Type the below command and hit enter for creating the brand new application. This will create brand new application like below screenshot.
dotnet new MVC
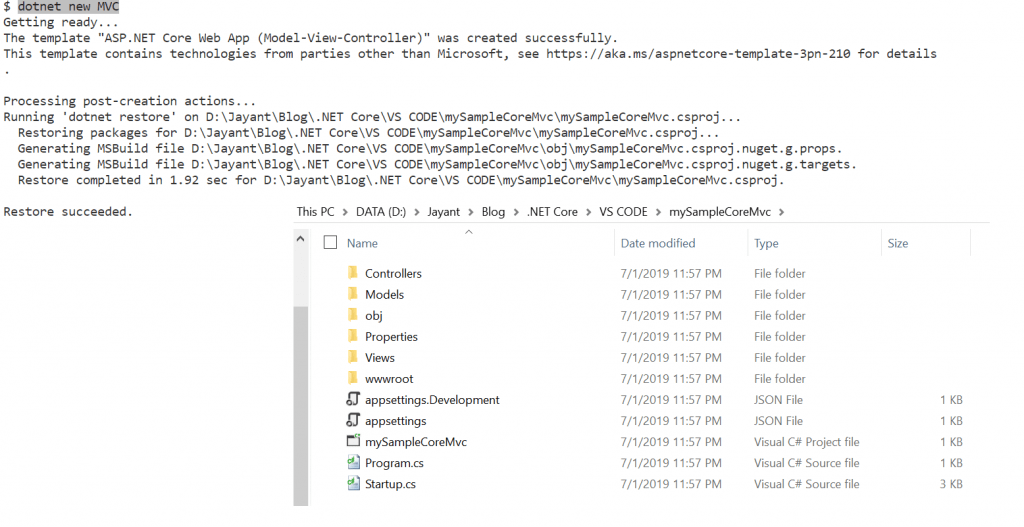
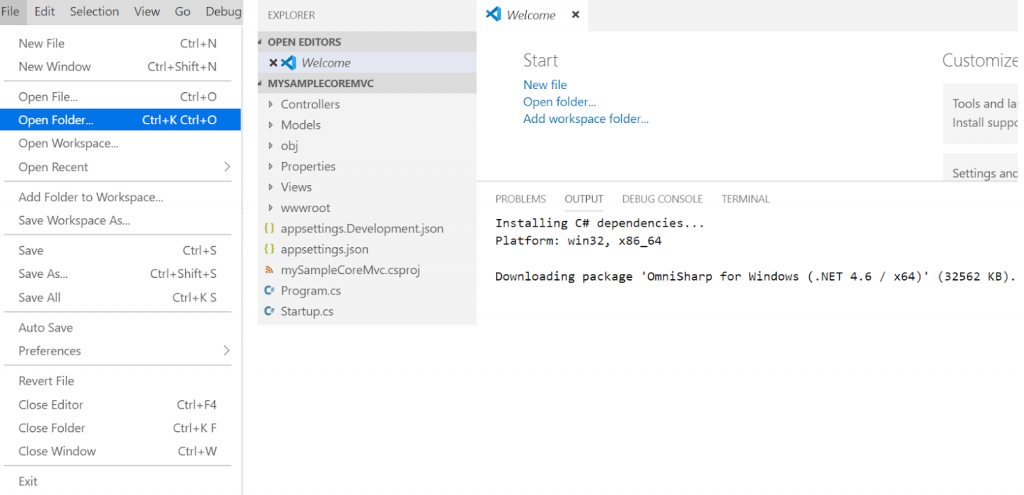
Now Open the File folder and select the Projects, after open the project look like below and the dependent packages are downloaded automatically.
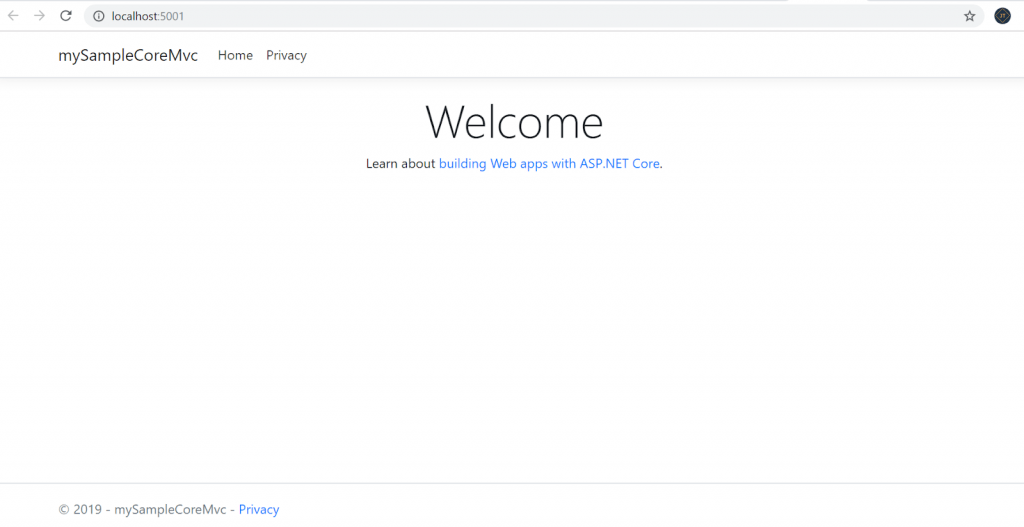
Now it’s time to lunch the application. Hit F5/ Ctrl+F5 to see the Output window like below.
Conclusion
We discussed about how to create the .Net Core application using VS Code.