
This is the continuation article of Building CI/CD Pipeline using Azure DevOps. On the previous article we discussed about Continuous Integration (CI) Process, In this article, we will learn about the Continuous Development (CD) process and how to automatically trigger the Release pipelines once the build pipeline has completed successfully. Before starting this article please read my previous article Building CI/CD Pipeline using Azure DevOps- Part 1.
Building Continuous Development (CD) process
Step-1
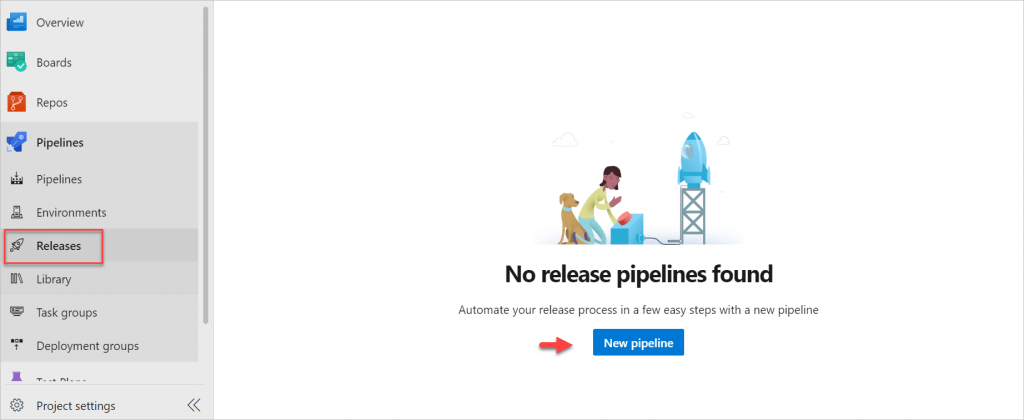
To initiate the release pipeline follow the below steps. Click on the Releases on left panel and click on New pipeline.
Step-2
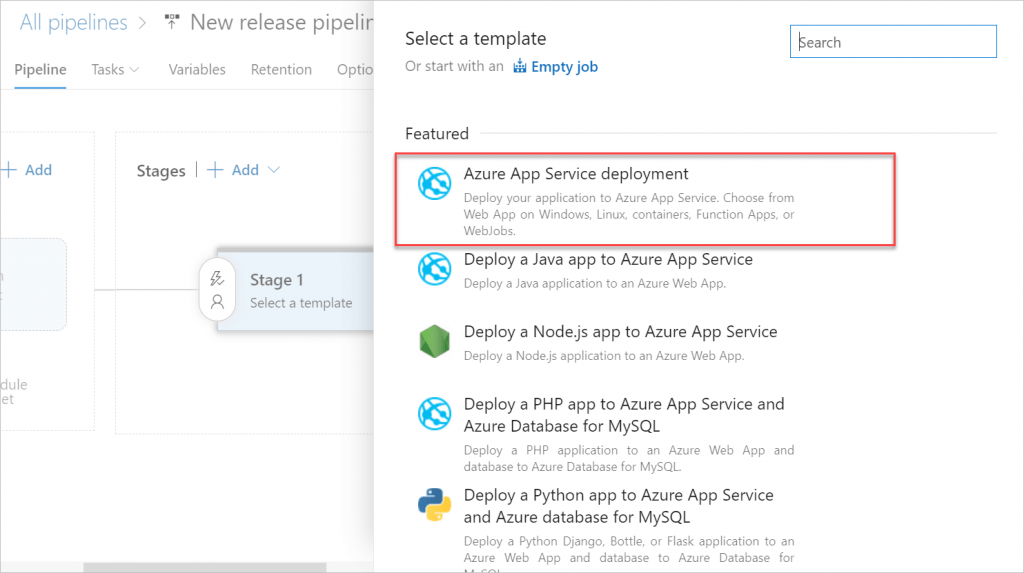
On next it open the below page where you can choose the template where we want to deploy our code/service. For this example I have taken for deployment as Azure App Service, So I select the “Azure App Service deployment”.
Step-3
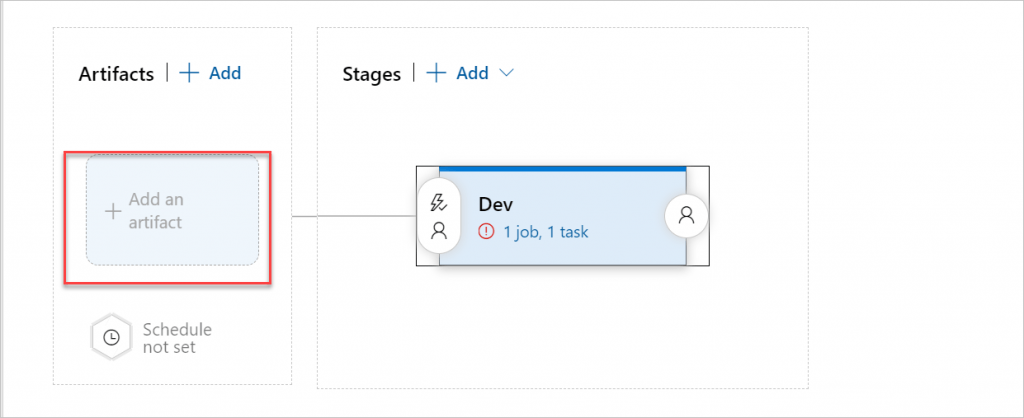
On below the Release pipelines are categories into two parts, Artifacts and Stages.
- Artifacts : A release is a collection of artifacts in your DevOps CI/CD processes. An artifact is a deployable component of your application. Azure Pipelines can deploy artifacts that are produced by a wide range of artifact sources, and stored in different types of artifact repositories.
- Stages: A stage is a logical boundary in the pipeline. It can be used to mark separation of concerns (for example, Build, QA, and production). Each stage contains one or more jobs. When you define multiple stages in a pipeline, by default, they run one after the other.
Here on the below template I set the Stage name as “Dev” and then click Save as Template.

Step-4
Dev stage has been created, then click on Add Artifact
Step-5
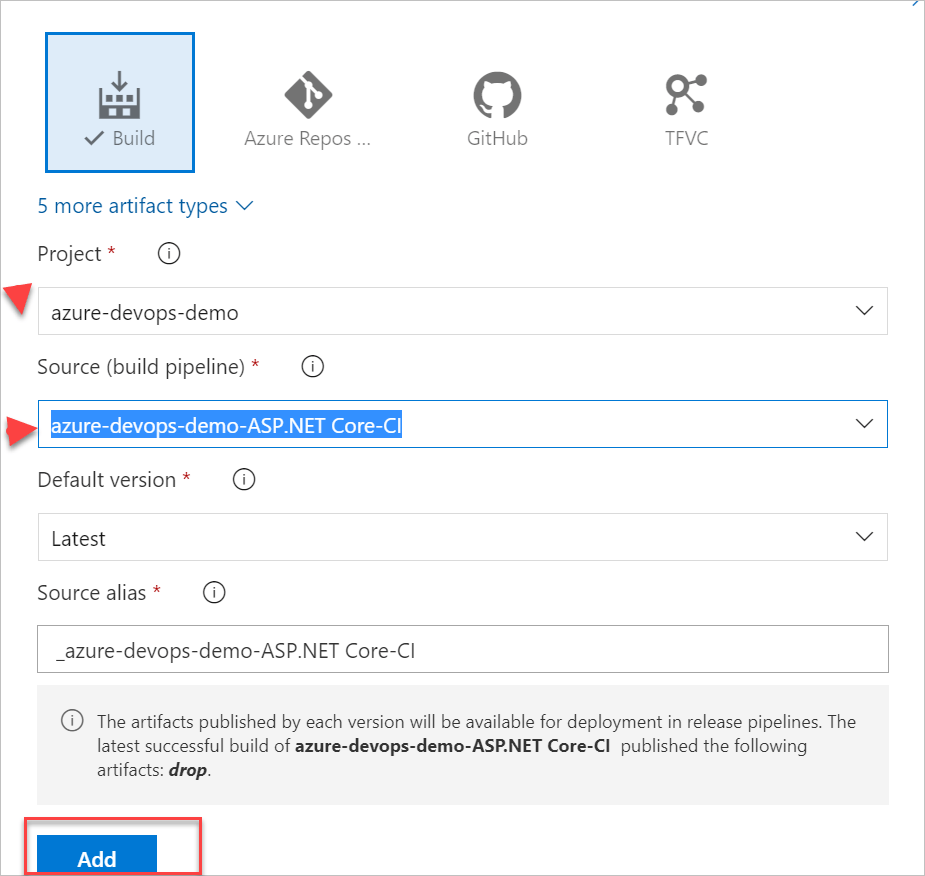
After click on the Artifacts, it open the new window.
- Select Artifacts type as Build here, as we want after the build pipeline succeeded this release pipeline will take over.
- Select the Project name and select the source(The source is the earlier creation of build pipeline name).
- Default version is Latest, as when the new build is process then it automatically fetch the latest version.
- And click on Add button.
Step-6
After click on the Add button, it open the new window and here add the below details,
Here it asked to share the Azure App Service details
- Here the Stage name as Dev, and choose the Azure Subscription as we have Free Trial.
- The App type is choose as “Web App on Windows” and the App service populate and click on save.

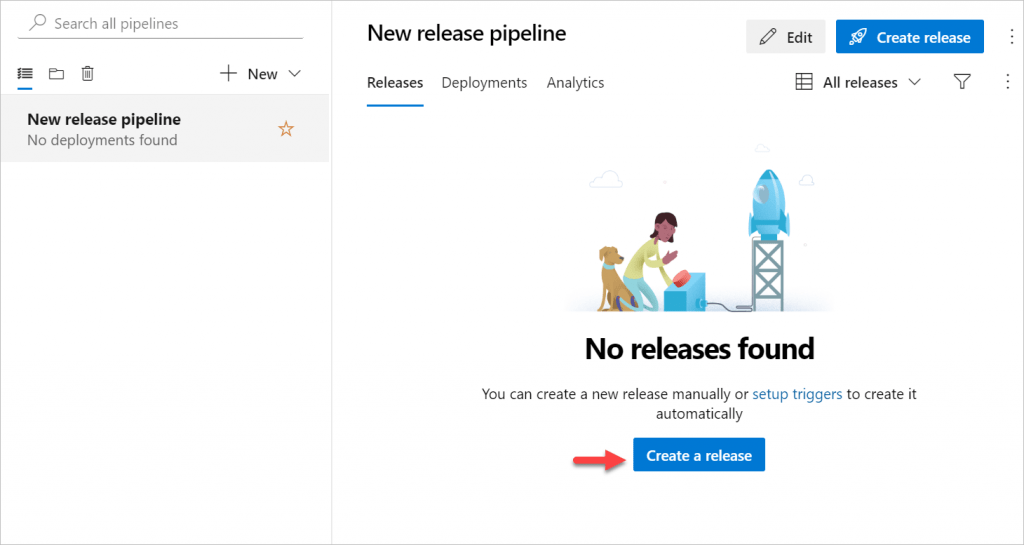
Step-7
After click on the Save button, it open the new window and here click on create release button.
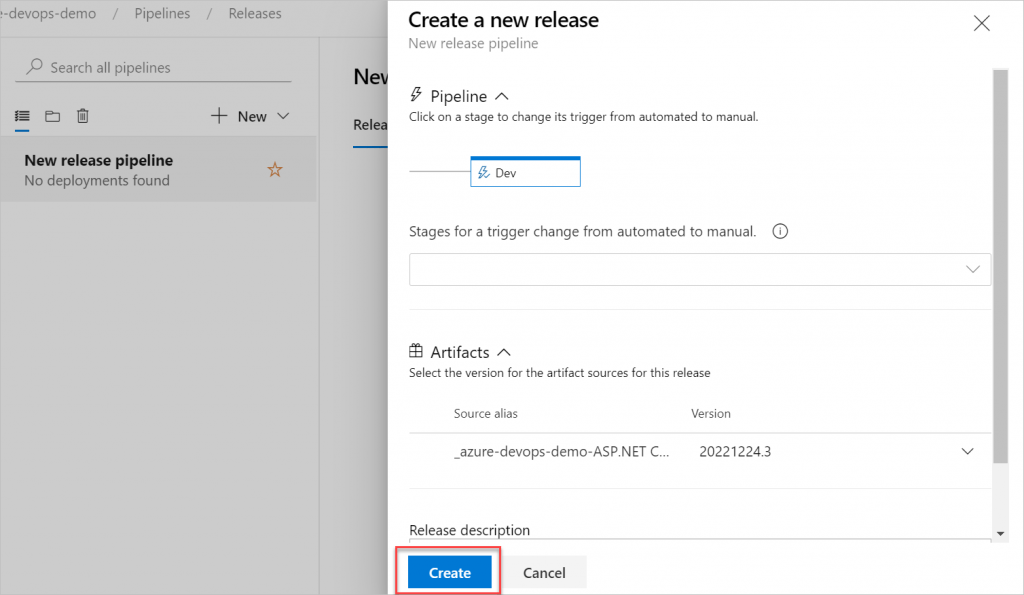
Step-8
After click on the Save button, it open the new window and let them as it is, Click on create button.
Step-9
And upon click on create button, you can see the Artifact Dev Release progress.
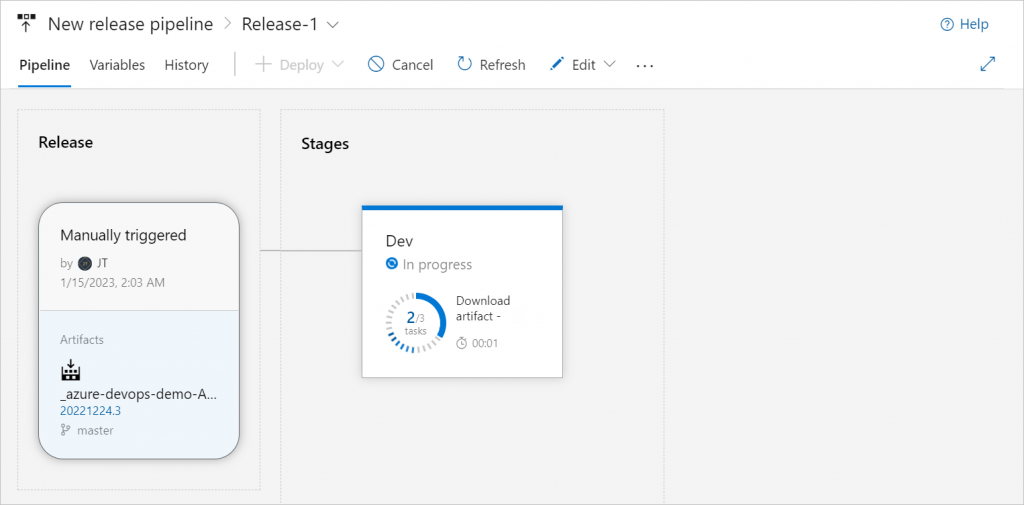
Step-10
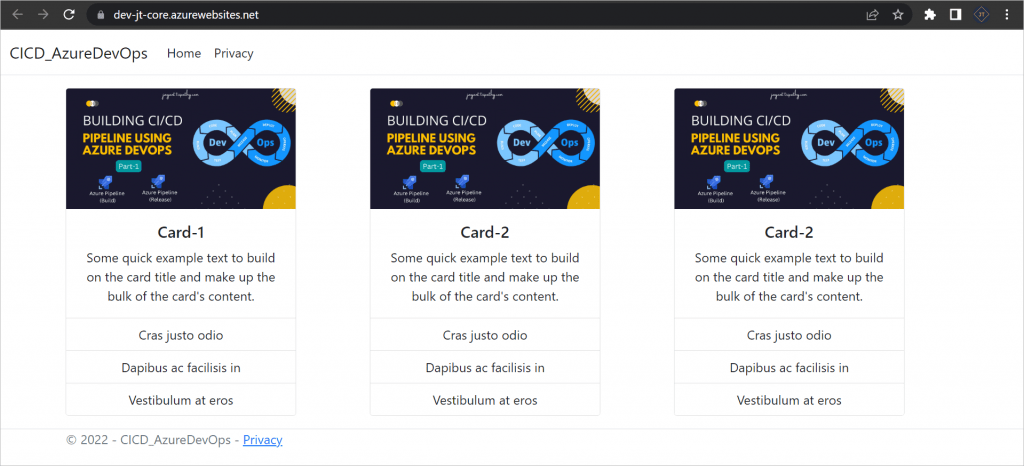
And on the blow image you can see, the Dev stages completed.
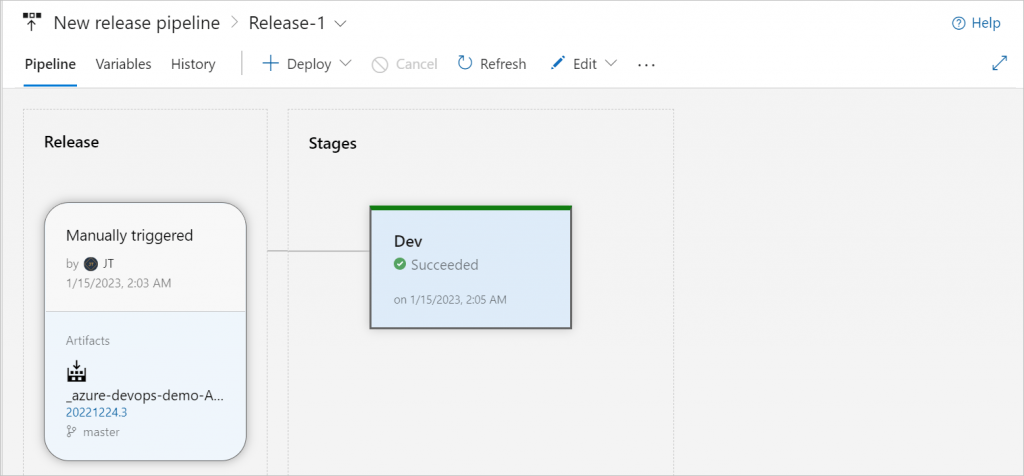
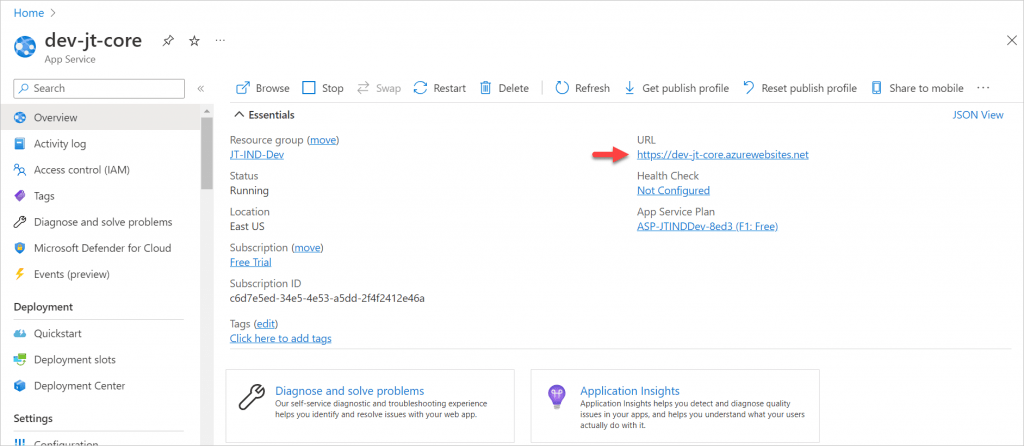
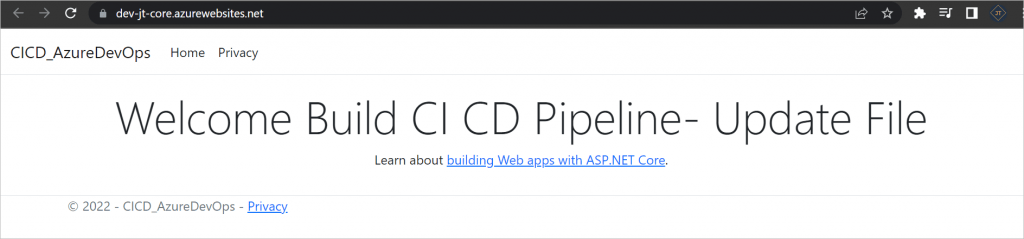
And open the Azure App Service, and navigate the URL and you can see the output like below,
Trigger the Release pipeline Automatic
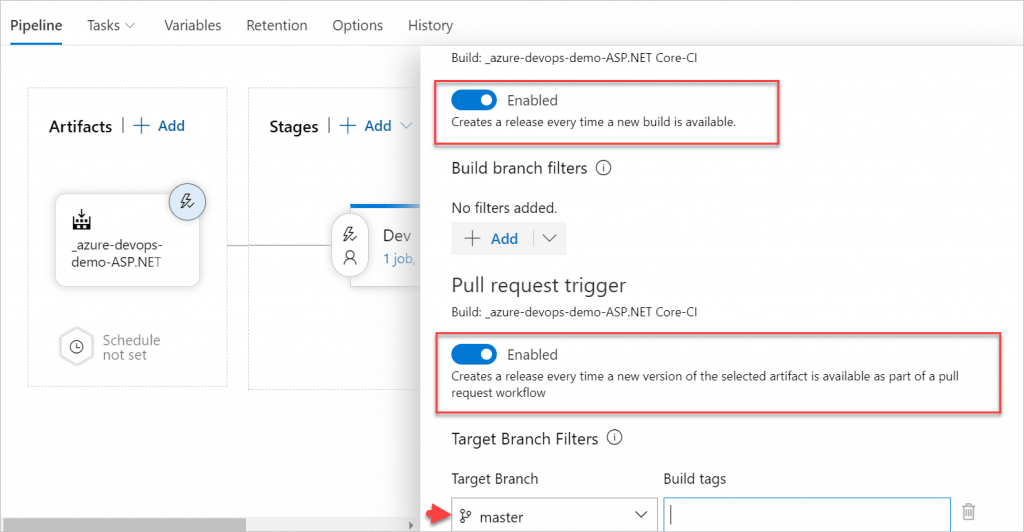
- Click on the
Edit Releaseand Edit the Artifacts
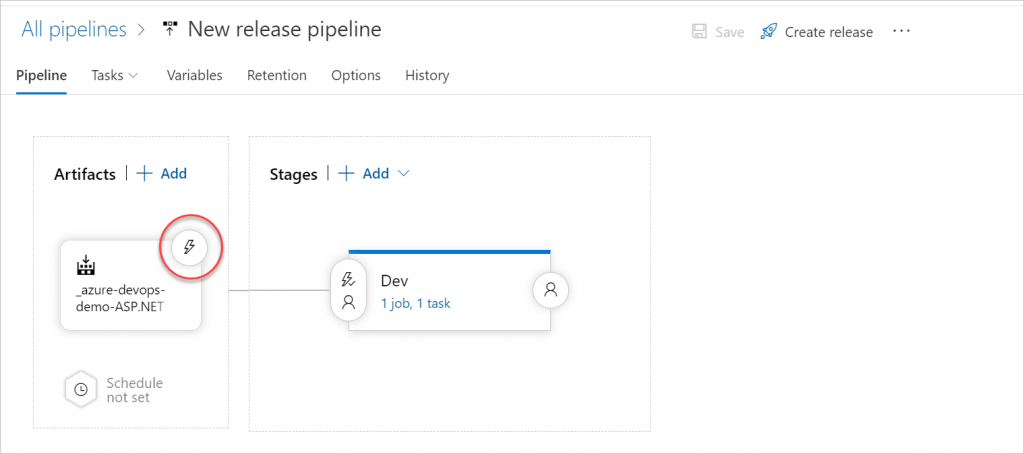
- Enabled the Creates Release and Enabled the Pull requests Trigger.
- And the target branch is
master
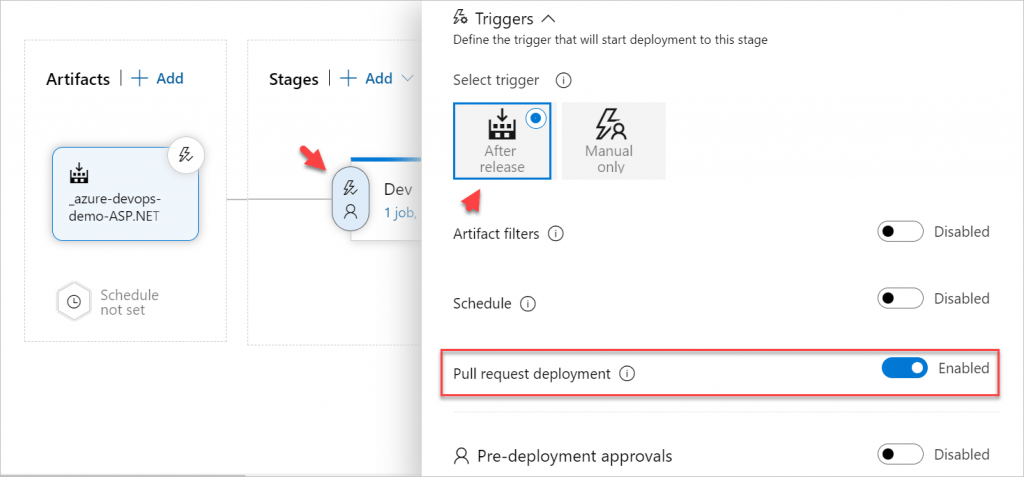
- And then Click the Edit of Stages, and enabled the pull request deployment.
You can see the Trigger pipeline on the below short Video,
The final changes you can see below
Conclusion
This is the continuation article of Building CI/CD Pipeline using Azure DevOps. On the previous article we discussed about Continuous Integration (CI) Process, In this article, we will learn about the Continuous Development (CD) process and how to automatically trigger the Release pipelines once the build pipeline has completed successfully.
Leave behind your valuable queries and suggestions in the comment section below. Also, if you think this article helps you, do not forget to share this with your developer community. Happy Coding 🙂
Related Articles
- Deploying Angular apps in Azure Blob Storage with CI/CD Integration 🚀
- Building CI/CD Pipeline(YAML) using Azure DevOps – GitHub to Azure Web App (PaaS)
- Building CI/CD Pipeline using Azure DevOps- Part 2
- Building CI/CD Pipeline using Azure DevOps- Part 1
Jayant Tripathy
Coder, Blogger, YouTuberA passionate developer keep focus on learning and working on new technology.