
In this article we will learn about Building CI/CD Pipeline using Azure DevOps. One of the goals of DevOps is to provide faster and reliable releases. In this regard, the terms Continuous Integration and Continuous Deployment have become very popular. Continuous Integration (CI) is a software development practice that requires developers working on the project to integrate code into a shared repository. For the CI process to be a success, the build, unit tests, integration tests, acceptance tests should be successful. Please read my all Azure article here.
What is Azure DevOps?
Azure DevOps Pipelines provide you the option to do your CI builds for any platform and any tool or language. Azure DevOps Pipelines provides a web interface where you can create jobs that contain steps that need to take place to create a production artifact for your software. The build automation pipelines allow you to trigger from any external repository like GitHub, SVN, or your local Git server or Azure DevOps repositories. The triggers will then fire the build according to the definition you created. Besides, Azure DevOps also provides the following options for automation
- Build automation
- Deployment automation
DevOps Projects does all the work for the initial configuration of a DevOps pipeline including everything from setting up the initial Git repository, configuring the CI/CD pipeline, creating an Application Insights resource for monitoring, and providing a single view of the entire solution with the creation of a DevOps Projects dashboard in the Azure portal.
What is CI/CD?
Continuous integration and continuous deployment (CI/CD) is backbone of DevOps. It helps fast software development and deployment to enable continuous delivery of value to end users by achieving incremental software delivery. Continuous integration (CI) is an automated way to build, package, and test the applications. These builds are passed as inputs to the CD pipeline.
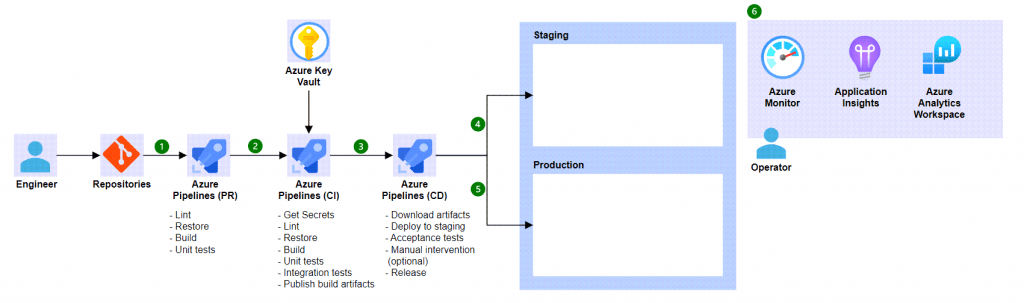
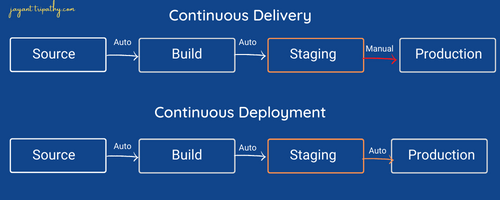
Continuous delivery (i.e. CD) automates the delivery of applications to selected infrastructure environments like development, UAT, production. With Azure DevOps, you deploy any software on any platform.
Creating CI/CD pipeline
Below are the steps to implement build automation and deployment automation with Azure DevOps Pipelines.
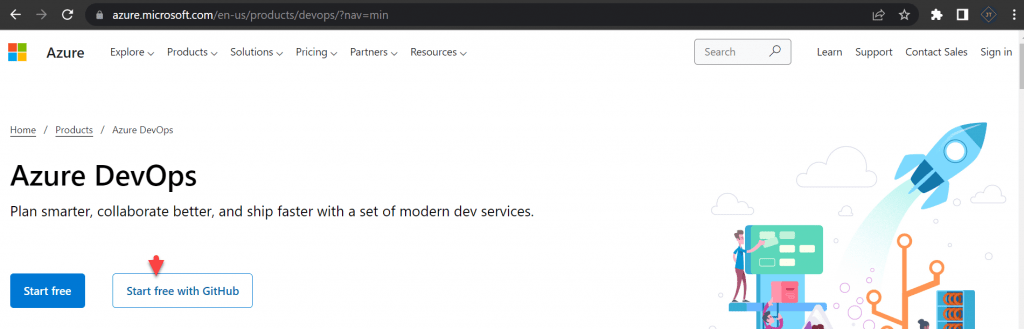
- Here I have logged in through GitHub, you can start signup free with putting some basic information. Azure DevOps is free to start.
Creating New Organization
- After logging into Azure DevOps, our next step is creating New Organization. The Organization can holds many projects and repositories.
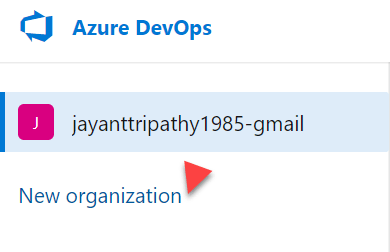
- Like on the below image [Fig-1] , click into the Organization.
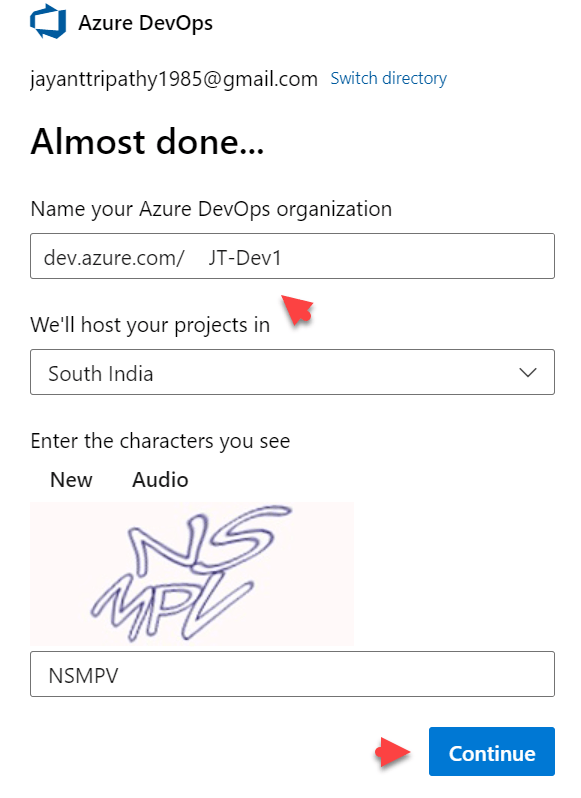
- It move to the next window [Fig-2], click continue.
- Then, include the Organization’s name [Fig-3], which should be unique. If already with same name the organization are available it ask to give proper name.
- Set the Project location name [Fig-3], here we set as south India as it is neared to us and give captcha then click continue.
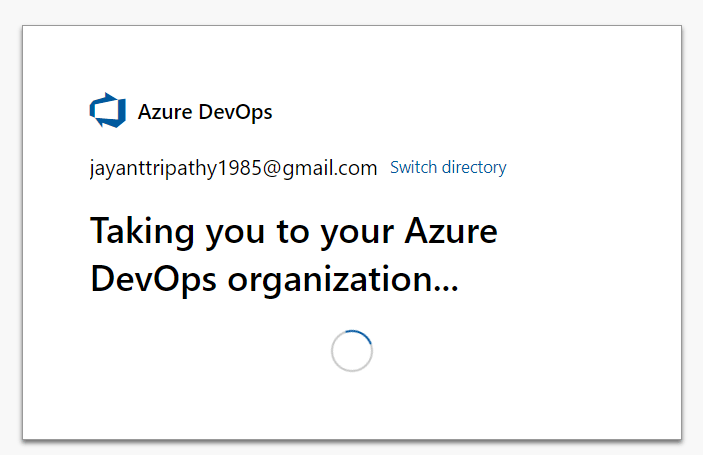
- On [Fig-4] you can see it creating the organization.

Creating an Azure DevOps Project
- After creation of the Organization, you can see on the highlighted arrow we click for create the project.

- Here we need to set the Project name, the name according to your choice.
- Make the project visibility as Private, we don’t want to share the repositories to public and then click to Create Project.
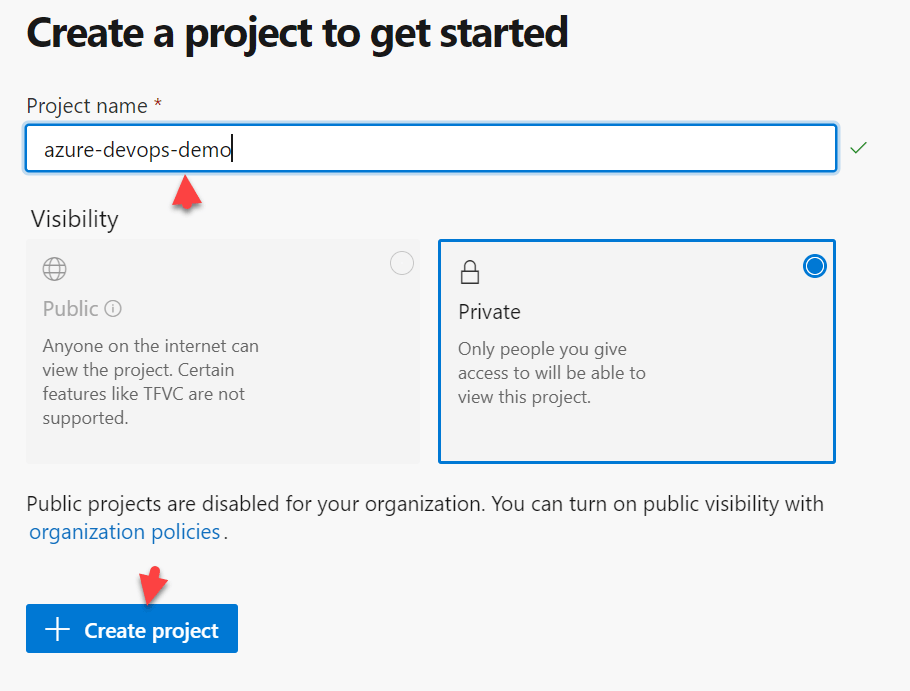
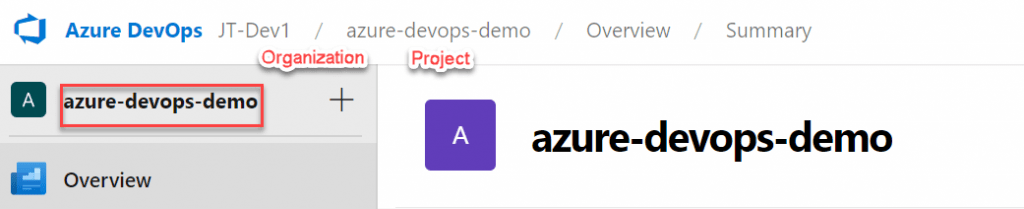
- The Project creation is done, on the [Fig-7] you can see we have the Organization is JT-Dev1 and the project name is azure-devops-demo.
Building CI/CD Pipeline using Azure DevOps
Creating ASP.Net Core Project and Push the file into Azure DevOps
Let’s create a ASP.Net Core MVC Project using below steps
- Open Visual Studio and Click create New Prokect.
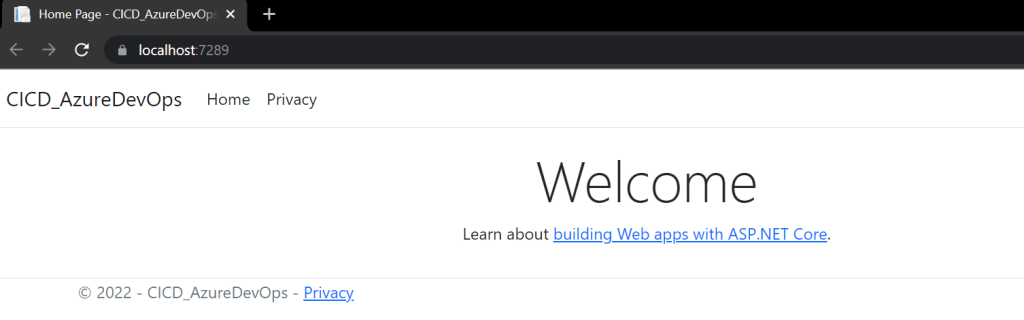
- Choose template as ASP.Net Core MVC and then give project name, it will create the sample ASP.Net Core project for us. Run the application and you can see now it ran in localhost.
Push the Code into Azure Devops
Our next step is pushing the created .NET Core App code into Azure DevOps.
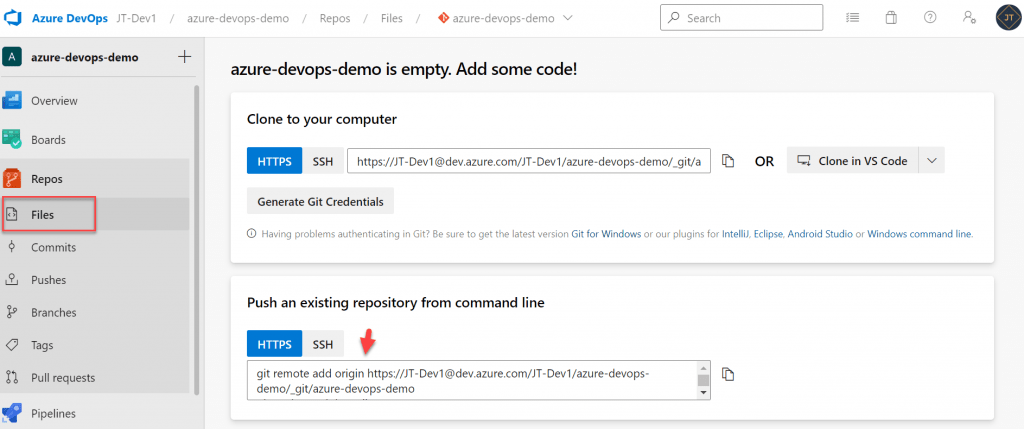
- Go to Repos -> Files, you can see highlight git origin, copy the path we can use it in below.
Use the below git command we can add the files into Azure DevOps
- Initialize the git command, To create a new repo, you’ll use the git init command. git init is a one-time command you use during the initial setup of a new repo.
git init- The git add command adds a change in the working directory to the staging area. It tells Git that you want to include updates to a particular file in the next commit.
git add .- git commit –a. Commit a snapshot of all changes in the working directory. This only includes modifications to tracked files (those that have been added with git add at some point in their history). git commit -m “commit message” A shortcut command that immediately creates a commit with a passed commit message.
git commit -m "initial load"Push the code to repository from the command line
Use the earlier copy command to add the code into repo.
git remote add origin https://JT-Dev1@dev.azure.com/JT-Dev1/azure-devops-demo/_git/azure-devops-demoAnd make finial push using below command
git push -u origin --all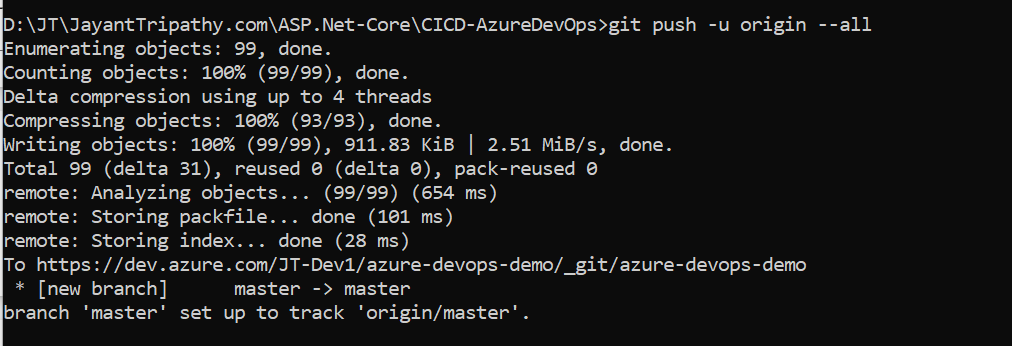
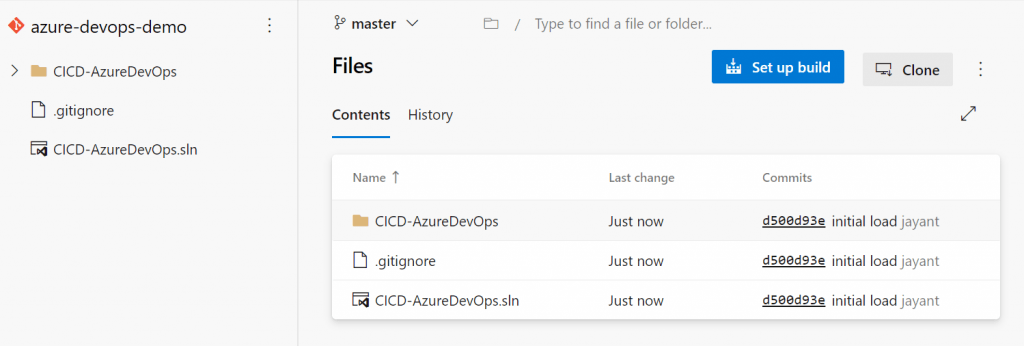
Now we can see the code has been pushed to master branch and we can see the our files are available in Repos->Files
Creating CI/CD Pipeline
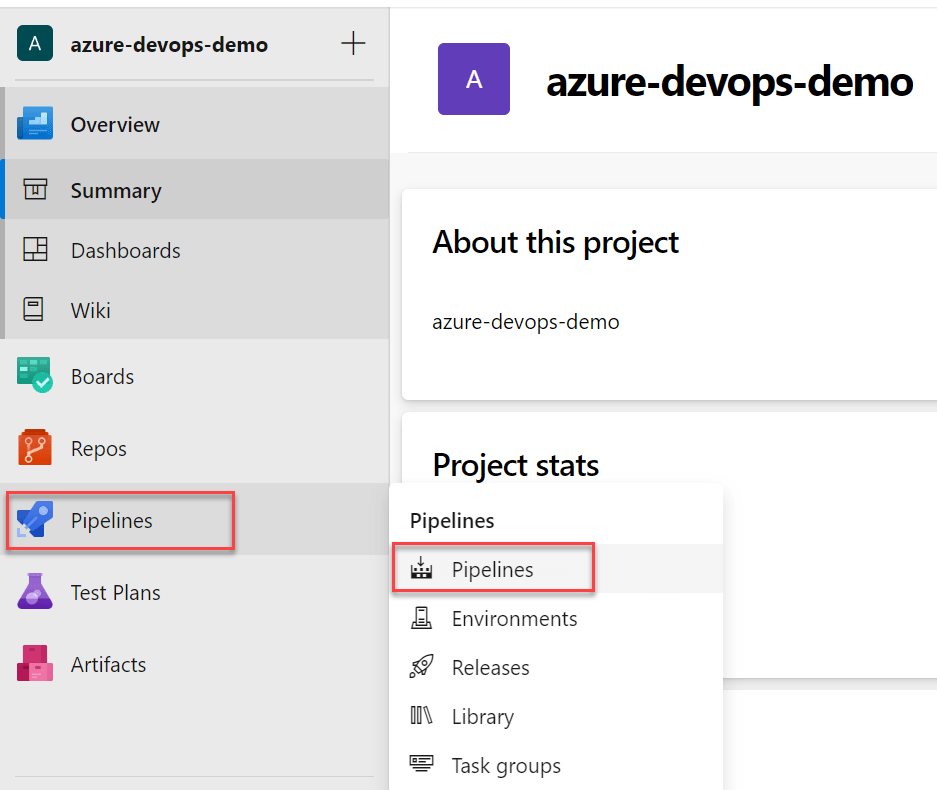
- Now we are in the project section. On the left go to Pipelines -> select pipelines
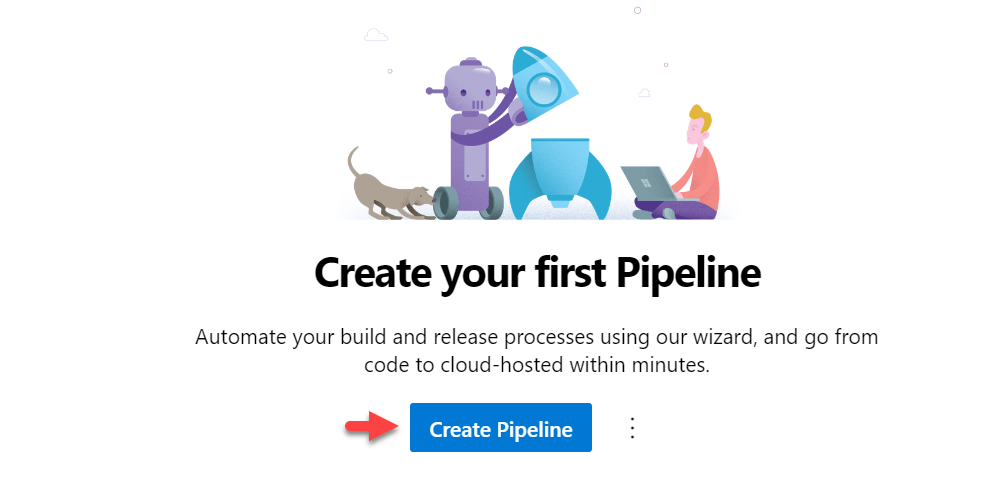
- It opened up the new window, and click on the create pipeline button.
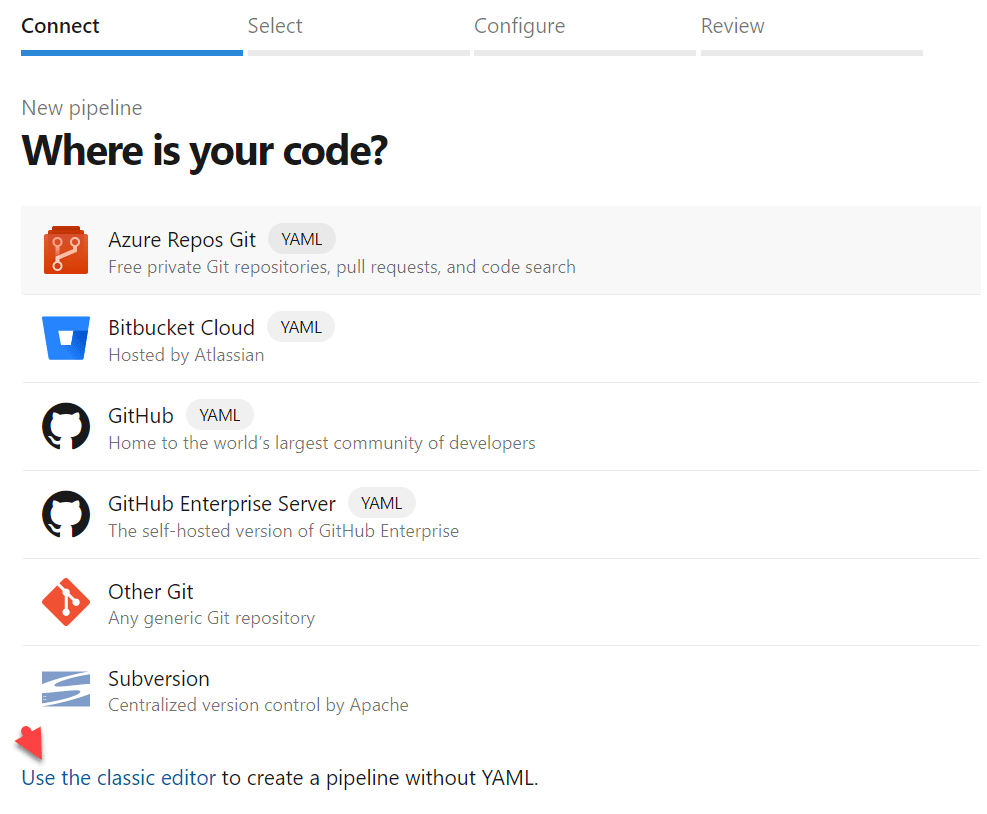
- Now you can see the below template where we can create pipelines; this window asked where our code is, whether it is from Azure repositories or another source, but it still needs to write the YAML files. While we are creating the basic pipeline, click the highlighted link of Use Classics Editor to help create the pipeline without a YAML file.
- Then it navigate to below page to select the repository. There is different options to choose the source.
- We have the code with Azure Repos Git so we checked it and for our case the Team project and repository is azure-devops-demo and the branch is targeting to master. Click continue

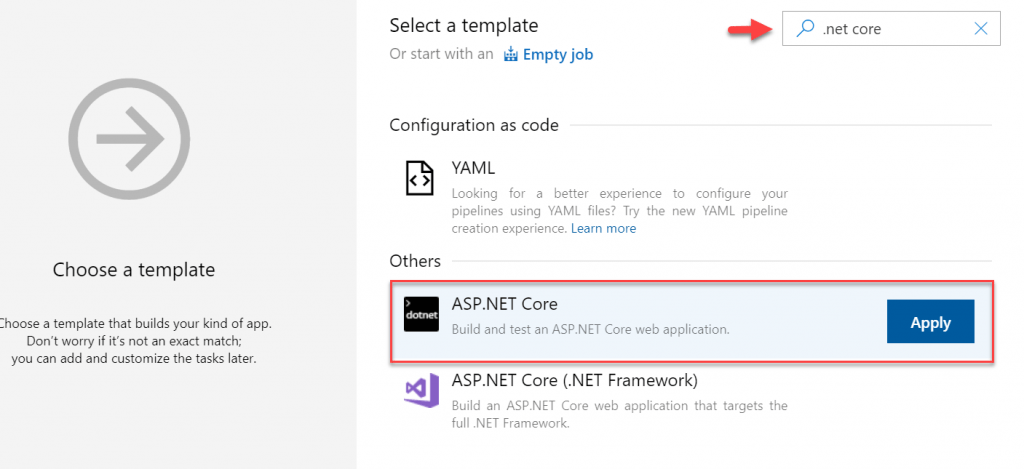
- On the below image you can see the new templates come up, here we can choose a template that builds kind of the app. We can customize it later.
- Choose .NET Core and on below you can highlight the ASP.NET Core template and then Apply it.
- Agent : To build your code or deploy your software using Azure Pipelines, you need at least one agent. As you add more code and people, you’ll eventually need more. When your pipeline runs, the system begins one or more jobs. An agent is installable software that runs one job at a time.
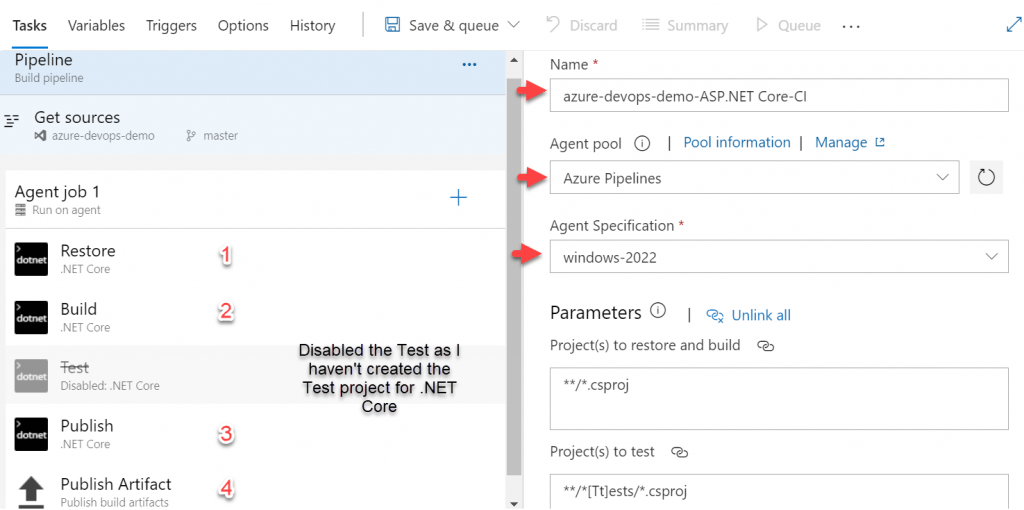
- This screen is final configuration of pipelines. Here you can see the Agent name is Agent Job 1, later I renamed it to JT-Agent-1.
- This Agent contains the steps: Restore, Build, Test, Publish and then publish Artifact.
- The build pipeline performs the following tasks.
- Retrieves source code from the code repository
- Restores the project’s dependencies
- Builds the application
- Runs all the automated tests
- Publishes the outputs
- We haven’t create the Unit Test project in our .NET Core application so I disable the Test in the Agent section.
- Here we set the Pipeline named as “
azure-devops-demo-ASP.NET Core-CI“ - The Agent pool name is here as Azure Pipelines.
- The Agent specification basically the pipeline will run into which platform, whether it is windows/Linux/macOS, We choose here as windows-22.
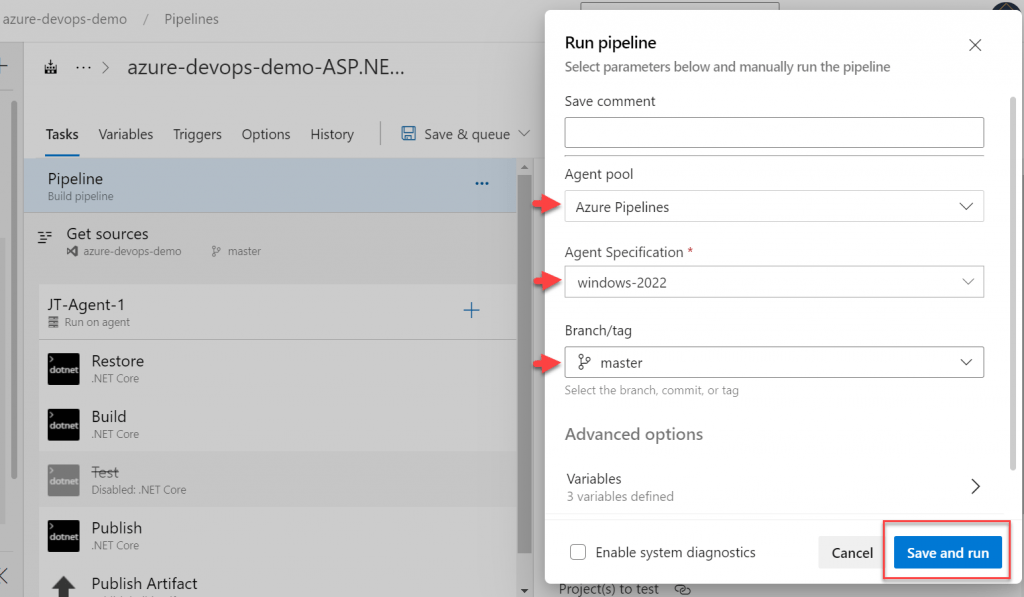
- Finally click on Save & queue.
- After click the Save & queue it asked the modal to run the pipeline for the confirmation of Agent pool, specification and branch. Just click Save & Run button.
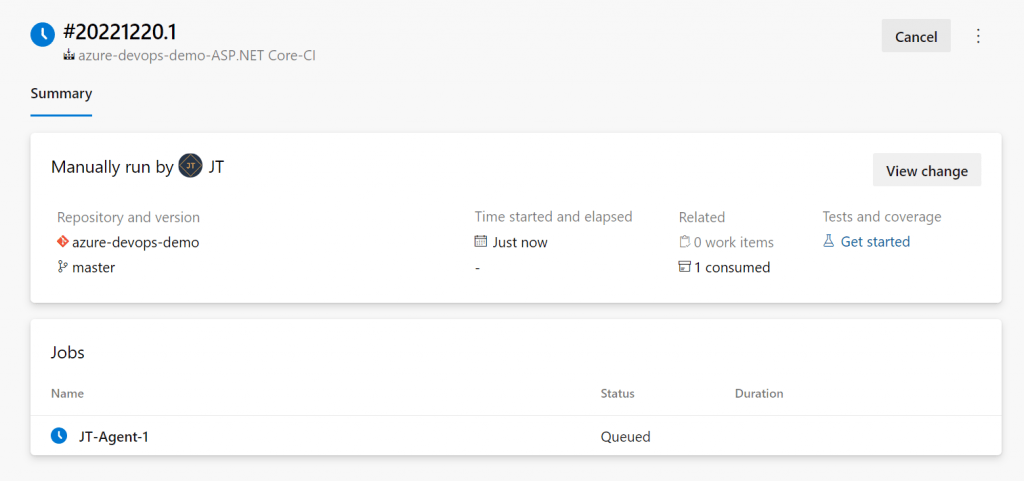
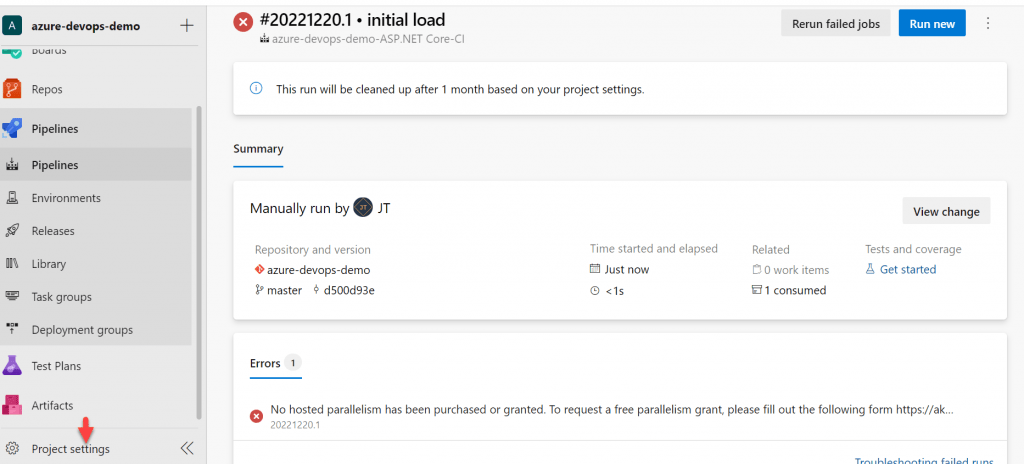
- On the next screen you can see the Agent is start for run.
But we are getting the issue as pipeline failed. The error message is “No hosted parallelism has been purchased or granted. To request a free parallelism grant, please fill out the following form https://aka.ms/azpipelines-parallelism-request“. We need to navigate to this URL and fill out the form
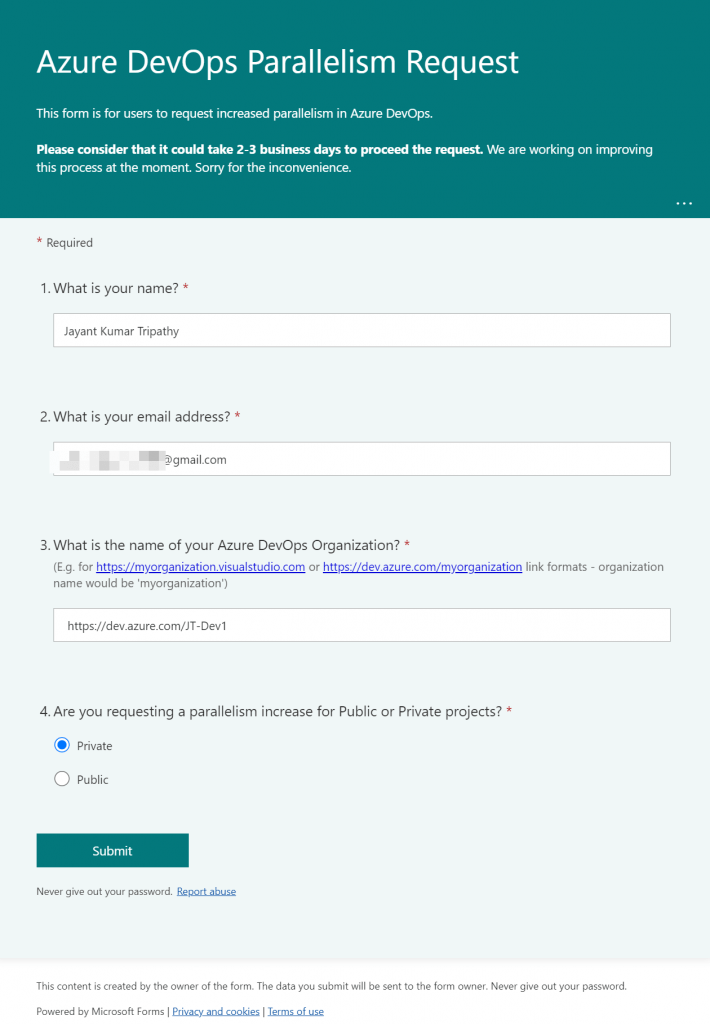
How to resolve the Azure DevOps Parallelism issue
We need to fill out the form and request here the Azure DevOps Parallelism request. It will take 2-3 business days for the approve request.
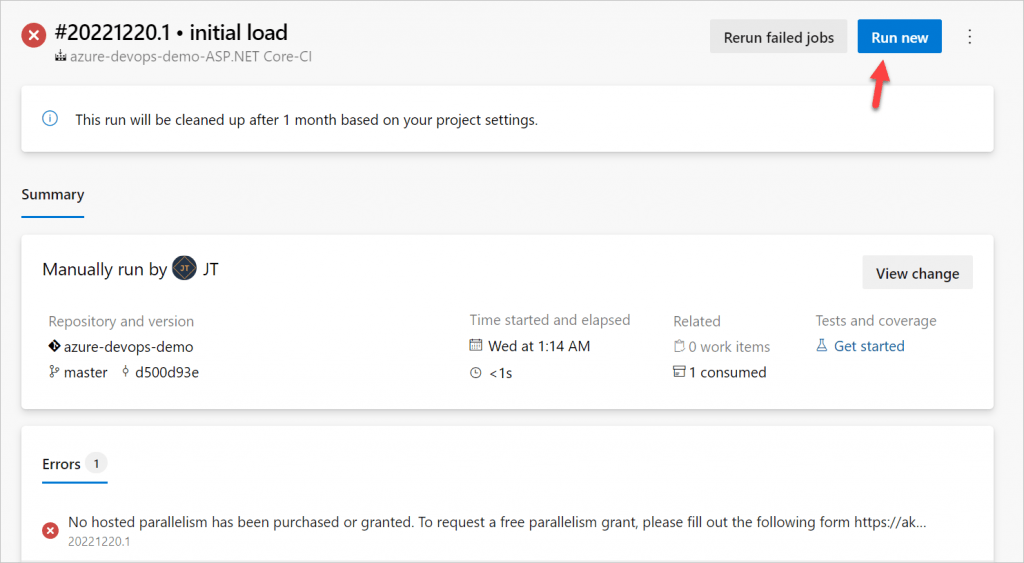
After waiting 2 business day, ran the pipeline again using below steps.
- Open the Pipeline again and click on the highlight
Run newbutton.
- Now you can see the Agent Run is succeeded.

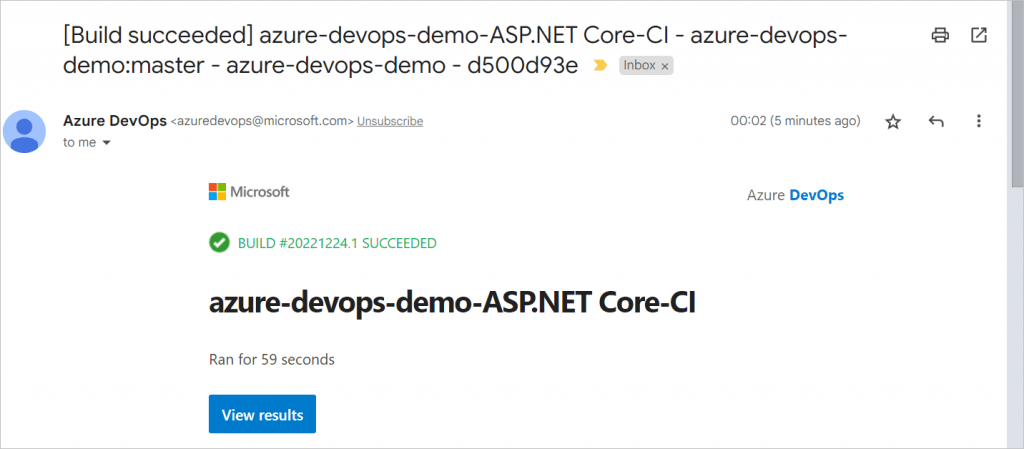
- You can see below, the build is succeeded and we got the confirmation email.
Enable Continuous Integration
To enable continuous Integration we follow below steps.
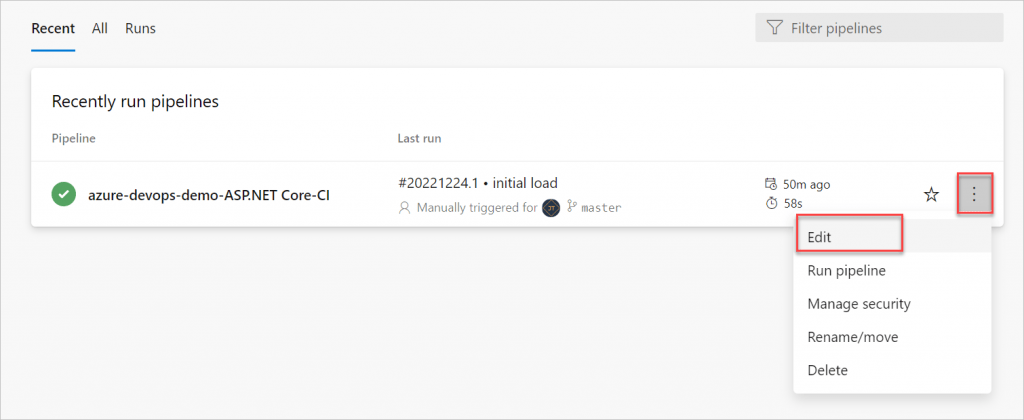
- Go to the Pipelines and click on Edit
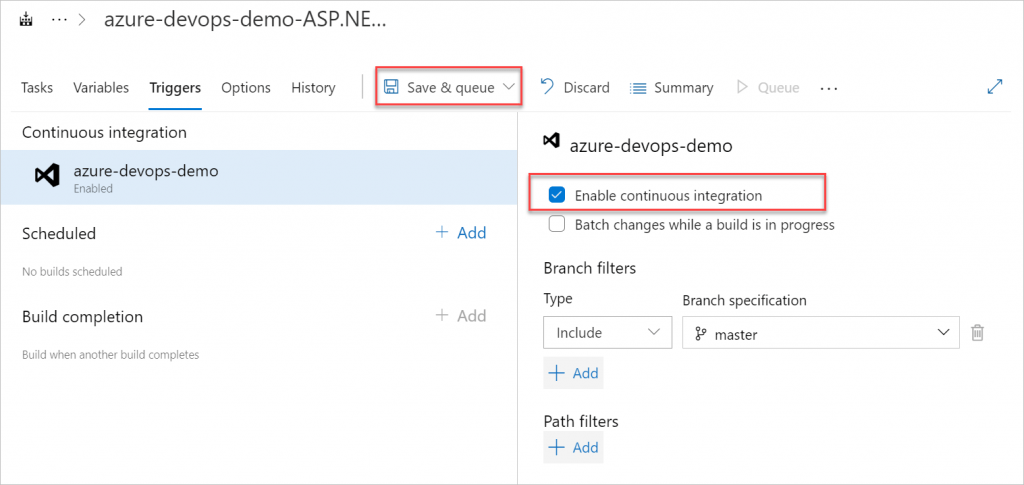
- Select the Triggers Tab and click on the Enable continuous Integration checkbox, finally click on Save & queue.
- Now CI is ready, when new push is happen then it automatically trigger the pipelines.
Testing Continuous Integration
On below you can see the continuous integration has been completed, When a new push happen the CI automatically trigger and our new code build.
That’s it for the first part of the article about Building CI/CD Pipeline using Azure DevOps. On the next article we will see how to implement the CD process.
Conclusion
So far we discussed about Building CI/CD Pipeline using Azure DevOps. Continuous Integration (CI) is a software development practice that requires developers working on the project to integrate code into a shared repository.
We discussed here by steps to understand to configure the Continuous Integration (CI) process.
Related Articles
- Building an AI Knowledge Base Search with Azure AI Foundry: Step-by-Step Guide
- How to Secure React.js application with Azure AD Authentication Using MSAL Library
- 🔐 Securing .NET Core Web Apps with Azure AD/Intra and MSAL
- Step-by-Step Guide to Using Azure Redis Cache in ASP.NET Core 9 Web API
- 🤖 Build a Full-Stack AI App with React, Node.js & Azure OpenAI
Jayant Tripathy
Coder, Blogger, YouTuberA passionate developer keep focus on learning and working on new technology.