In this article we are going to discuss how to running WordPress on ASP.Net Core, without using PHP, or any source files on the server. It’s now possible to run an entire WordPress Application over an ASP.NET Core Host seamlessly, the following demonstration will show you how to add WordPress as a front-end to an existing ASP.NET Core application step by step. Please read my previous article How to send Email in ASP.NET Core.
Prerequisites
– VS 2019/2022 / VS Code
–.NET SDK 5.0 ( You can check with your version)
– My SQL Server( WordPress will be using this Server to data persistence)Running WordPress on ASP.NET Core with PeachpieTweet
Running WordPress on NET Core
WordPress is a free, simplest, and most popular open-source content management system to create our own website or blog which is written in PHP and paired up with MySQL. WordPress on .Net Core is possible with peachpie, which is a compiler built on top of the Roslyn platform, it’s a set of runtime and base class libraries and everything that allows compiling a PHP project, a group of PHP files into a regular .Net project.
Peachpie allows for seamless both-way interoperability between PHP and .NET applications. In simpler terms, this means that one can have some parts of an application written in PHP, while other modules are written in .NET and everything will work together as one application. Here is the original Repository of the WordPress SDK by PeachPie. Without Peachpie, connecting these modules is tedious, time-consuming and often risky or producing unnecessary performance overhead.
Here are the following steps to run WordPress with ASP.Net Core.
Creating ASP.NET Core Project
Let’s Open Visual Studio and create a ASP.NET Core 5.0 Web project.
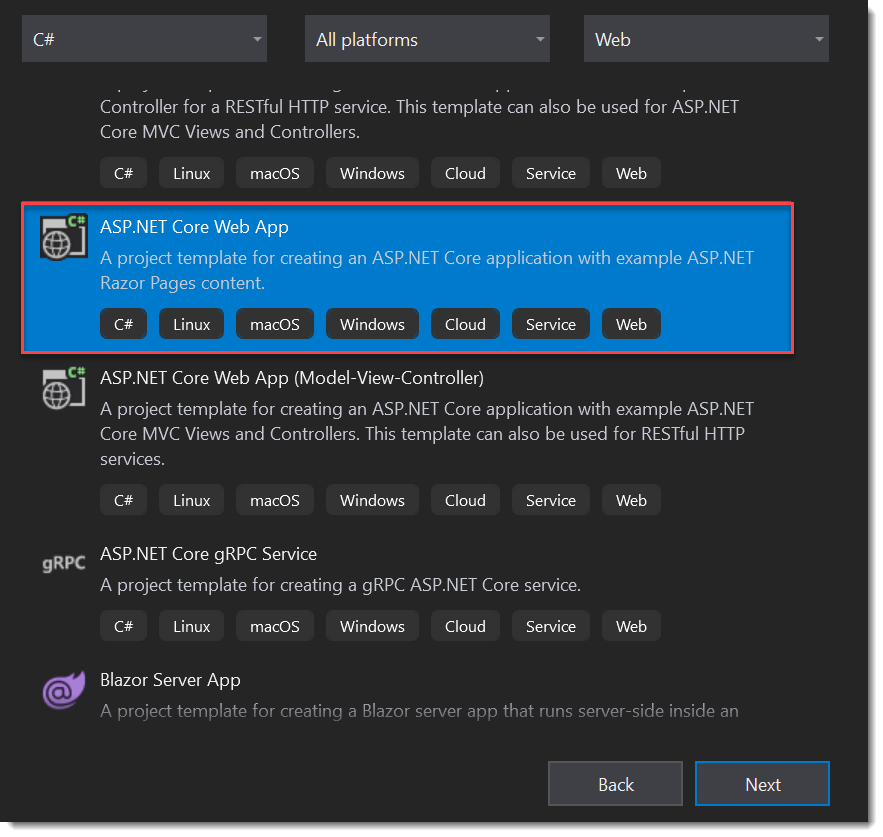
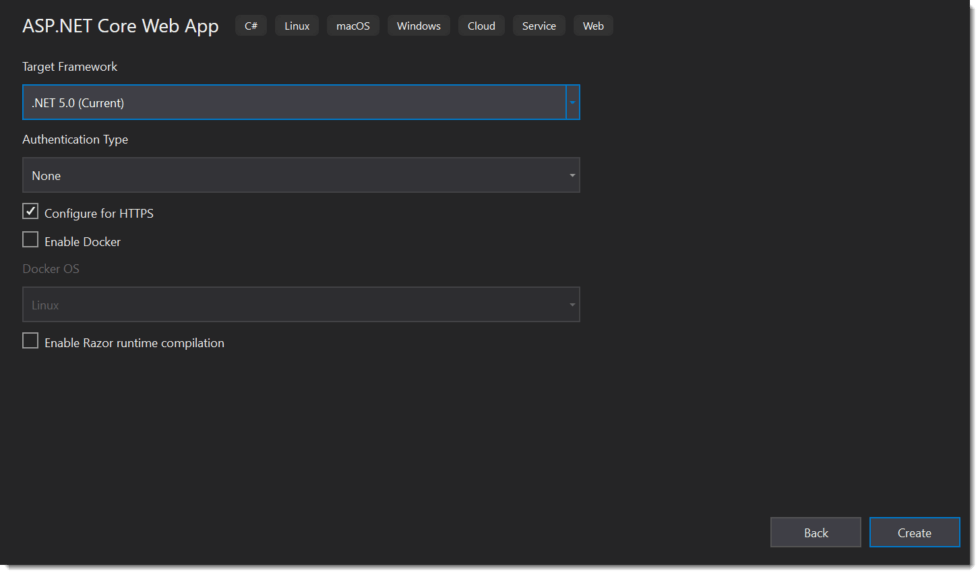
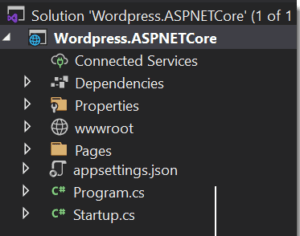
Installing the Required Package
As WordPress is already compiled to work on ASP.NET Core Applications. Thus all you have to do is to install the specified Package from Nuget. Open up your Package Manager Console and run the following snippet.
Install-Package PeachPied.WordPress.AspNetCore -Version 5.5.1-preview1
It might take a couple of minutes to install all the necessary packages, as the WordPress package itself is around 30Mb in file size.
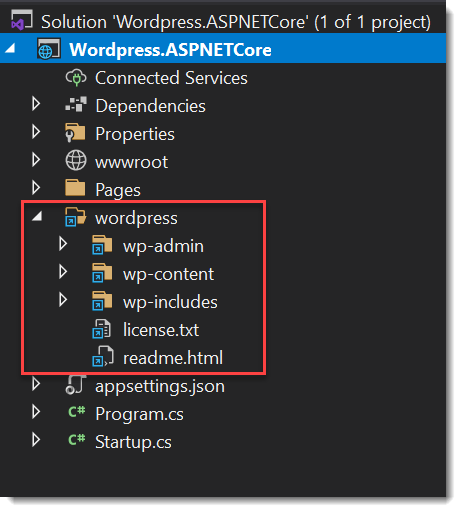
After this package installation in the ASP.NET Core application you can find a new folder as WordPress with following information.
Set up the MySQL database
Now we need to set up the MySQL database. Make sure that we have the latest versions of both MySQL Server (Community) and MySQL Workbench installed on your machine. If not, download and install them from the below link.
Open the MySQL Workbench and create a blank database/schema for our WordPress Application to run. The tables will be auto-generated by WordPress as soon as the application launches for the first time. Make sure you remember the username, password, database name, and the port at which MySQL is running. You need these details when we start configuring WordPress with ASP.NET Core.
To create a new database schema in MySQL server, Right click on sys and create schema. Then create the schema name, here we named as “wordpressdb” then click apply it should create the WordPressDB schema.
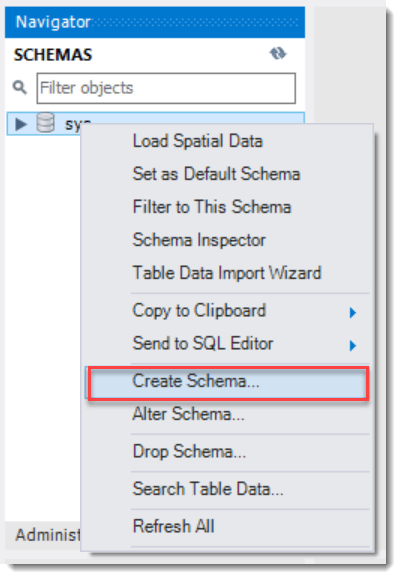
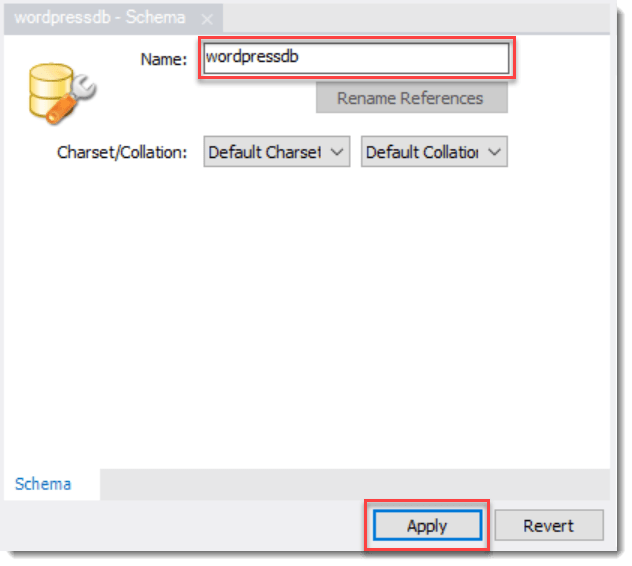
Make sure that you note down the username , password , database name and the port at which MySQL is running. We will need these details when we start configuring WordPress on ASP.NET Core
Configuring WordPress in ASP.NET Core
Let’s add the schema/database connection details into appsettings.json.
"wordpress": {
    "dbhost": "localhost",
    "dbpassword": "password",
    "dbuser": "root",
    "dbname": "wordpressdb"
  }
Now let’s open up the Startup.cs/ConfigureServices method and add in the following.
services.AddWordPress(options => { });Next, in the Configure method, add the following.
app.UseWordPress();
That’s it. We did all the setup of the application, build the application then run.
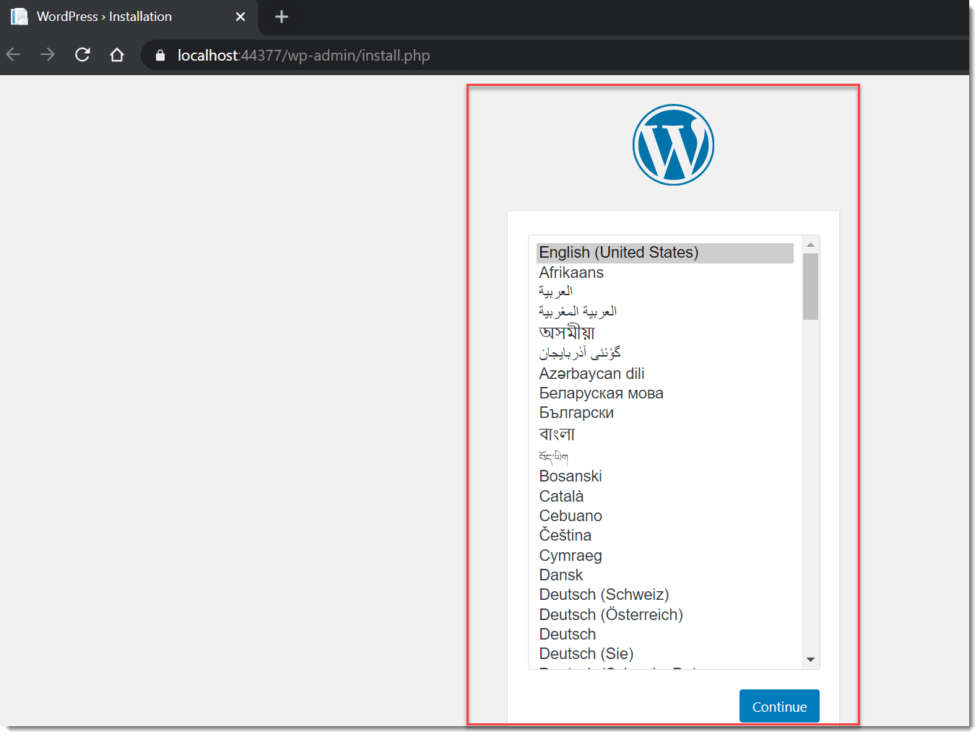
Click on Continue, then it navigate to another page where set the Title, username and password then Install WordPress.
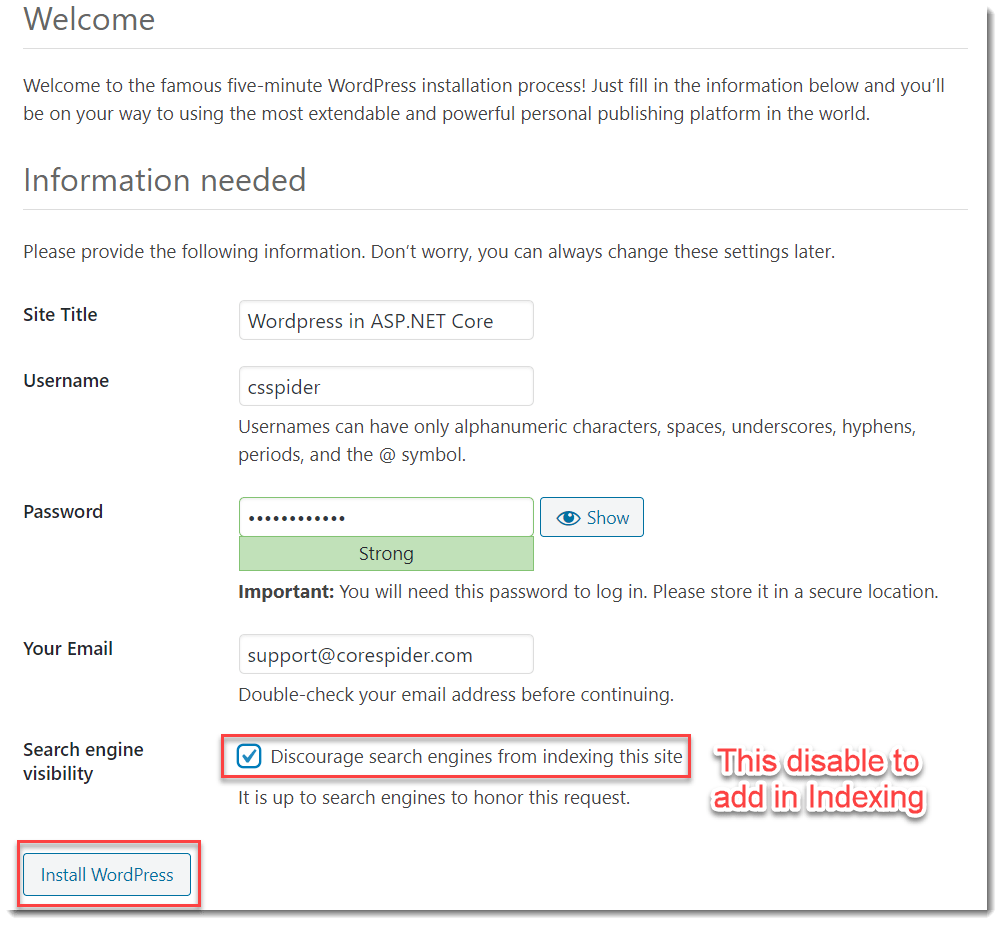
After clicking on Install WordPress it successfully installed the WordPress then navigate to WordPress login like below and put the user credentials and then click on Login.
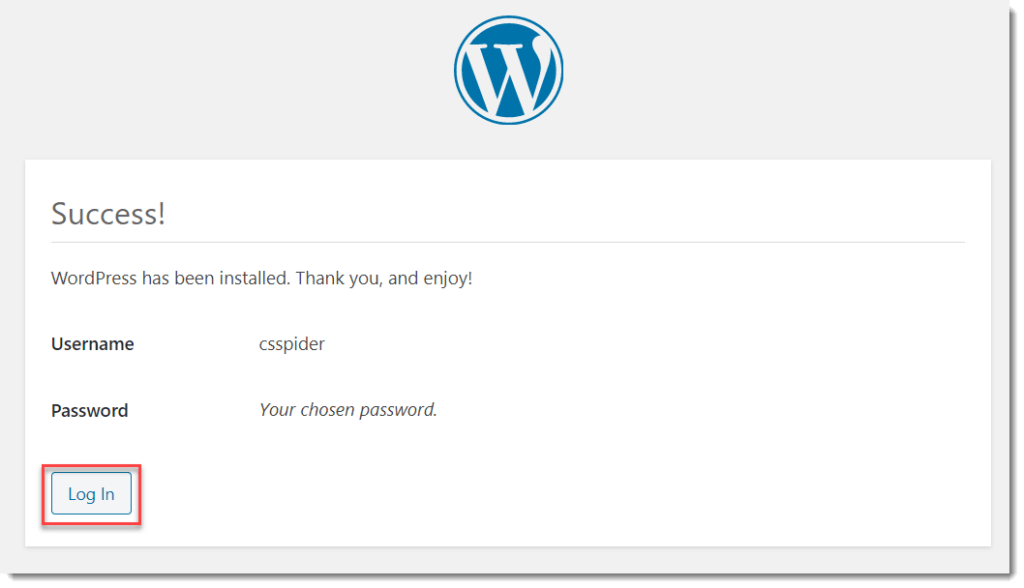
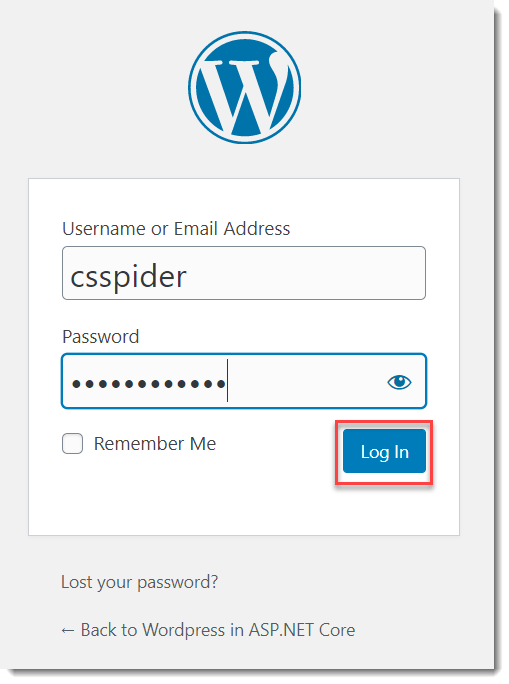
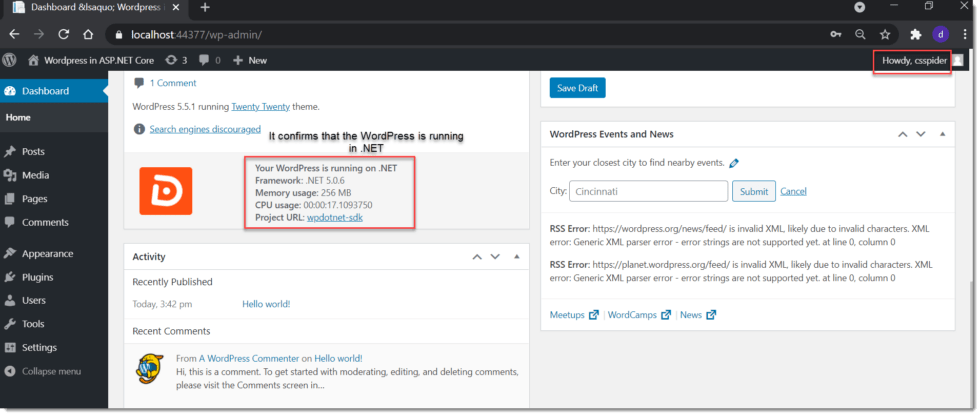
After successfully login you can now able to access the WordPress Dashboard.
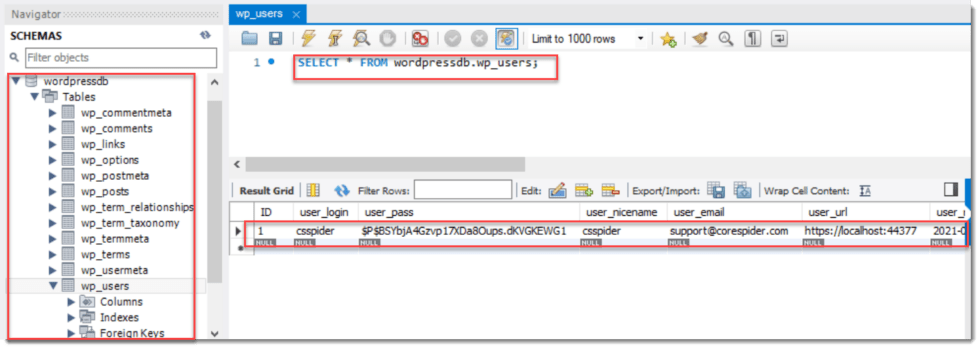
Also you can see in the local database the required tables are updated and it captured the input details that we entered.
You can now open the site and can see the wordpress “Hello World”.

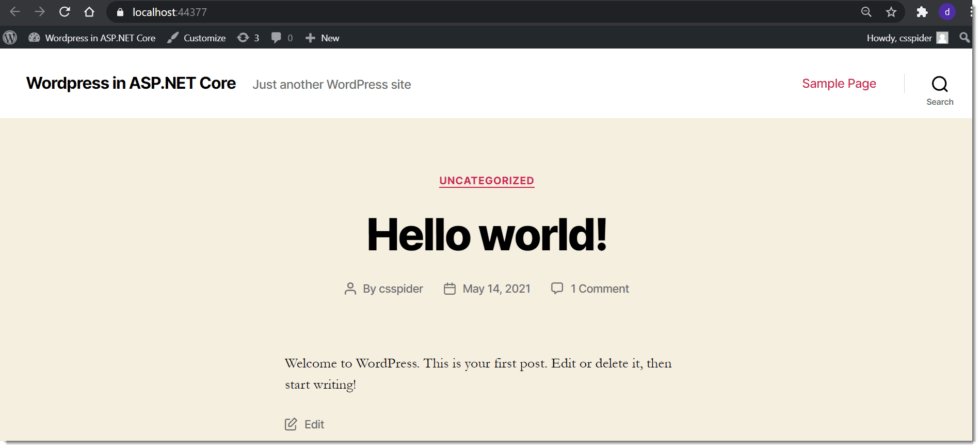
Benefits Of Running WordPress On ASP.NET Core
- Performance: The compiled code is fast and also optimized by the .NET Just-in-Time Compiler for your actual system. Additionally, the .NET performance profiler may be used to resolve bottlenecks.
- Source less Distribution: After the compilation, most of the source files are not needed. Peachpie compiles the entire source to DLLs which makes lives much easier.
- C# Extensibility: You can implement plugins in a separate C# project and/or PHP plugins may use .NET libraries.
- Secure: Peachpie allows the compiled WordPress clone to run in a .NET JIT , secure and manageable environment, updated through windows update.
- Opens up the Hosting World to .NET Core Hosting Providers: Given the advantages of such an approach, people would now start hosting this variant of WordPress into .NET Hosts with ease which opens up a huge section of the market.
Conclusion
Leave behind your valuable queries and suggestions in the comment section below. Also, if you think this article helps you, do not forget to share this with your developer community. Happy Coding 🙂
Related Articles
- 🔐 Securing .NET Core Web Apps with Azure AD/Intra and MSAL
- How to Integrate AdminLTE with ASP.NET Core
- How to run ASP.Net Core Web Application in Docker Container
- ChatGPT Integration in ASP.Net Core using OpenAI
- How to use cookies in ASP.Net Core- Complete Guide
Jayant Tripathy
Coder, Blogger, YouTuberA passionate developer keep focus on learning and working on new technology.

Hello Team, you have refered about “Running WordPress on ASP.NET Core with Peachpie” which was described briefly. Also the explanation given on Running WordPress on NET Core, Creating ASP.NET Core Project, and Installing the Required Package which was given with step by step. It was easy to understood. Excellent Blog!!!
Thanks, keep follow