
In this article we will learn about How to Create Windows Service/background jobs in .Net Core. There are numerous reasons why a developer might want to create an application that runs as a Windows Service, and there are some distinct benefits to doing so. I have already described how to create windows service using .Net C# and .Net Core in my other portal. Please read my previous article about Microservices Architecture in ASP.NET Core-6.
Also you can see the videos to learn how to create windows service in .Net C# and .Net Core.
Here in this article we are going discuss how we can create Windows Service/background jobs in .Net Core using Quartz Scheduler and host an application as a windows service on the server machine.

What is Windows Service?
Windows Services are a core component of the Microsoft Windows operating system and enable the creation and management of long-running processes in background.
What is Quartz Scheduler
Quartz is a job scheduling library that can be integrated into a wide variety of Java applications. Quartz is generally used for enterprise class applications to support process workflow, system management actions and to provide timely services within the applications. You can find more details on this link.
What is Host Builder?
Host Builder is the new “generic” Host which enables developers to easily set up cross-cutting concerns such as logging, configuration, and dependency injection for non-web-focused applications. The team realized that having the host tied to the concern of HTTP was perhaps not an ideal solution since many of these are common requirements in other application types.
Create Windows Service/background jobs in .Net Core
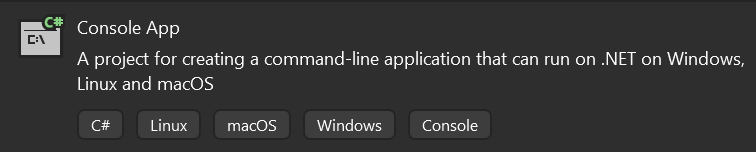
Let’s create .Net Core console application template like below then install required packages.
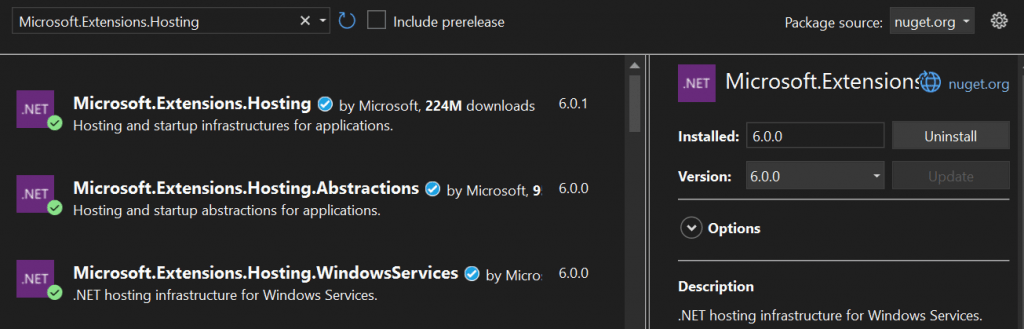
- To add the packages through Nuget : Right click on project and search like
Microsoft.Extensions.Hostingand install into the project.
Install the required package for Quartz using Nuget Package Manager
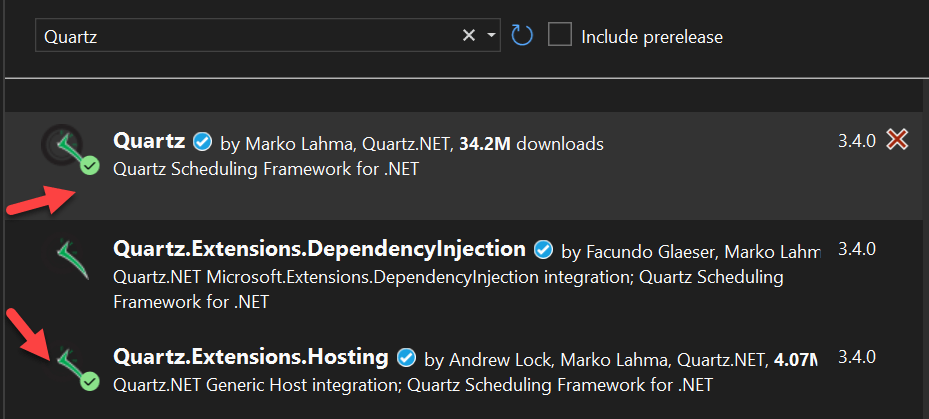
You can also install by using below command in package manager console.
Install-Package Quartz -Version 3.4.0Step-1:
Create the Interface like below to declaring the below method.
public interface ITaskLogTime
    {
        Task DoWork(CancellationToken cancellationToken);
        Task Execute();
    }
Then create the TaskLogTime where we implement ITaskLogTime and we extend the method of DoWork and Execute(). Here we save the log into the txt file in D drive folder.
 public class TaskLogTime : ITaskLogTime
    {
        public async Task DoWork(CancellationToken cancellationToken)
        {
            await Execute();
        }

        public async Task Execute()
        {
            try
            {
                string path = @"D:\\logs.txt";
                await using (StreamWriter writer = new StreamWriter(path, true))
                {
                    writer.WriteLine("Log Time: " + DateTime.Now);
                    writer.Close();
                }
            }
            catch (Exception ex)
            {
                Console.WriteLine("Exception: " + ex.Message);
            }
        }
    }
Step-2
Create another class that implement IJob interface. This create the service provider that call the DoWork().
public class TaskInfo : IJob
    {
        private readonly IServiceProvider _serviceProvider;

        public TaskInfo(IServiceProvider serviceProvider)
        {
            _serviceProvider = serviceProvider;
        }

        public async Task Execute(IJobExecutionContext context)
        {
            using var scope = _serviceProvider.CreateScope();
            var svc = scope.ServiceProvider.GetRequiredService<ITaskLogTime>();
            await svc.DoWork(context.CancellationToken);
            await Task.CompletedTask;
        }
    }
}
Step-3
Once the package install completed, Open the program.cs file and write the scheduler code like below which will run after a specific amount of time.
Cron Trigger is nothing but it is a UNIX tool that has been around for a long time, so its scheduling capabilities are powerful and proven. The CronTrigger class is based on the scheduling capabilities of cron.
As for POC added cron trigger for 10 seconds with the below expression
"0/10 * * * * ?"
- From line 16-22, it create the Host builder with ConfigureQuartzService() and registered the dependency injection
// See https://aka.ms/new-console-template for more information
using Microsoft.Extensions.DependencyInjection;
using Microsoft.Extensions.Hosting;
using Quartz;
using WindowsService_NetCore_Quartz.Contract;
using WindowsService_NetCore_Quartz.Implementation;

class Program
{
    static async Task Main(string[] args)
    {
        IHost Host = CreateHostBuilder(args).Build();
        await Host.RunAsync();
    }
    public static IHostBuilder CreateHostBuilder(string[] args) =>
       Host.CreateDefaultBuilder(args)
           .UseWindowsService()
           .ConfigureServices(services =>
           {
               ConfigureQuartzService(services);

               services.AddScoped<ITaskLogTime, TaskLogTime>();
           });

    private static void ConfigureQuartzService(IServiceCollection services)
    {
        // Add the required Quartz.NET services
        services.AddQuartz(q =>
        {
            // Use a Scoped container to create jobs.
            q.UseMicrosoftDependencyInjectionJobFactory();

            // Create a "key" for the job
            var jobKey = new JobKey("Task1");

            // Register the job with the DI container
            q.AddJob<TaskInfo>(opts => opts.WithIdentity(jobKey));

            // Create a trigger for the job
            q.AddTrigger(opts => opts
                .ForJob(jobKey) // link to the Task1
                .WithIdentity("Task1-trigger") // give the trigger a unique name
                .WithCronSchedule("0/10 * * * * ?")); // run every 10 seconds
        });

        // Add the Quartz.NET hosted service
        services.AddQuartzHostedService(
            q => q.WaitForJobsToComplete = true);
    }
}
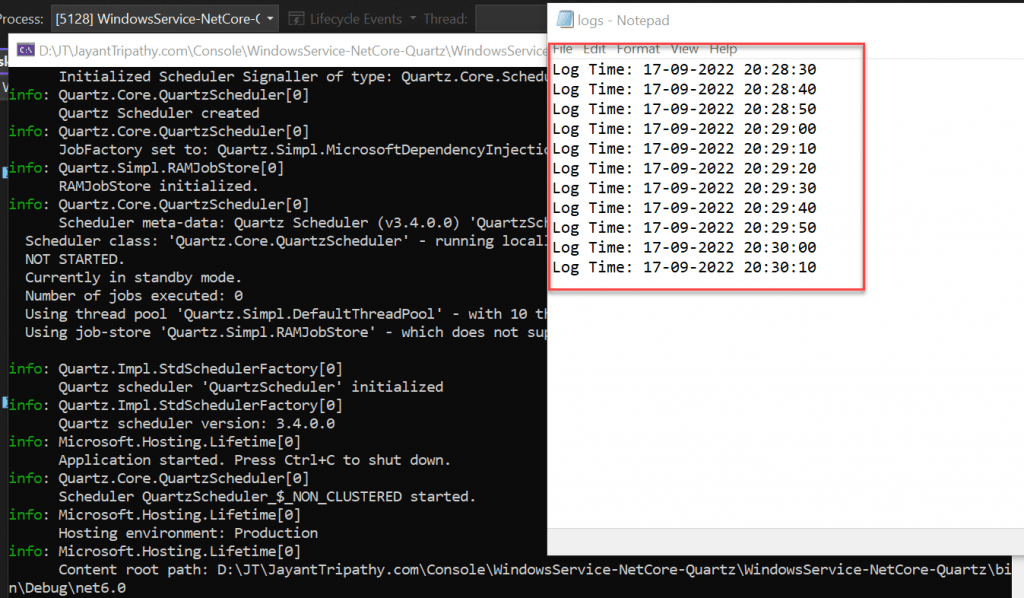
All the changes is done, Hit F5 it run the application and you can see the output like highlighted, it executes interval of 10 seconds. But we need the application to host as windows service.
Host .Net core console application as a window service
Publish the application in Release mode
Using below steps we can publish the application using release mode.
- Open the Command Prompt with Run as administrator.
- Navigate to the Solution Path where our application is physically stored.
- Type the below command to publish the service as Release version.
dotnet publish --configuration Release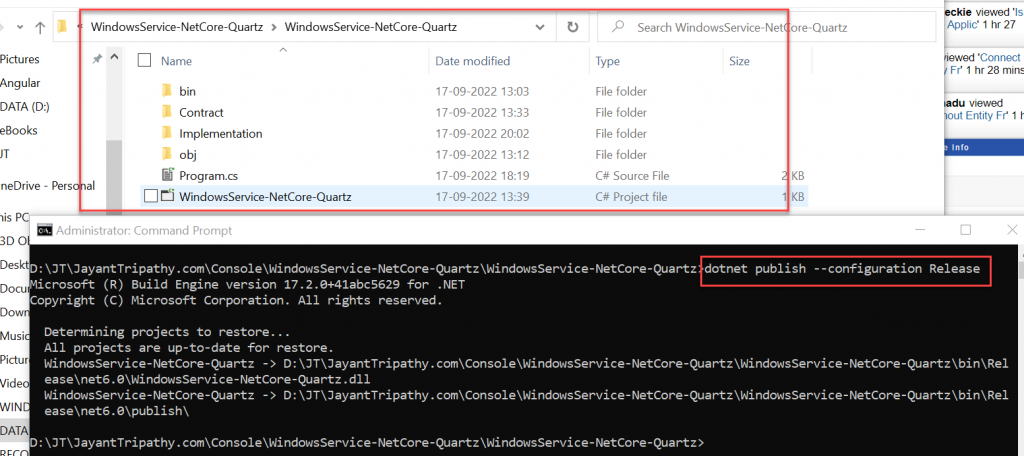
- You can see after run the above command Release folder is created.
- Now setup the service using the below command in release path.
sc create YourServiceName binPath= "YourpathName+ServiceName.exe"sc create MyCoreService binPath="D:\JT\JayantTripathy.com\Console\WindowsService-NetCore-Quartz\WindowsService-NetCore-Quartz\bin\Release\net6.0\publish\WindowsService-NetCore-Quartz.exe"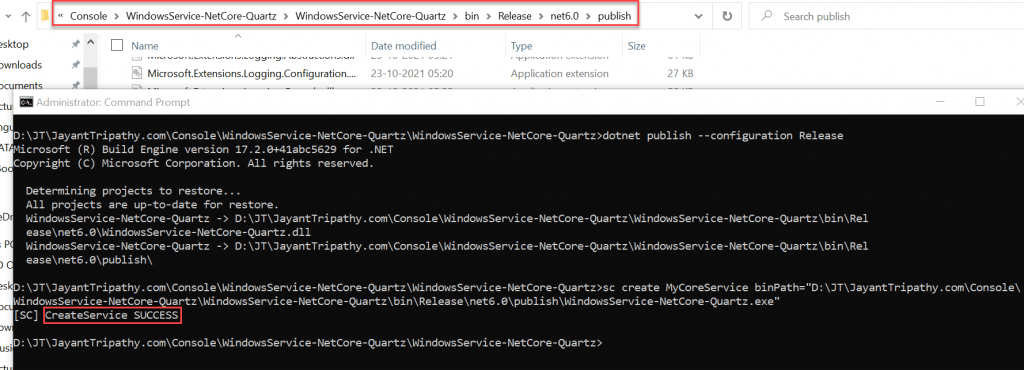
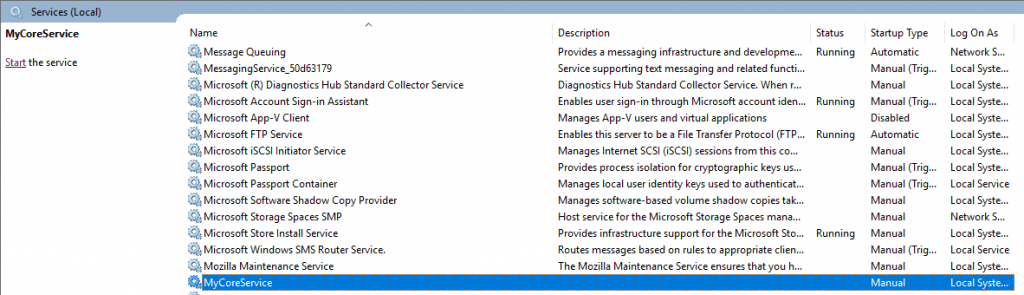
To see the service is installed or not. Open Window+R and type “Services.msc” and hit enter.
You can manually run the service by right click on the service and start it. If you want to run the application dynamically then put the below command hit enter.
sc start MyCoreService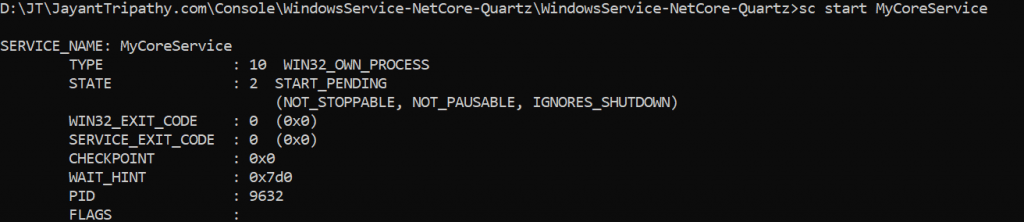
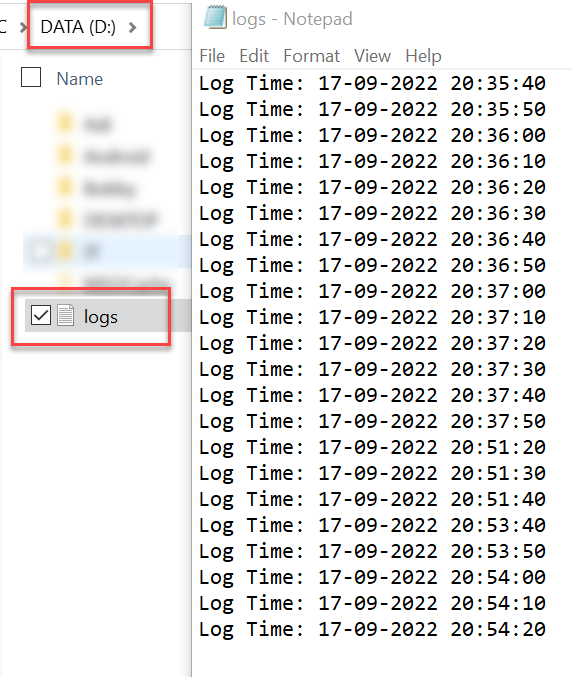
Now all is set, you can move to D drive and can see the log print in every 10 seconds till your system is on.
How to Uninstall .NET Core Windows Service?
To Uninstall windows service follow the below command, here my service name is “MyCoreService”.
sc delete YourServiceNameConclusion
Here we discussed about How to Create Windows Service/background jobs in .Net Core. There are numerous reasons why a developer might want to create an application that runs as a Windows Service, and there are some distinct benefits to doing so.
Leave behind your valuable queries and suggestions in the comment section below. Also, if you think this article helps you, do not forget to share this with your developer community. Happy Coding 🙂
Related Articles
- 🔐 Securing .NET Core Web Apps with Azure AD/Intra and MSAL
- Step-by-Step Guide to Using Azure Redis Cache in ASP.NET Core 9 Web API
- Building Real-Time Messaging with Kafka and .NET Core
- .NET 8 Authentication with Identity in a Web API using Bearer Tokens and Cookies
- How to convert Text To Speech With Azure Cognitive Services using Angular and .Net Core
Jayant Tripathy
Coder, Blogger, YouTuberA passionate developer keep focus on learning and working on new technology.